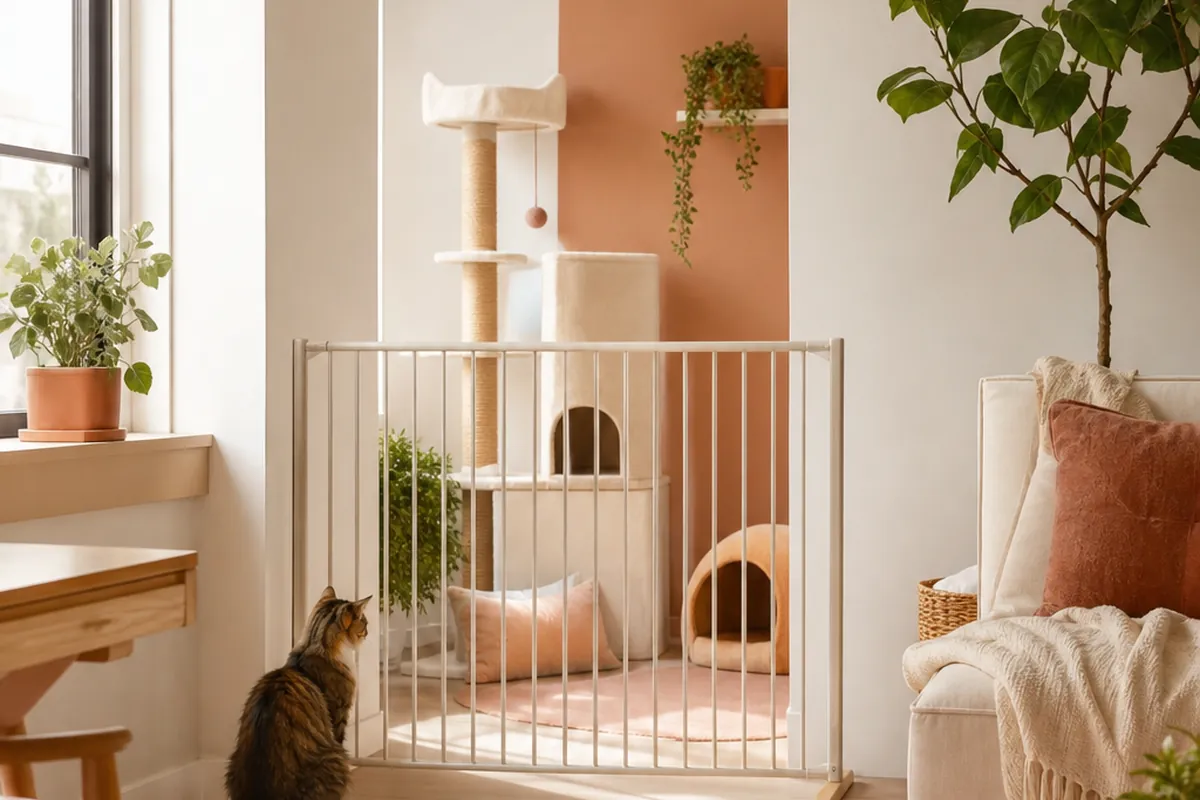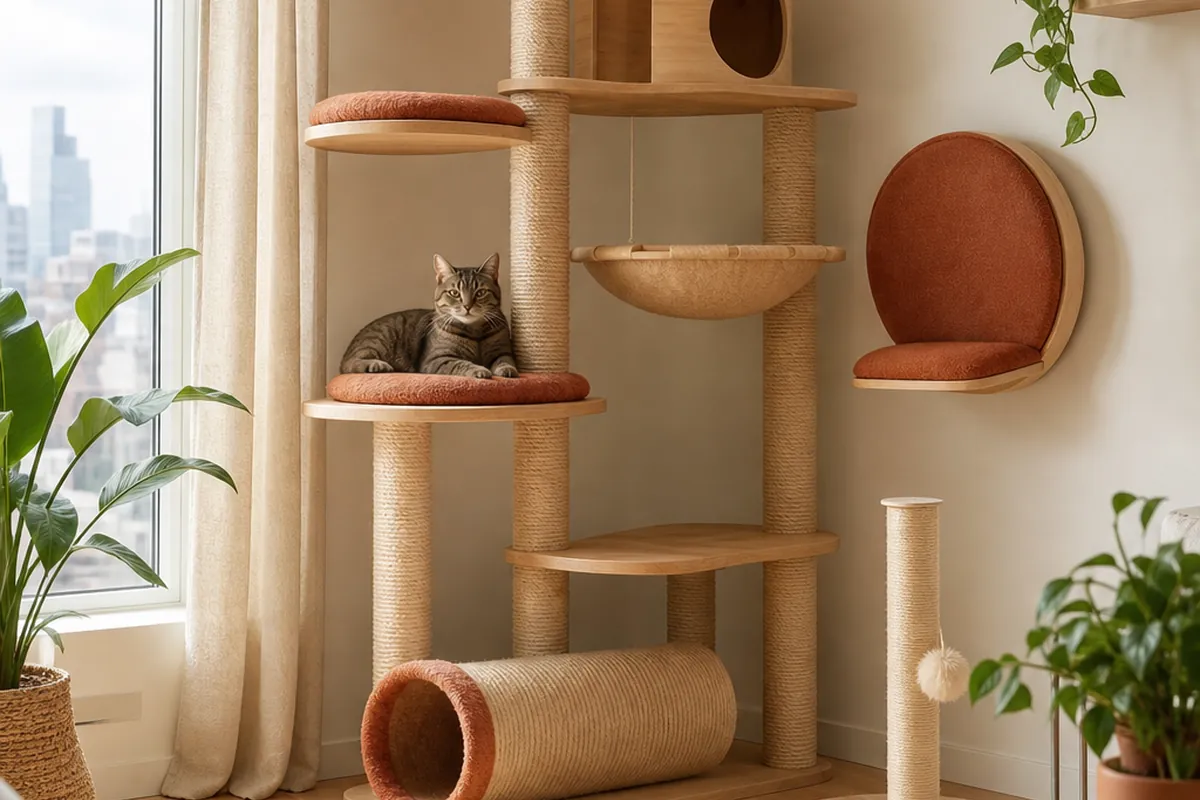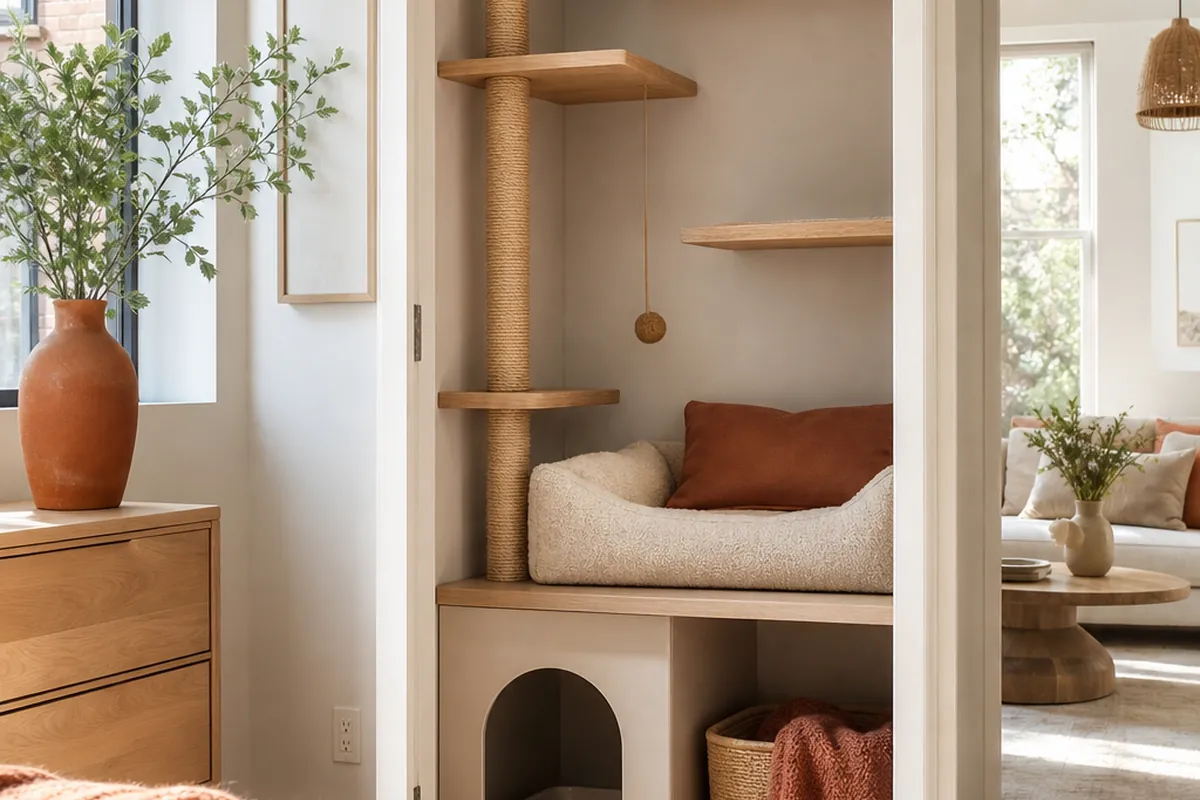
A reach-in closet is one of the few spaces in a small apartment that nobody is fighting you for. It is usually too shallow for hanging clothes to sit flat, too narrow for a real storage system, and just sits there half full of things that could live in a bin under the bed instead. That same shallow, narrow, out-of-the-way footprint is close to perfect for a cat.
Twelve ways to turn one into a small, self-contained cat room without losing your deposit.
1. Measure before you buy anything
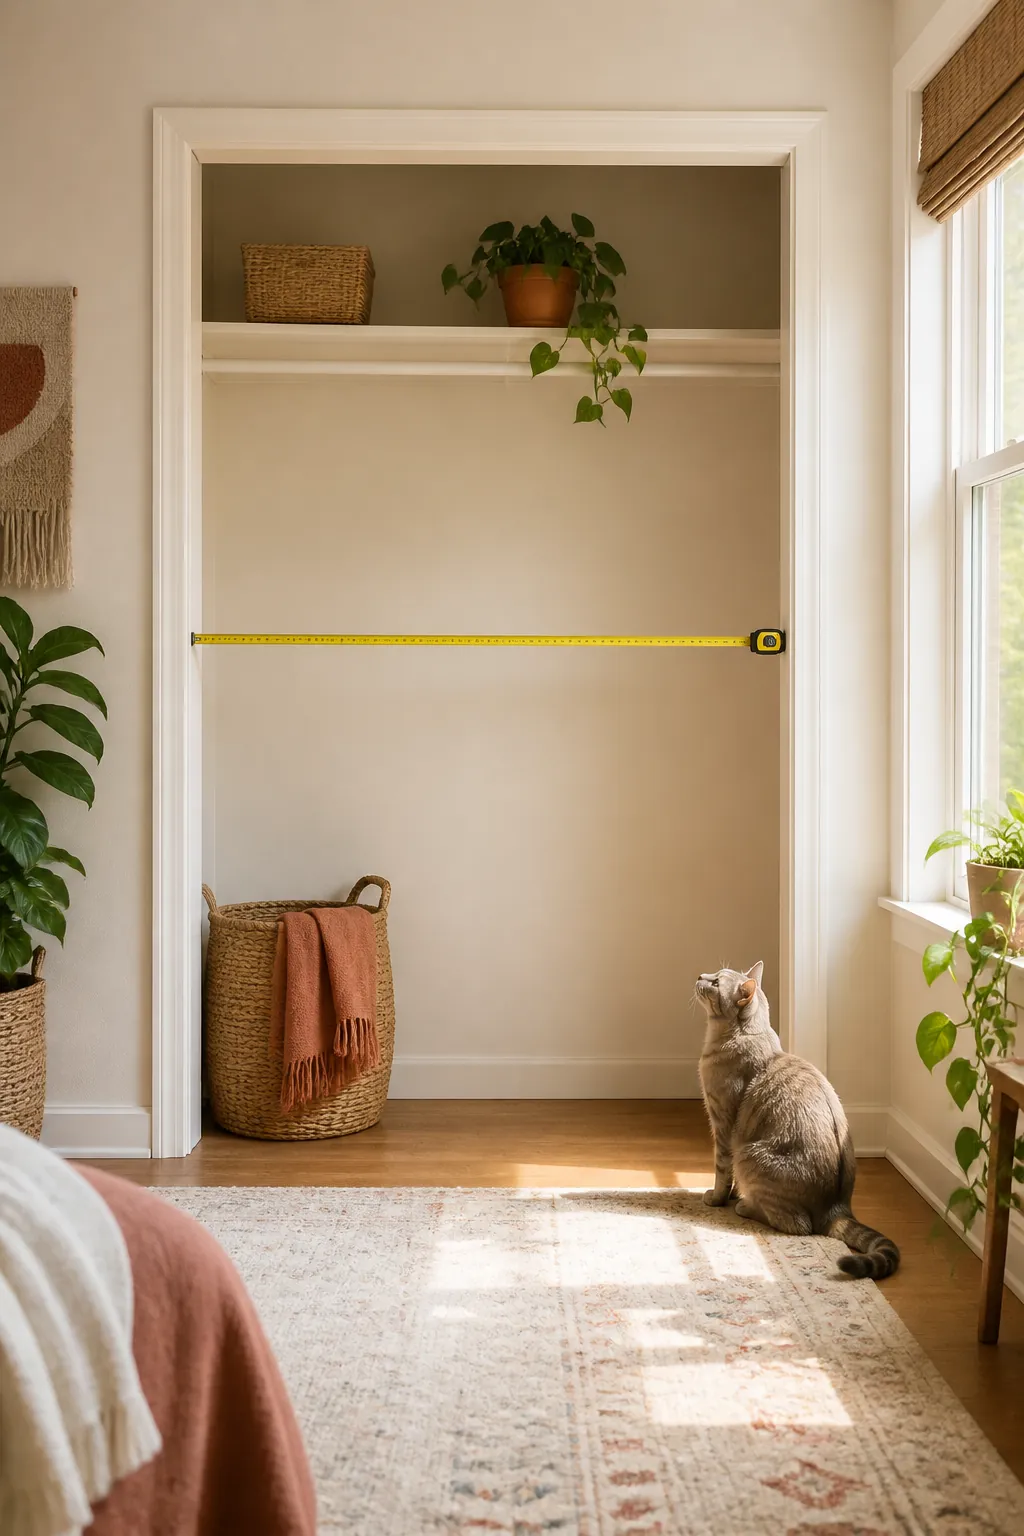
A standard reach-in closet runs about 24 inches deep, but width varies a lot, from a slim 36-inch linen closet to a 72-inch double with sliding doors. Measure the clear width inside the door frame, not the opening itself, because trim and a door jamb can steal close to an inch on each side. Note the header height too, the point where the closet rod bracket is mounted, since any shelf you plan to run above that line needs to clear it without touching the ceiling.
2. Decide what happens to the door
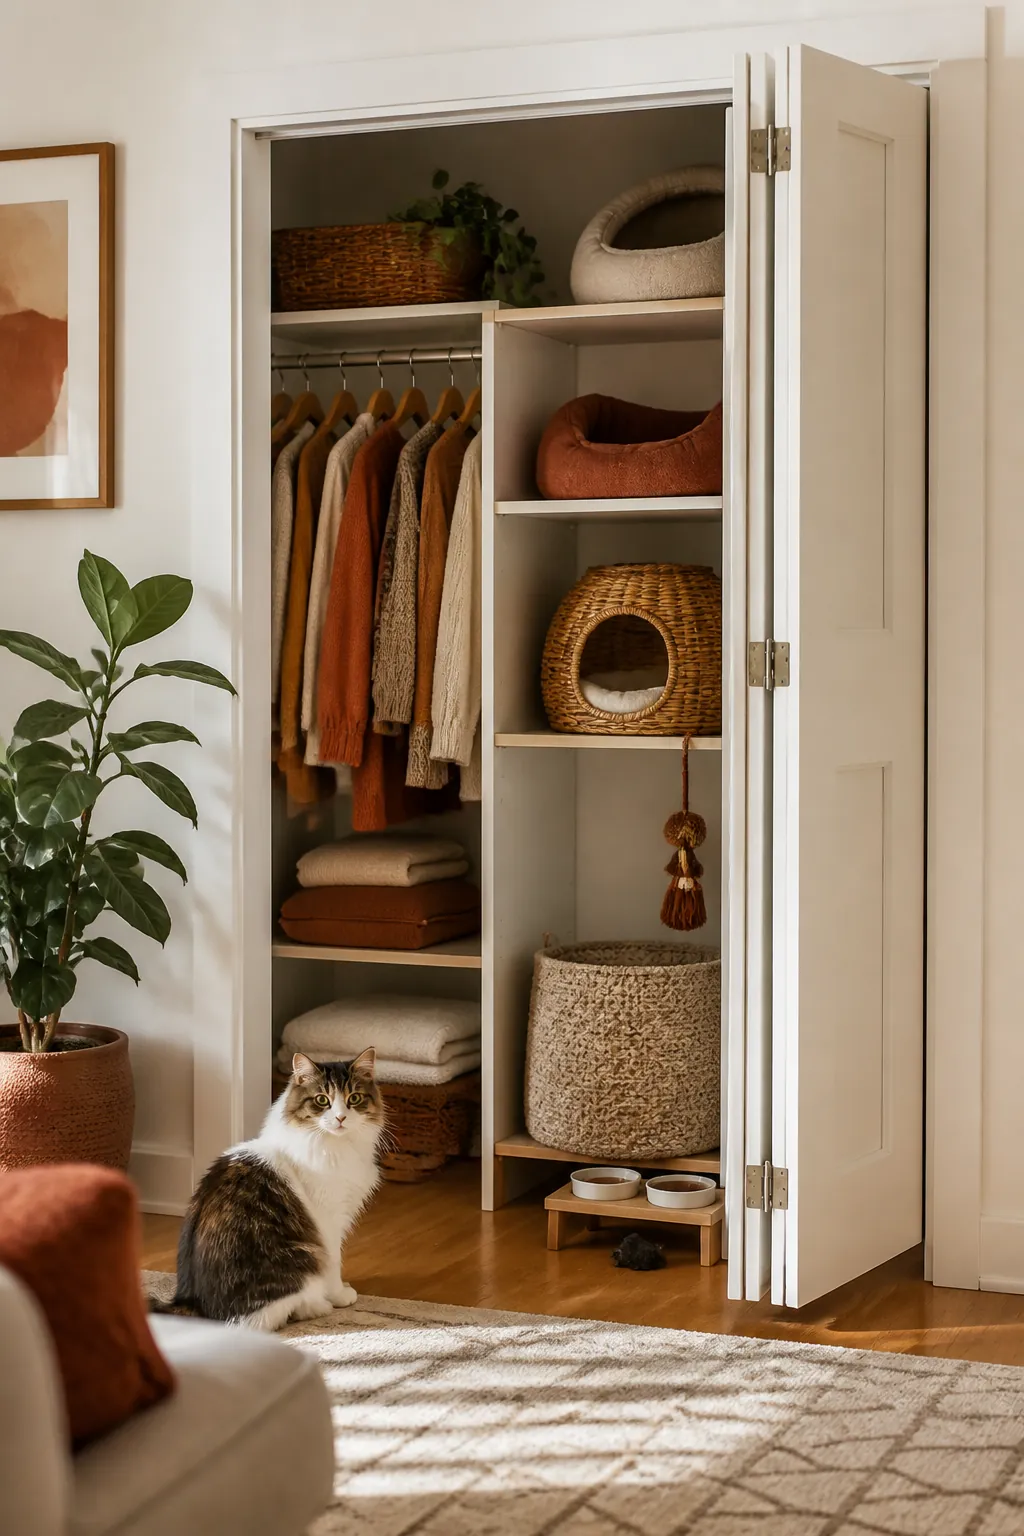
A bifold door folds against itself and barely intrudes on the closet’s own footprint once open, which makes it the easiest type to leave in place. A single hinged door swings through an arc of roughly 24 to 30 inches into the room, the same clearance a bedroom closet door needs, and that arc has to stay clear of any shelf, post or bed you add near the opening. Sliding doors solve the clearance problem entirely but block half the opening at any given time, which matters if the shelf run sits behind the panel that happens to be closed.
3. Protect your deposit before you touch the rod
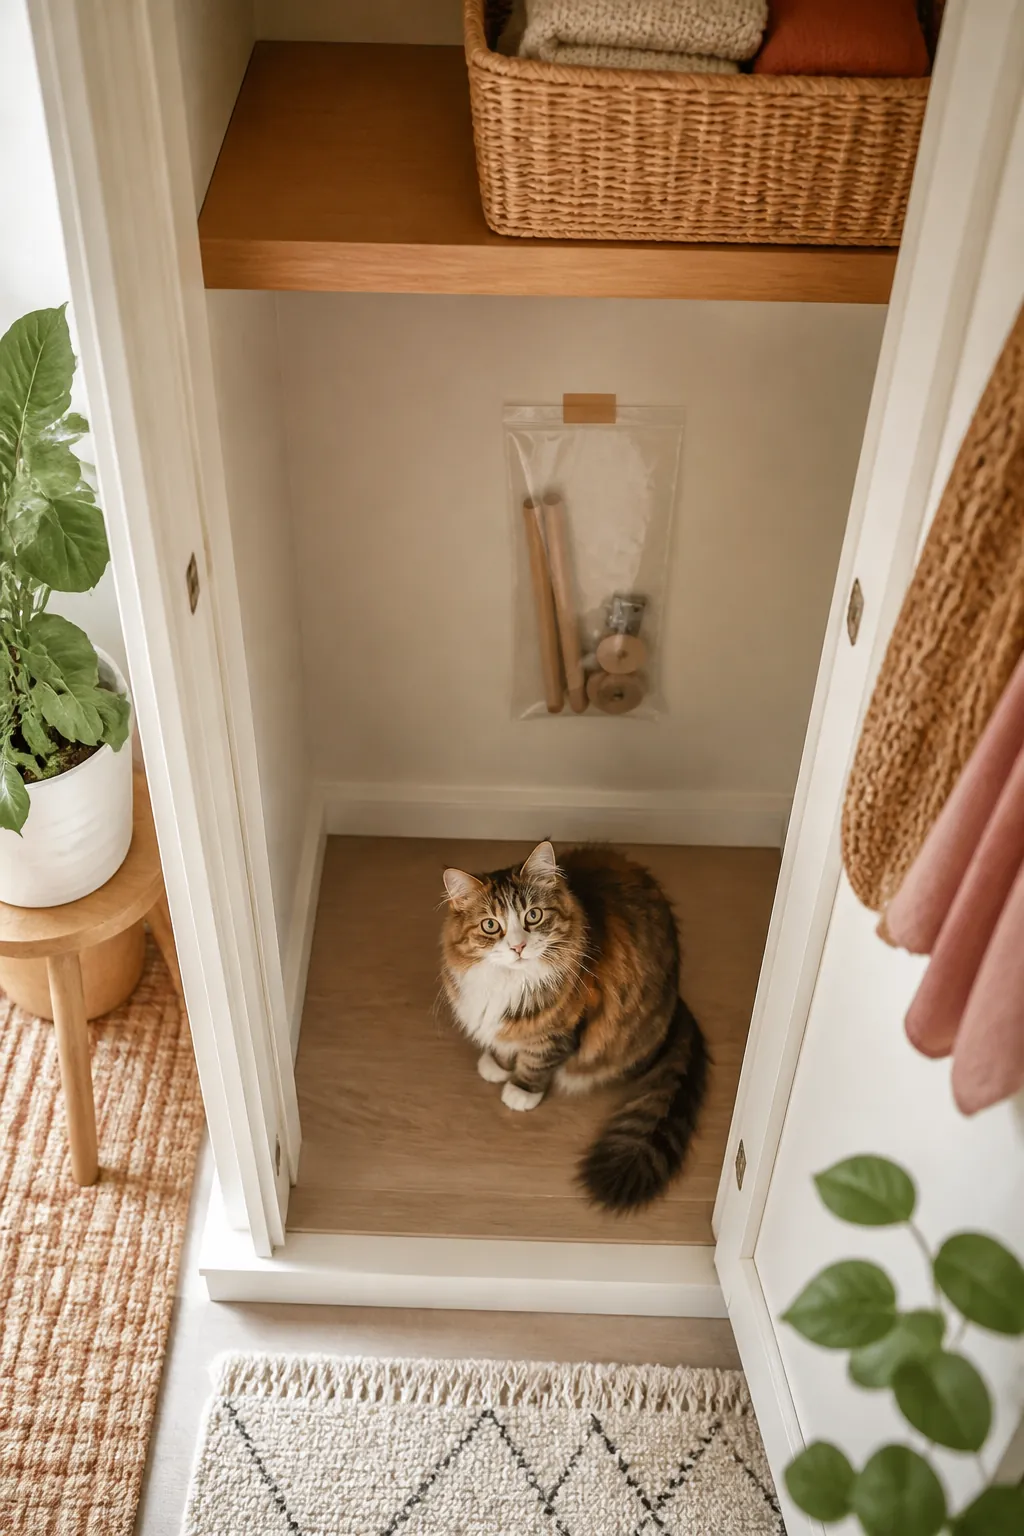
Pulling the closet rod to make floor and wall room is reversible, and keeping it that way takes five minutes. Most rod brackets use two screws per side, usually a quarter inch across. Back them out, patch the four resulting holes with a dab of spackle, and bag the rod, the brackets and the screws together. Tape that bag to the closet’s back wall rather than storing it somewhere you will not remember at move-out. A reinstalled rod looks original; a drilled-over one does not.
4. Put the litter box at the back, not blocking the opening
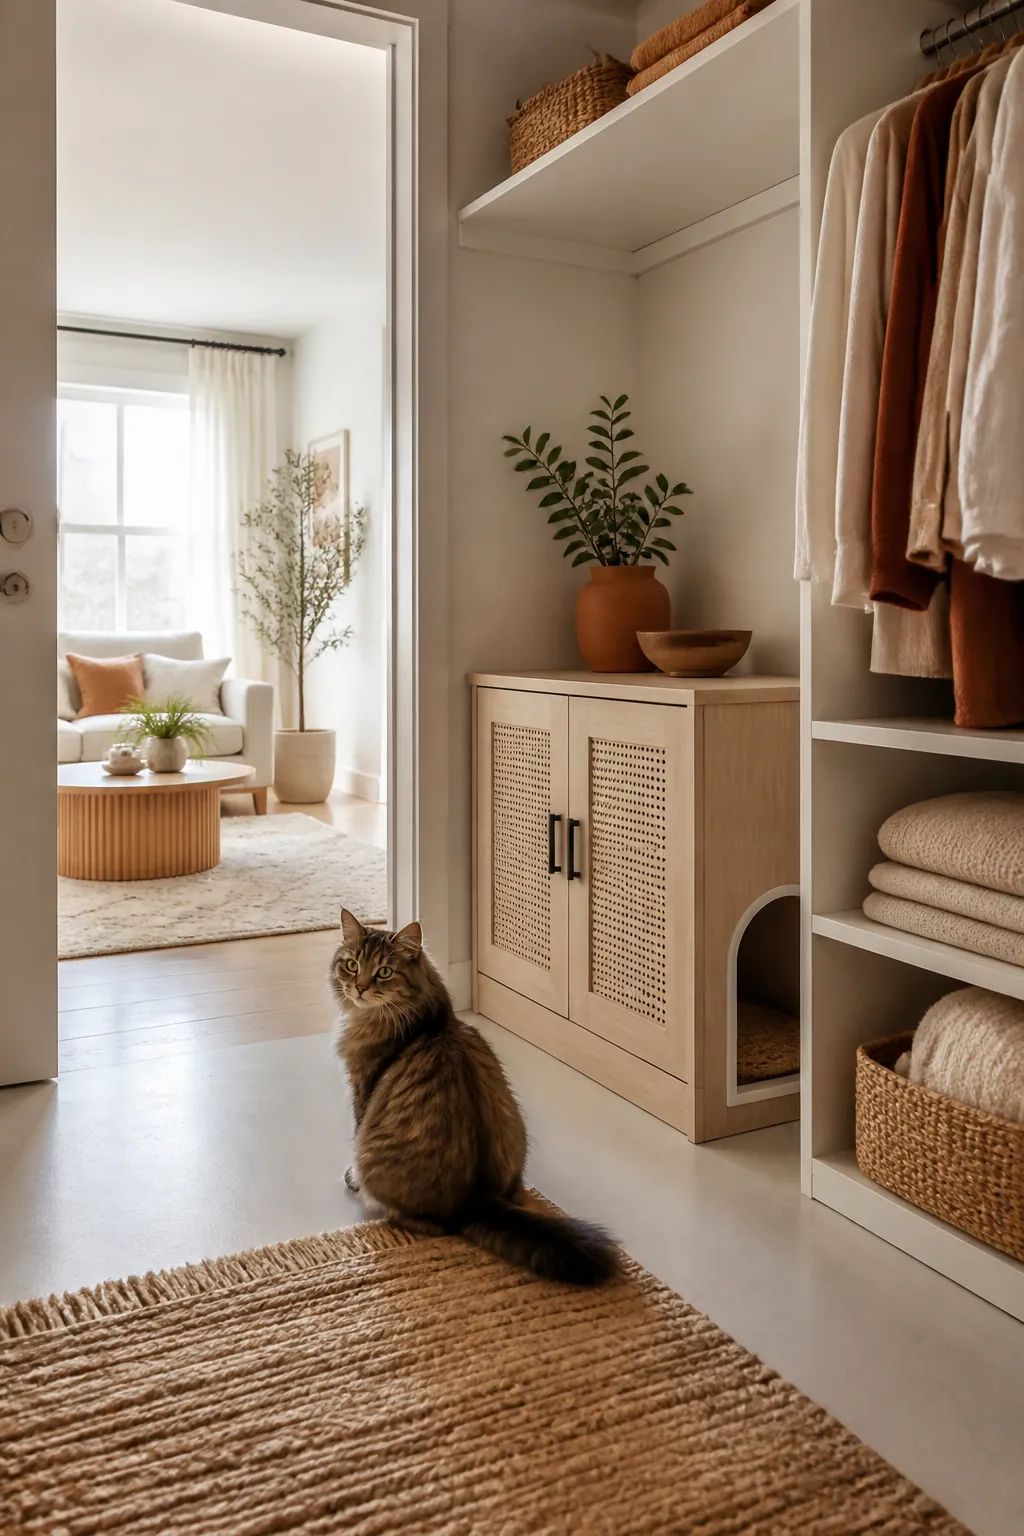
Treat the closet like a small room with one door, because that is what it is. The litter box belongs against the back wall, as far from the doorway as the depth allows, leaving the front few feet for a shelf run or a scratching post. A box placed just inside the door gets walked past every time anyone opens it and makes the whole closet harder to use for anything else, including the cat trying to get past a person standing in the doorway.
A vented litter box enclosure cabinet earns its keep here specifically, because a box inside a cabinet inside a closet is otherwise two layers of enclosure stacked on top of each other with no airflow between them. The cabinet’s own vents give the box somewhere for air to go even with the closet door shut.
5. A closet traps odor worse than a room, so give it somewhere to go
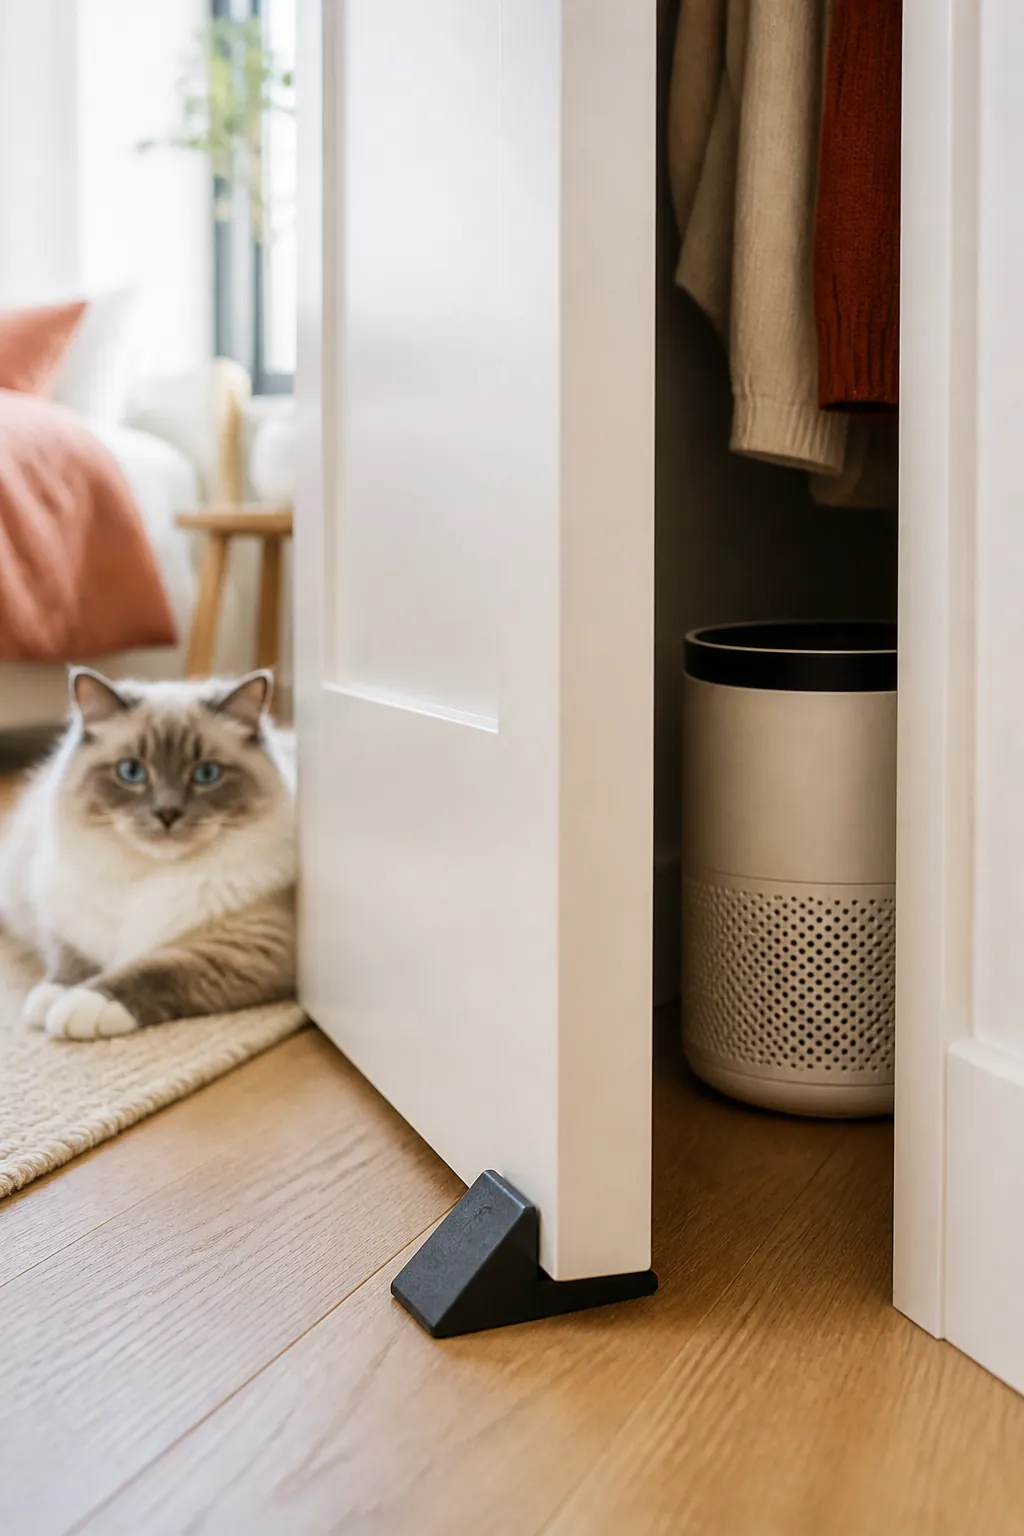
A bedroom or a bathroom usually has a door to a hallway, a window, or at minimum enough air volume to dilute what a litter box produces. A closet has none of that by default, and a closed closet door concentrates odor into a pocket that greets you the moment you open it, the same problem a sealed closet causes with a litter box anywhere else in the home. Crack the door permanently with a rubber wedge or a hook so it cannot latch shut, cut a low vent into a curtain or a hollow door panel, or run a small compact air purifier inside on a low setting. Pick at least one. Relying on the enclosure alone is the single most common reason a cat closet conversion gets abandoned within a month.
6. Anchor the shelf run into the studs, not just the kit’s own hardware
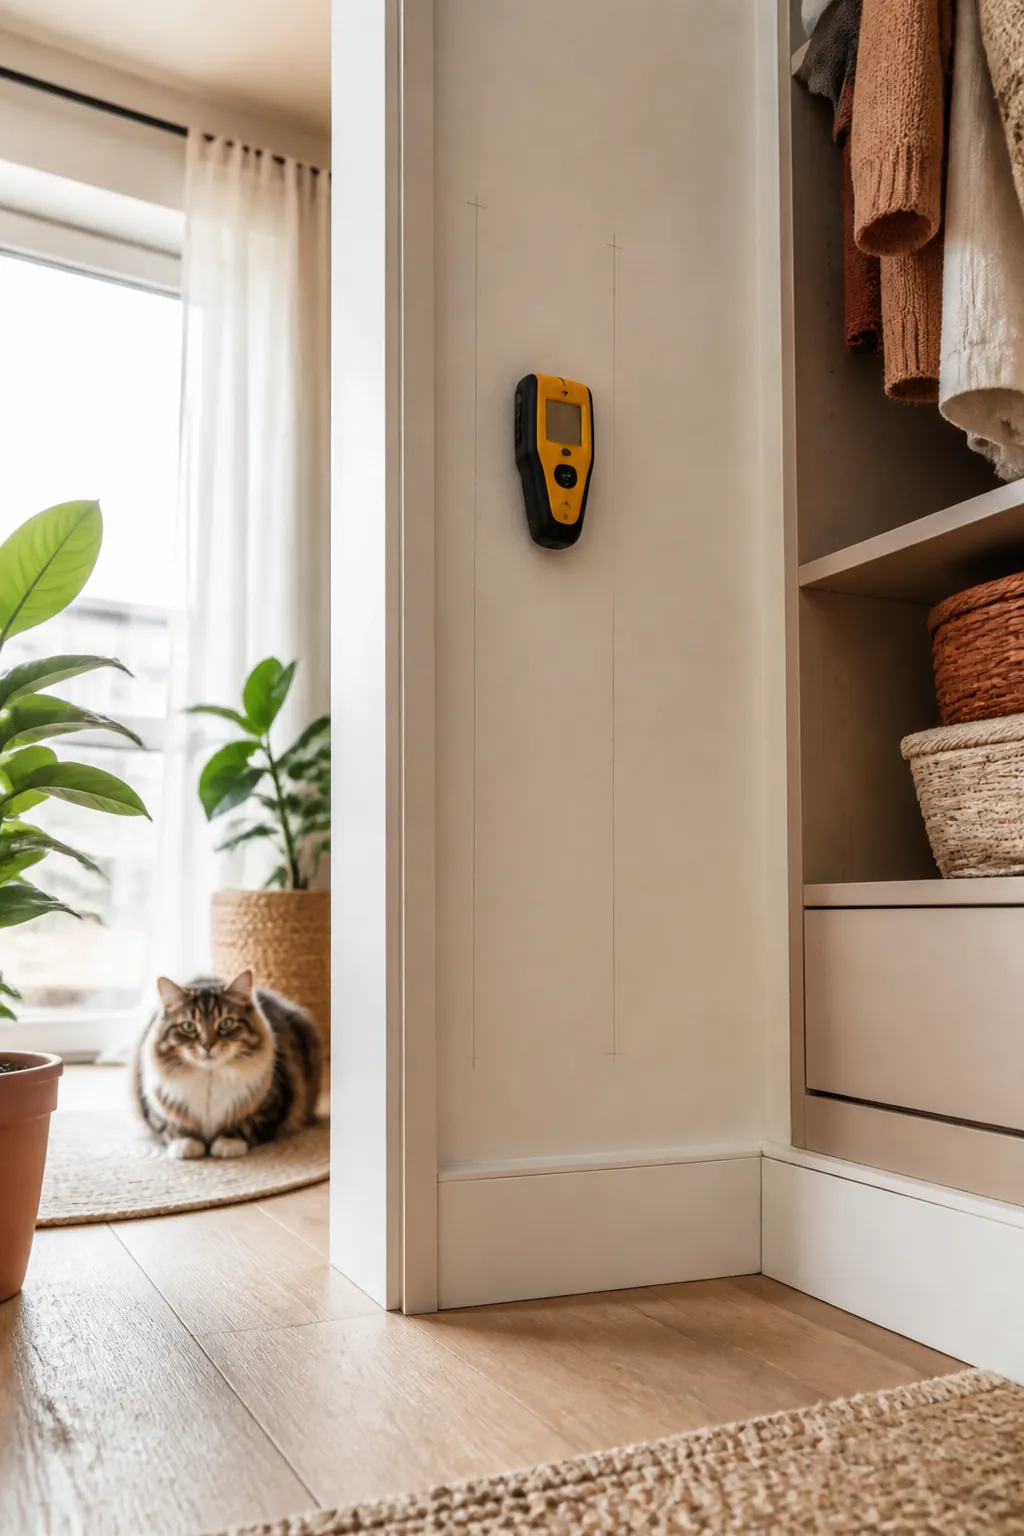
A wall-mounted cat shelf ships with drywall anchors because that is what fits most walls, but a closet’s side walls are often the same thin drywall shared with a bedroom or hallway on the other side, and a cat landing on a shelf at a run adds real shock load, not a static weight. Find the studs with a stud finder before you drill, even if that means the shelf sits a few inches off from where you first planned it. A shelf that pulls loose after three weeks is worse than no shelf, because by then the cat has made it part of the route.
7. Measure the shelf run against the closet’s actual width, not the kit’s claimed length
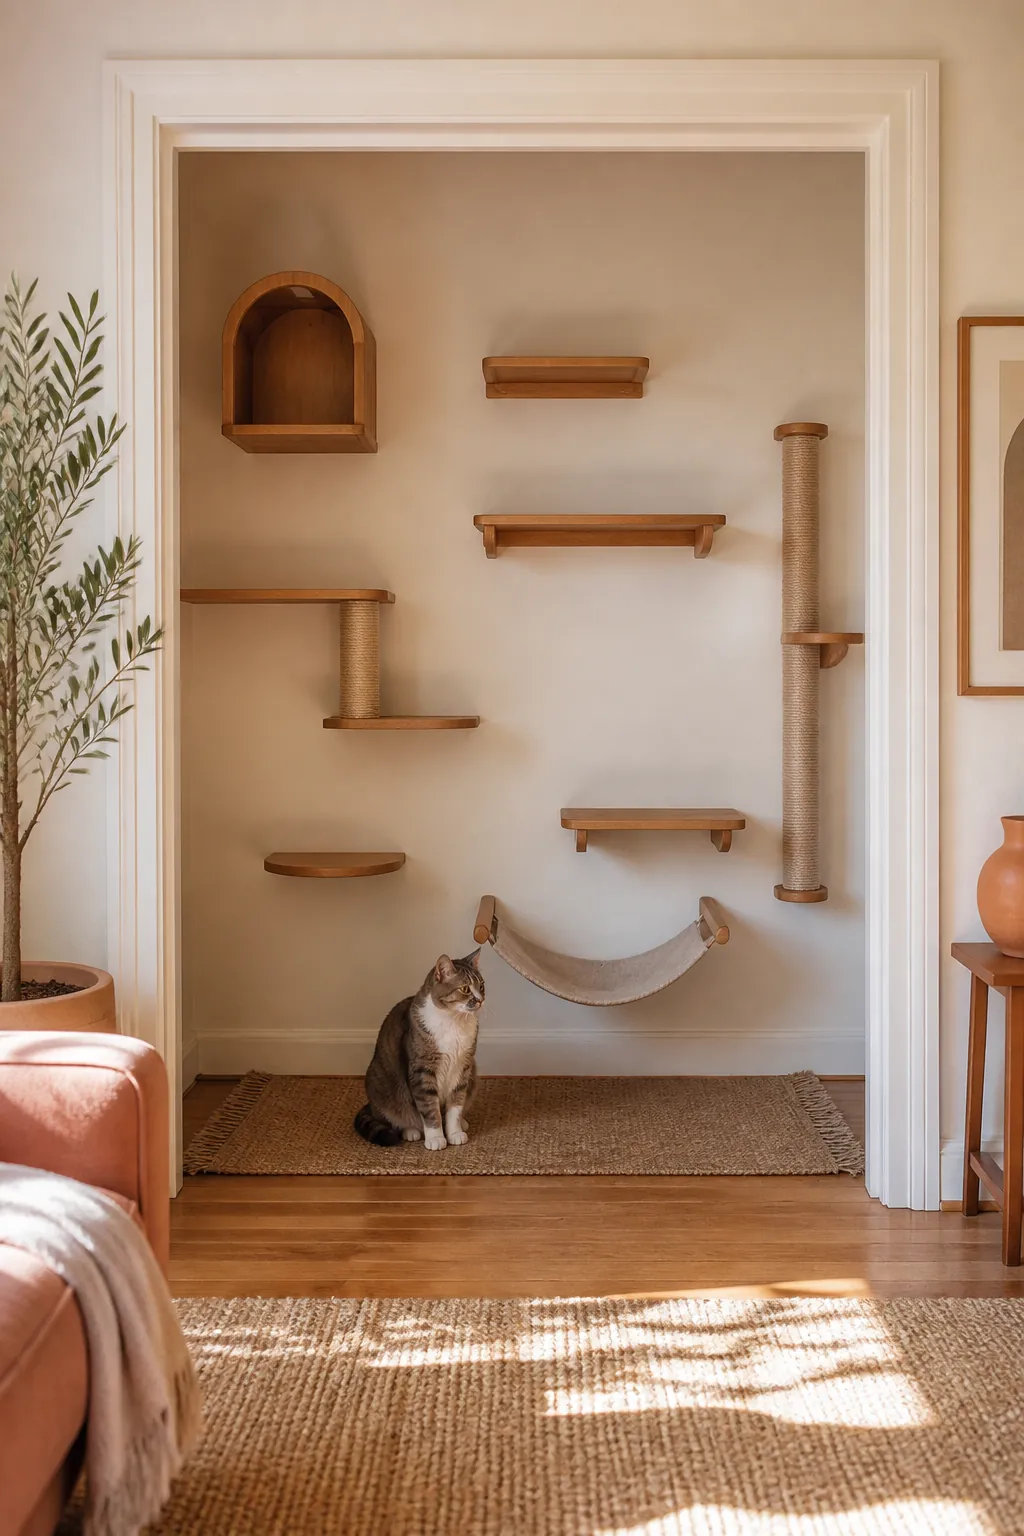
A shelf kit’s total listed length assumes a straight, unobstructed wall, and a closet rarely offers one. The rod bracket, a light switch just inside the door, or a return air vent near the floor can all eat into the run you were counting on. Dry-fit the shelves on the floor first, in the spacing you intend to mount them, and hold that arrangement up against the actual wall before drilling a single hole. It takes ten minutes and it is the step that prevents buying a second kit because the first one did not fit the way the product photos implied it would.
8. Give the cat a floor-level den for the hours the door stays open
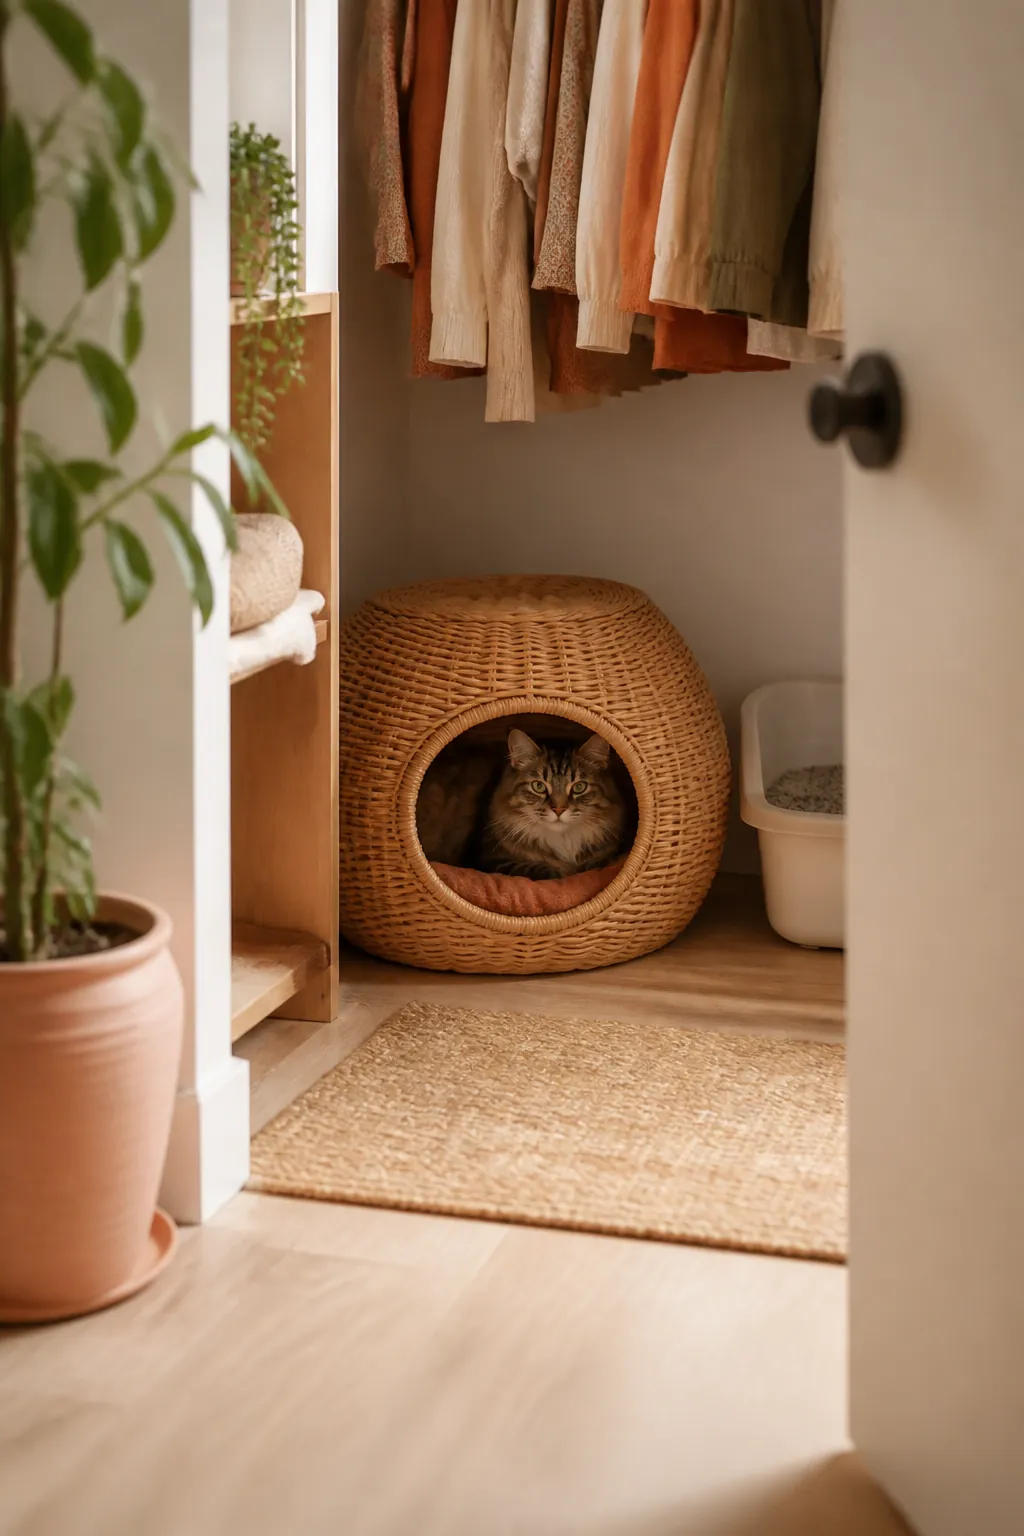
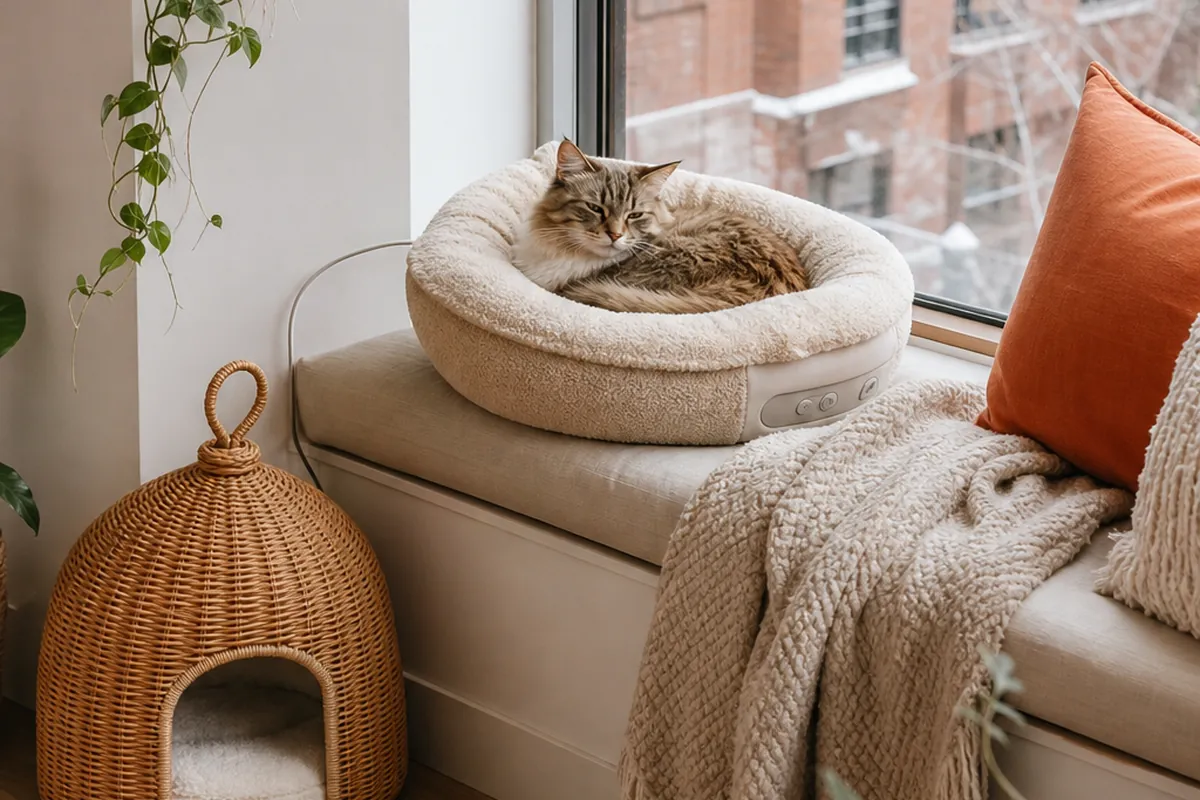
Height solves the climbing instinct, but a closet is also one of the few spots in a small apartment that is already dim, enclosed and quiet, which is exactly what a cat wants when it is not climbing. A rattan cat den set on the closet floor, clear of the litter box and the shelf’s base, gives that instinct somewhere to go without competing for the same square foot as everything else. Leave the closet door open or propped during the day; a den that only works with the door shut just becomes a second room nobody can get to. A closet handles resting and the box well but has no room for a running start, so the play half belongs out in the room, and these cat playroom ideas for a small apartment corner fit a tunnel and a straight run into one corner instead.
9. Protect the closet floor from litter and claws
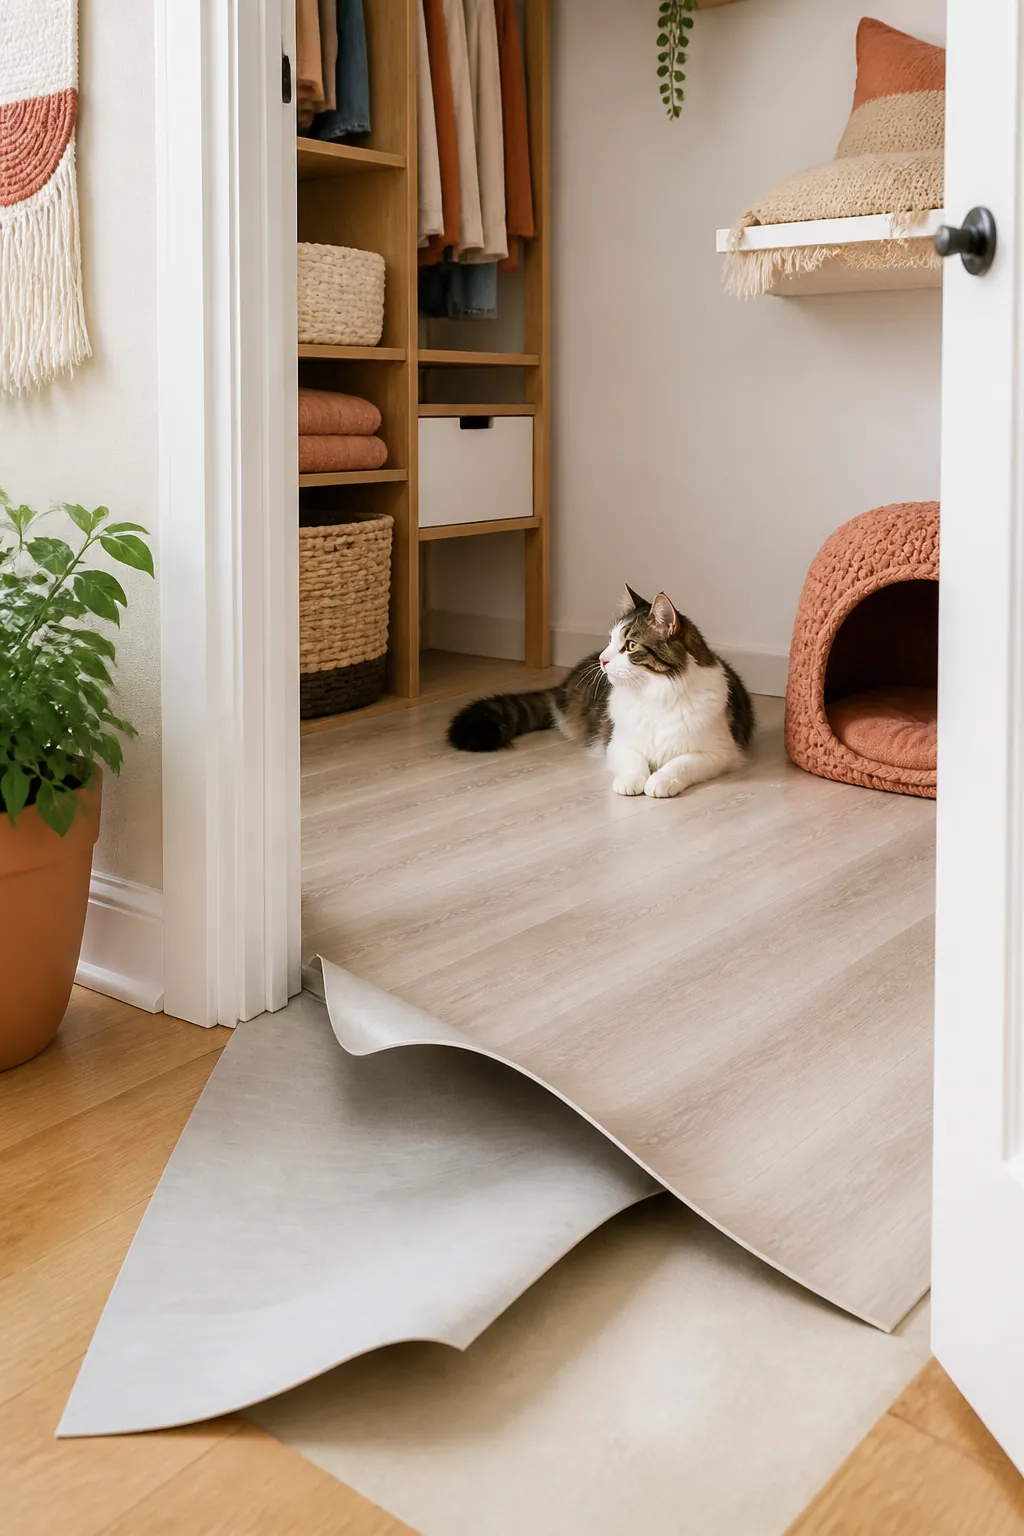
Most closet floors are the same carpet or bare subfloor as the rest of the room, built for shoe boxes and folded sweaters, not scattered litter and a scratching cat. A sheet of peel-and-stick vinyl flooring cut to the closet’s footprint, or a hard rubber-backed mat sized to the same dimensions, keeps litter from working into carpet fibers where a vacuum never fully reaches it. Buy enough to run wall to wall rather than just under the box; litter travels farther than the box’s own footprint once a cat starts digging.
10. Light the inside, since most closets have no fixture
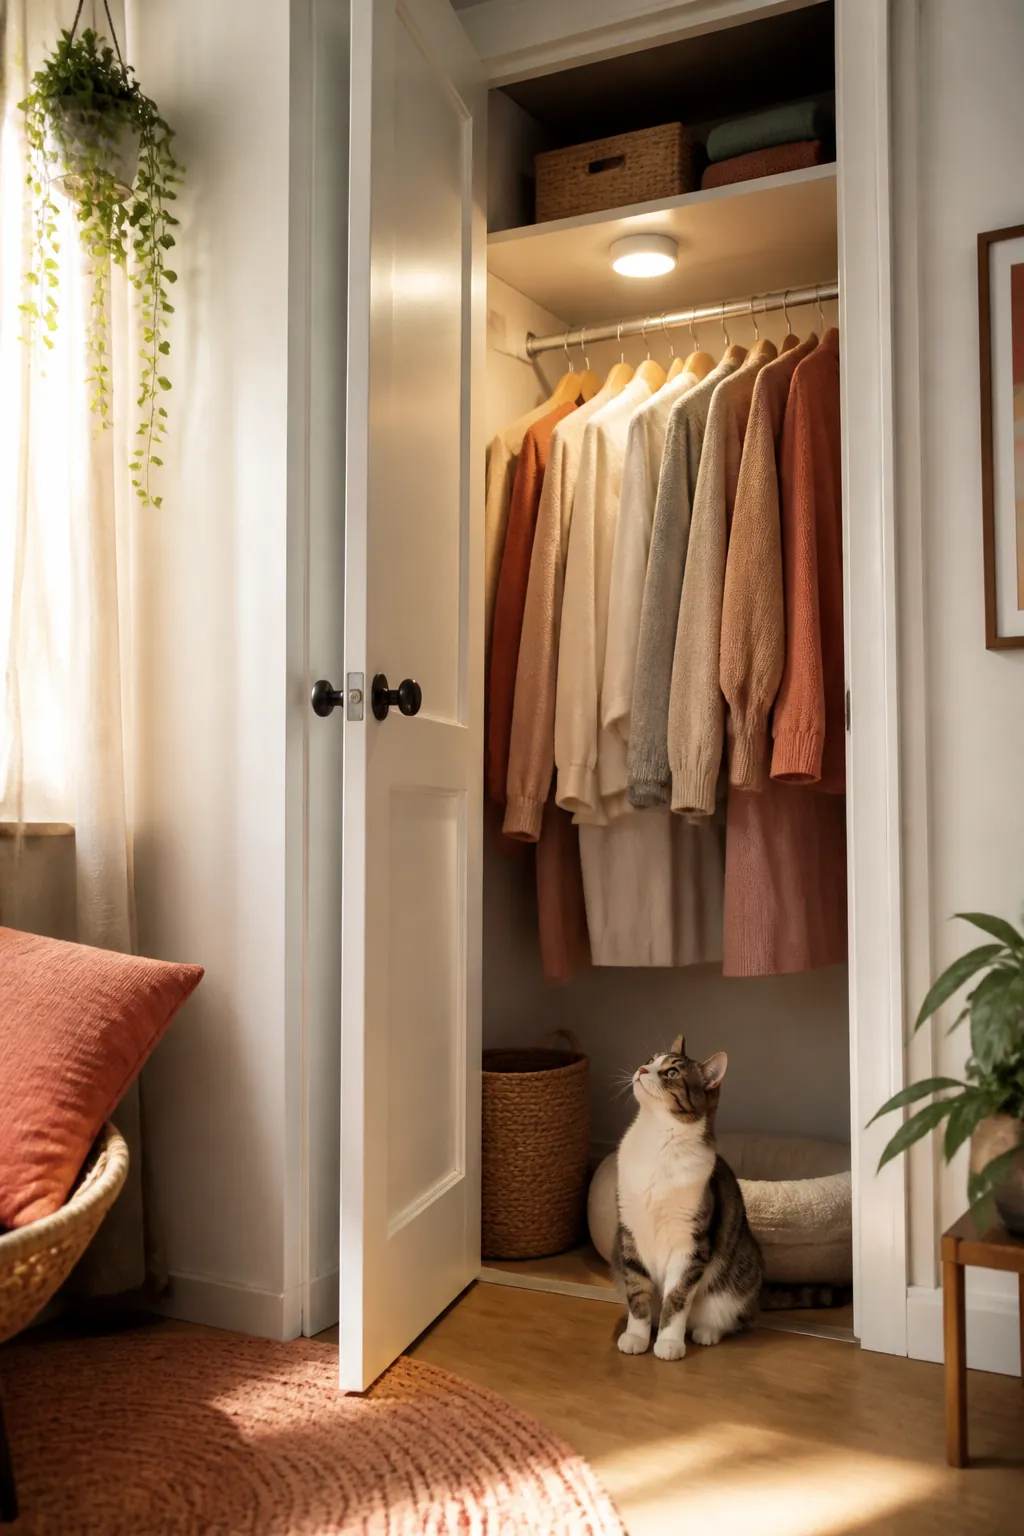
A reach-in closet built for clothes rarely has its own light, because nobody needed to see hanging shirts from across the room. A cat closet is used at night as often as during the day, and a dark enclosed box is a worse place to check on a litter box or coax a cat out than a lit one. Battery-powered puck lights with a motion sensor, stuck to the underside of the existing top shelf if there is one, solve this without an electrician or a landlord’s permission, and most run for months on a set of batteries since the motion sensor keeps them off the rest of the time.
11. Reuse the existing top shelf as the first platform, if there is one
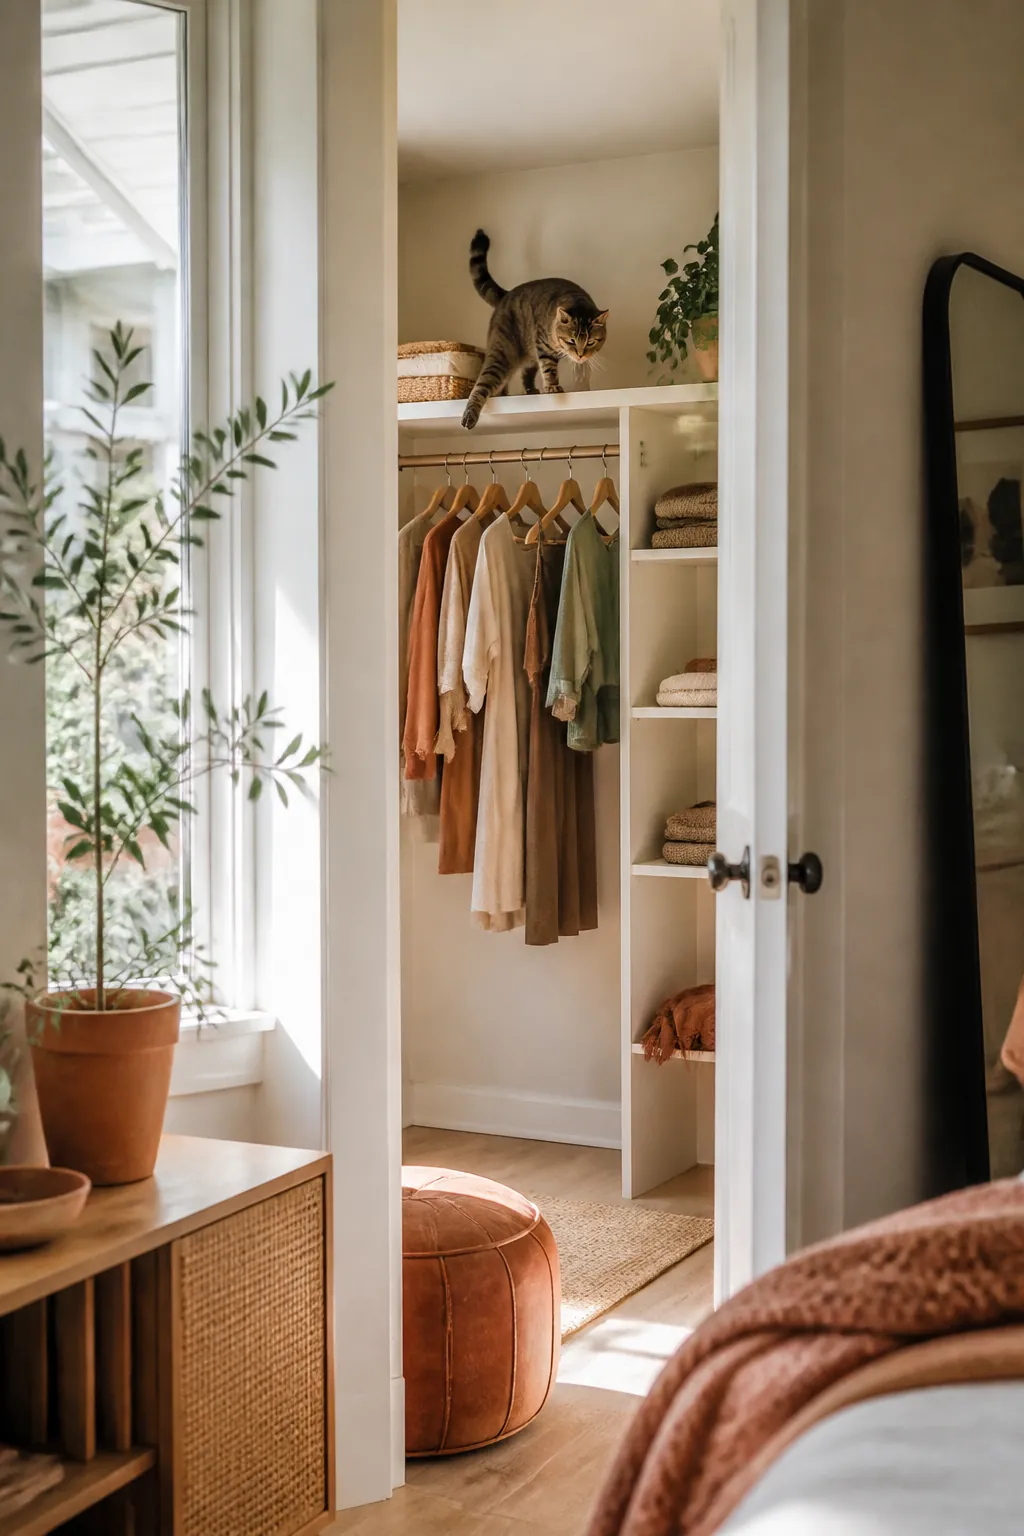
Most reach-in closets already have one built-in shelf above the rod, usually 12 to 14 inches deep, and it is already anchored properly because it came with the house. That shelf makes a strong first landing platform for a climbing run, at a height most new shelf kits are trying to reach anyway. Check it for wobble before trusting a cat’s full weight on it, since older closet shelves are sometimes held by nothing more than a cleat nailed into drywall rather than a stud, but if it is solid, building the rest of the run to meet it saves a bracket and a step.
12. Test the whole layout with the door open for a week before you drill anything
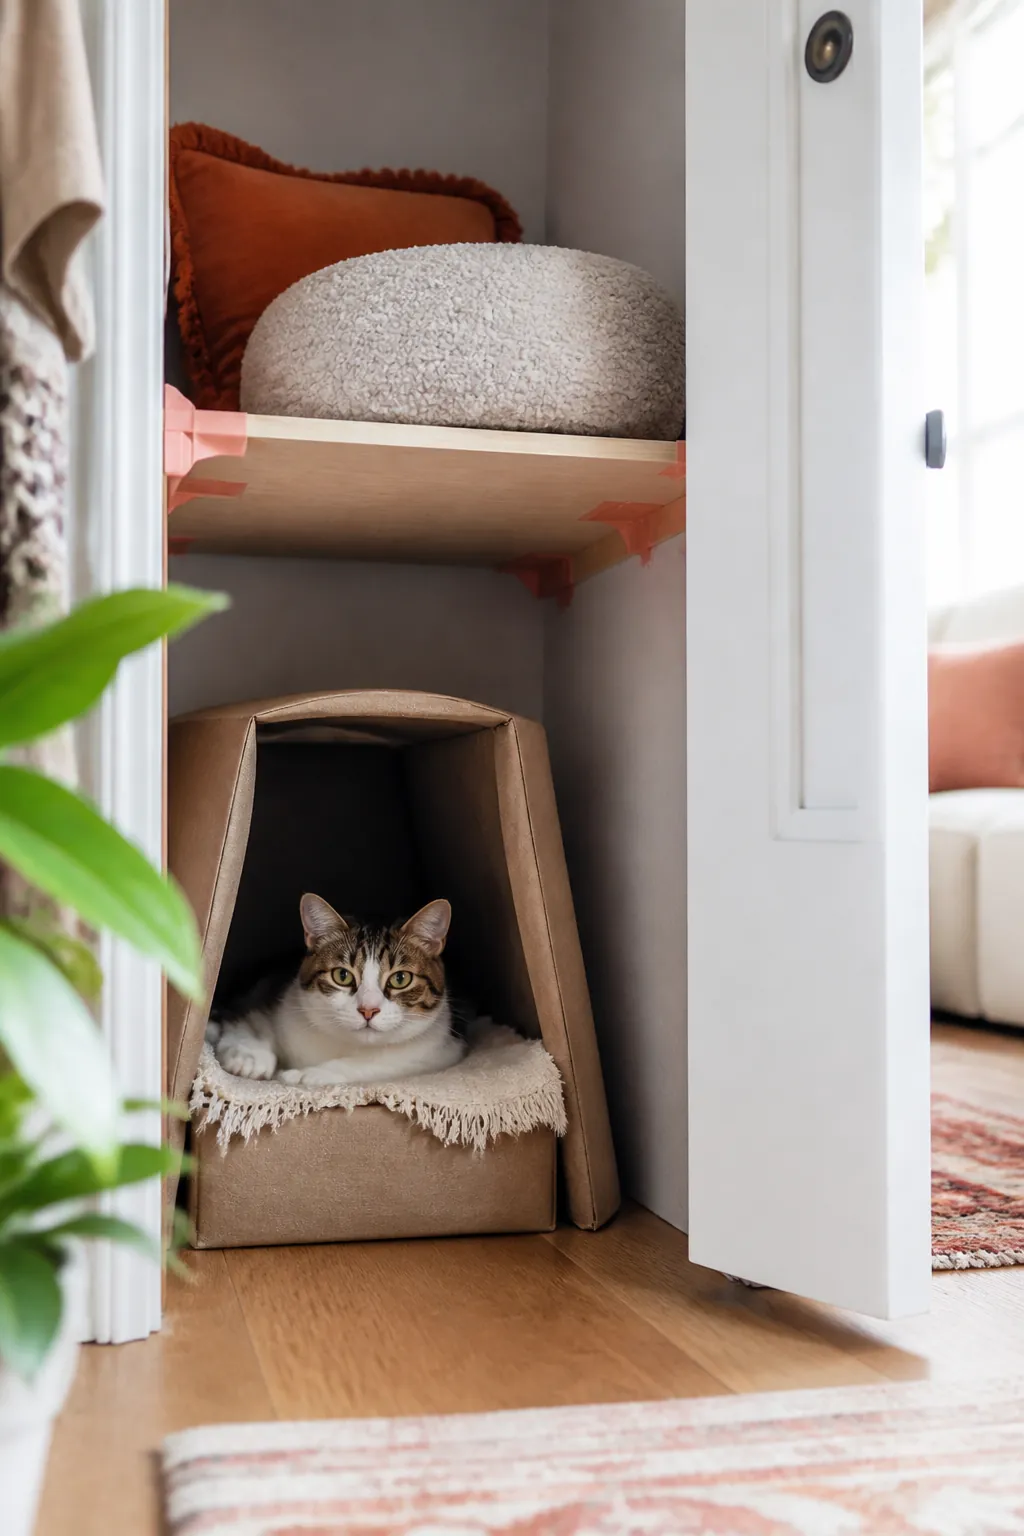
Set the den and a temporary shelf or box in place using nothing more than tape and good intentions, and leave the door open for a full week. Watch which spot the cat actually claims before committing a drill to a wall. A closet that looks perfectly laid out on paper sometimes gets used in exactly the opposite order, with the den becoming the climbing platform’s understudy and the shelf nearest the door getting all the traffic because that is the spot that catches a sliver of light from the room outside.
Where to start
Start with the tape measure, not the shopping cart. Get the closet’s clear width, depth and header height written down, and keep that note with you while you are comparing shelf kits, because a listing’s claimed length is the first thing to fail against a real closet.
Next, decide the door’s fate and bag anything you remove. That single step is what keeps this a weekend project instead of a conversation with a landlord.
Then build from the back forward: litter box against the back wall with its own airflow, the floor den in the clear middle, and the shelf run claiming the wall nearest the door where the light actually reaches. Test it loose for a week before anything goes in permanently.
A closet that was already too awkward to store much in rarely stays awkward once a cat has claimed it. It just becomes a room with a very specific door.