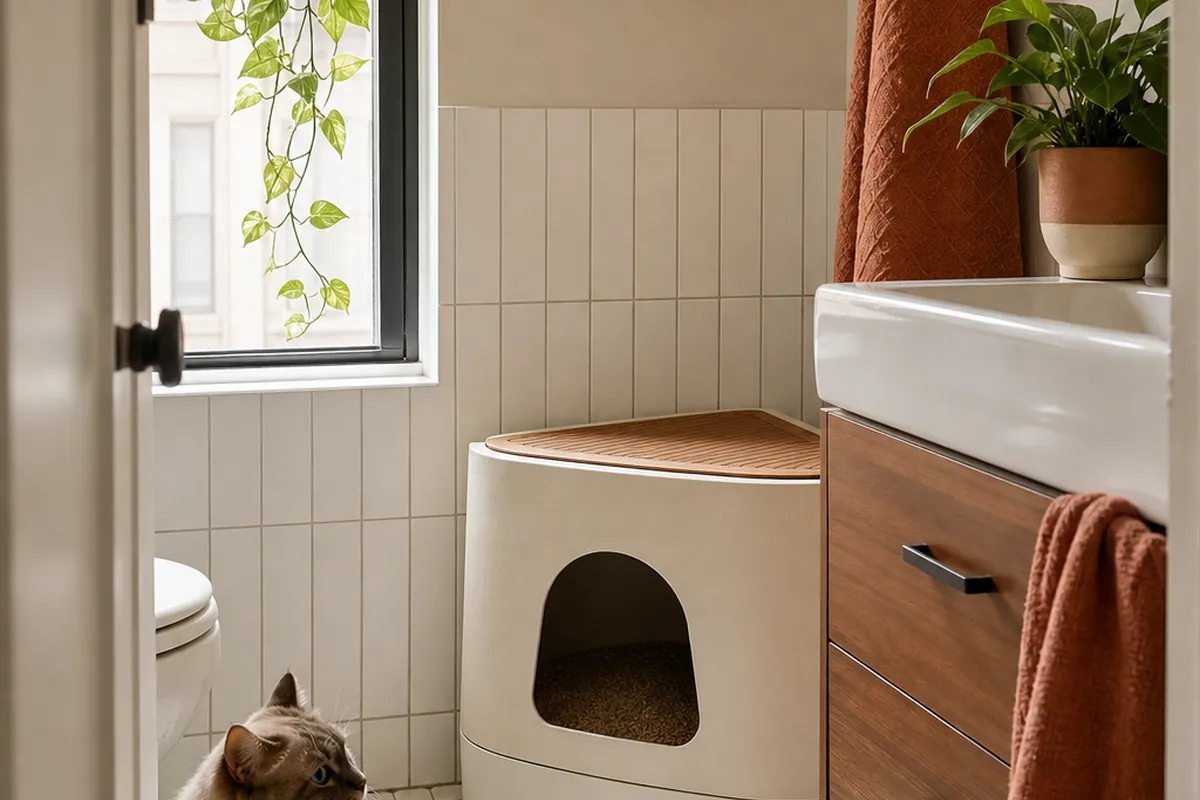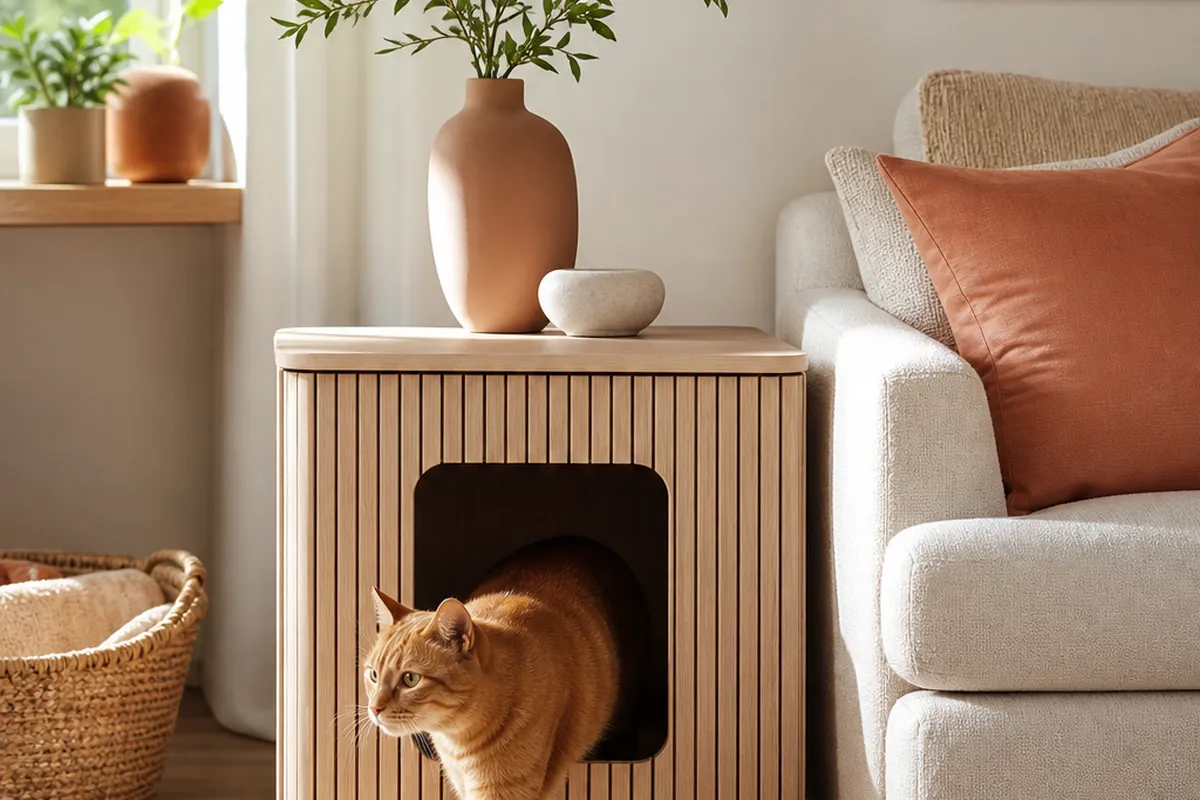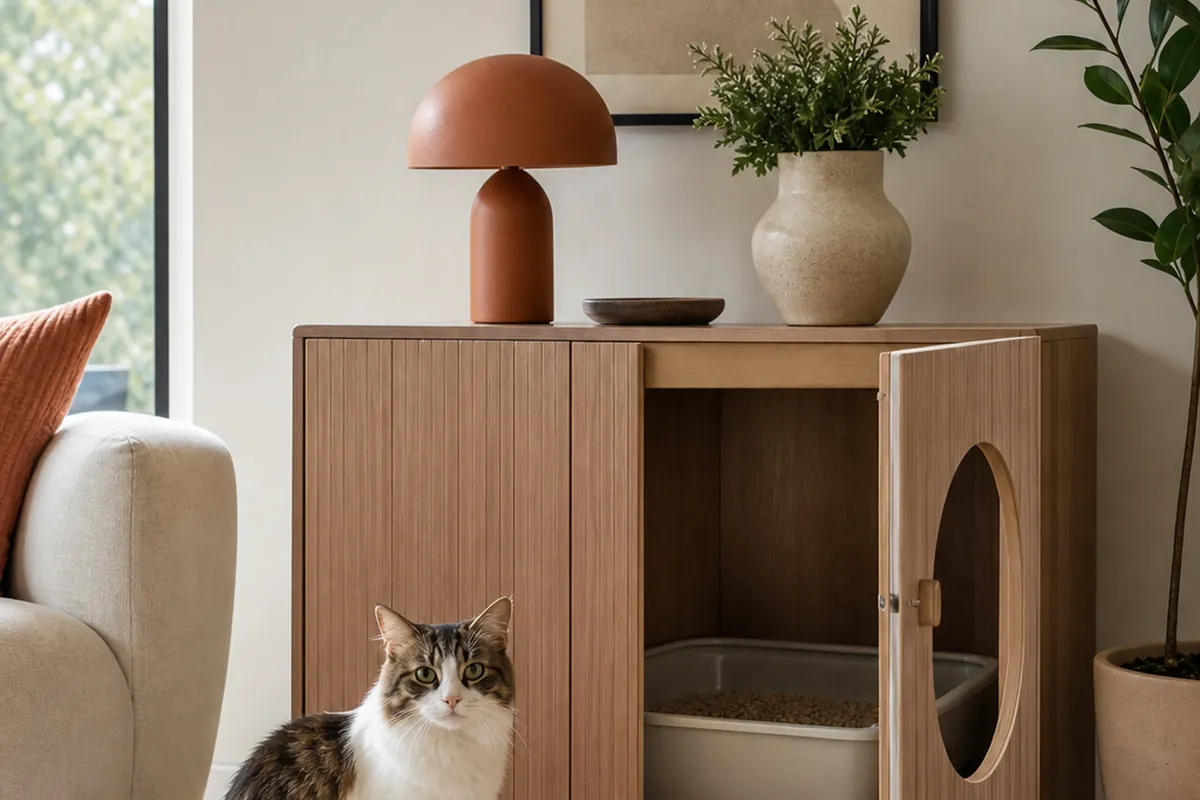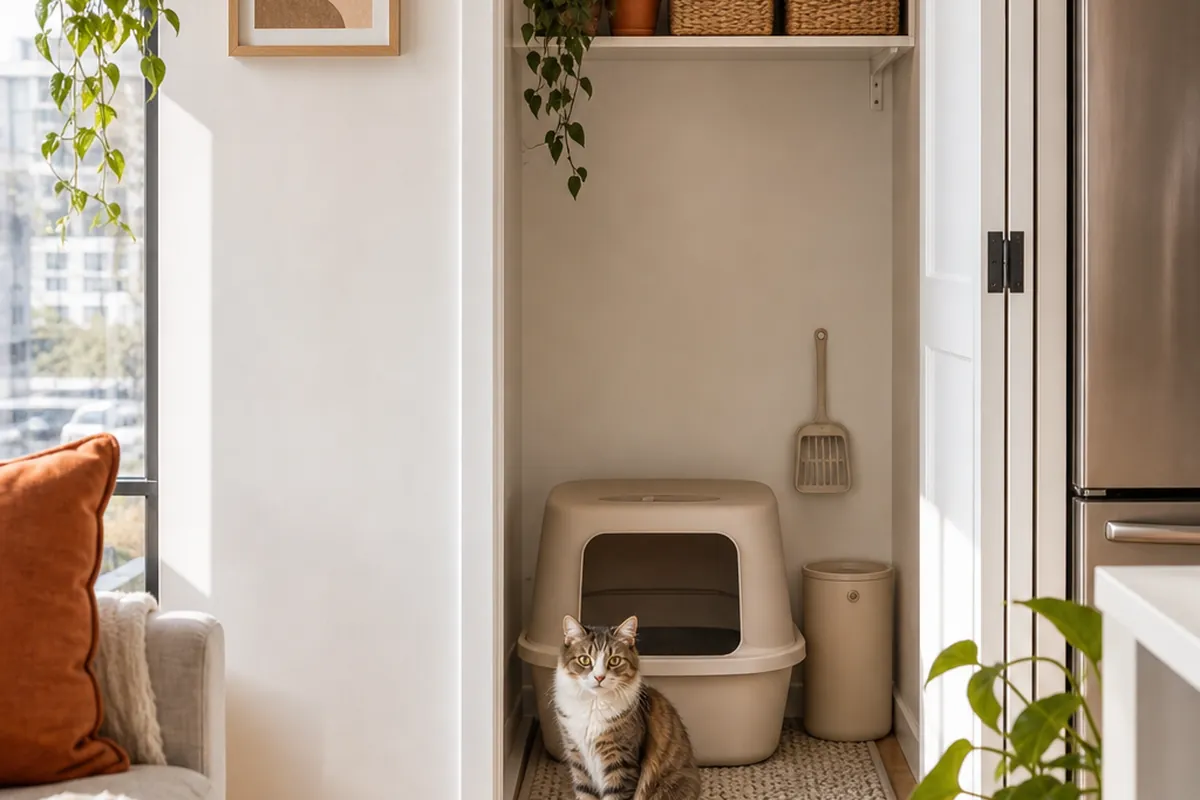
Most advice about litter smell is advice about litter, and that is why it disappoints. The box is one component in a small system that also includes where the waste goes, where the fresh litter lives, what the floor is made of and how many steps stand between you and a scoop. Fix the system and the box stops mattering much.
Ten ideas for the area around the box, roughly in the order they pay off.
1. Cut the distance between the scoop and the trash
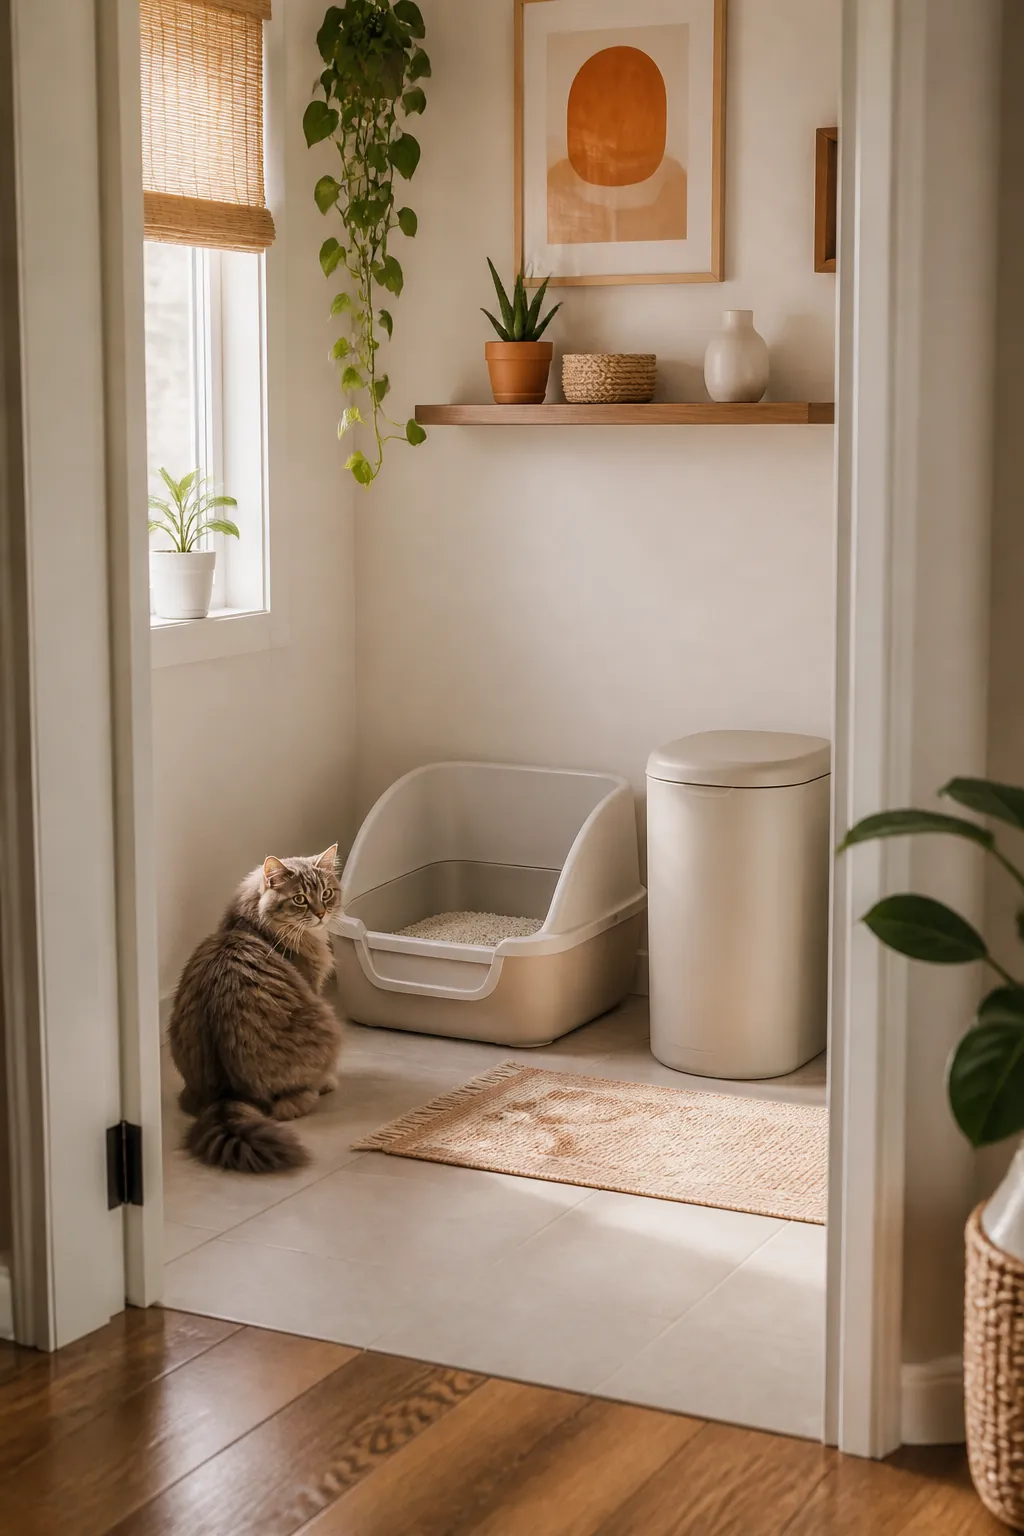
Every scoop you skip is a scoop that felt like a trip. If the waste has to travel to an outside bin, the job becomes a decision rather than a reflex, and decisions lose to a busy evening. A sealing litter disposal pail standing beside the box turns the whole task into about fifteen seconds, which is short enough that it happens without negotiation. This single change does more for odor than any product marketed at odor. The refills are the ongoing cost, so check what a cartridge covers before committing to a system, and empty the pail on a fixed day rather than when it stops sealing properly.
2. Keep the scoop where the box is
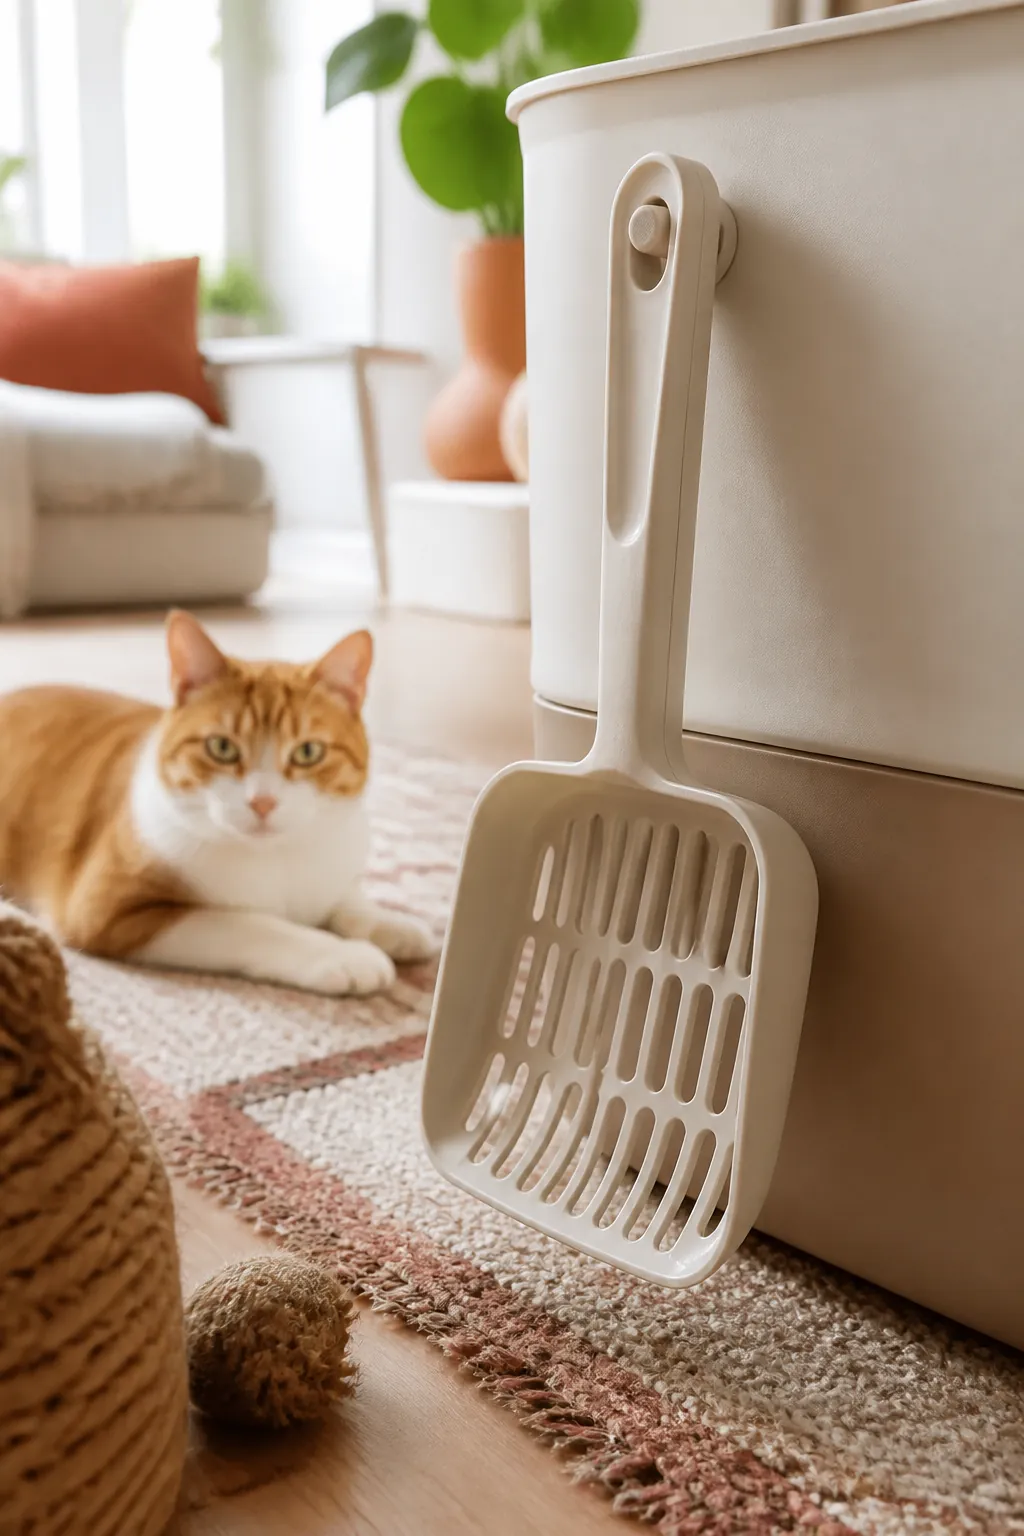
The same logic, one level down. A scoop that lives in a cabinet across the room adds a step, and steps are what erode routines. Hang it on a hook on the side of the enclosure or stand it in a small container beside the pail. It looks slightly less tidy and gets used considerably more often.
3. Store the litter sealed, not in the bag
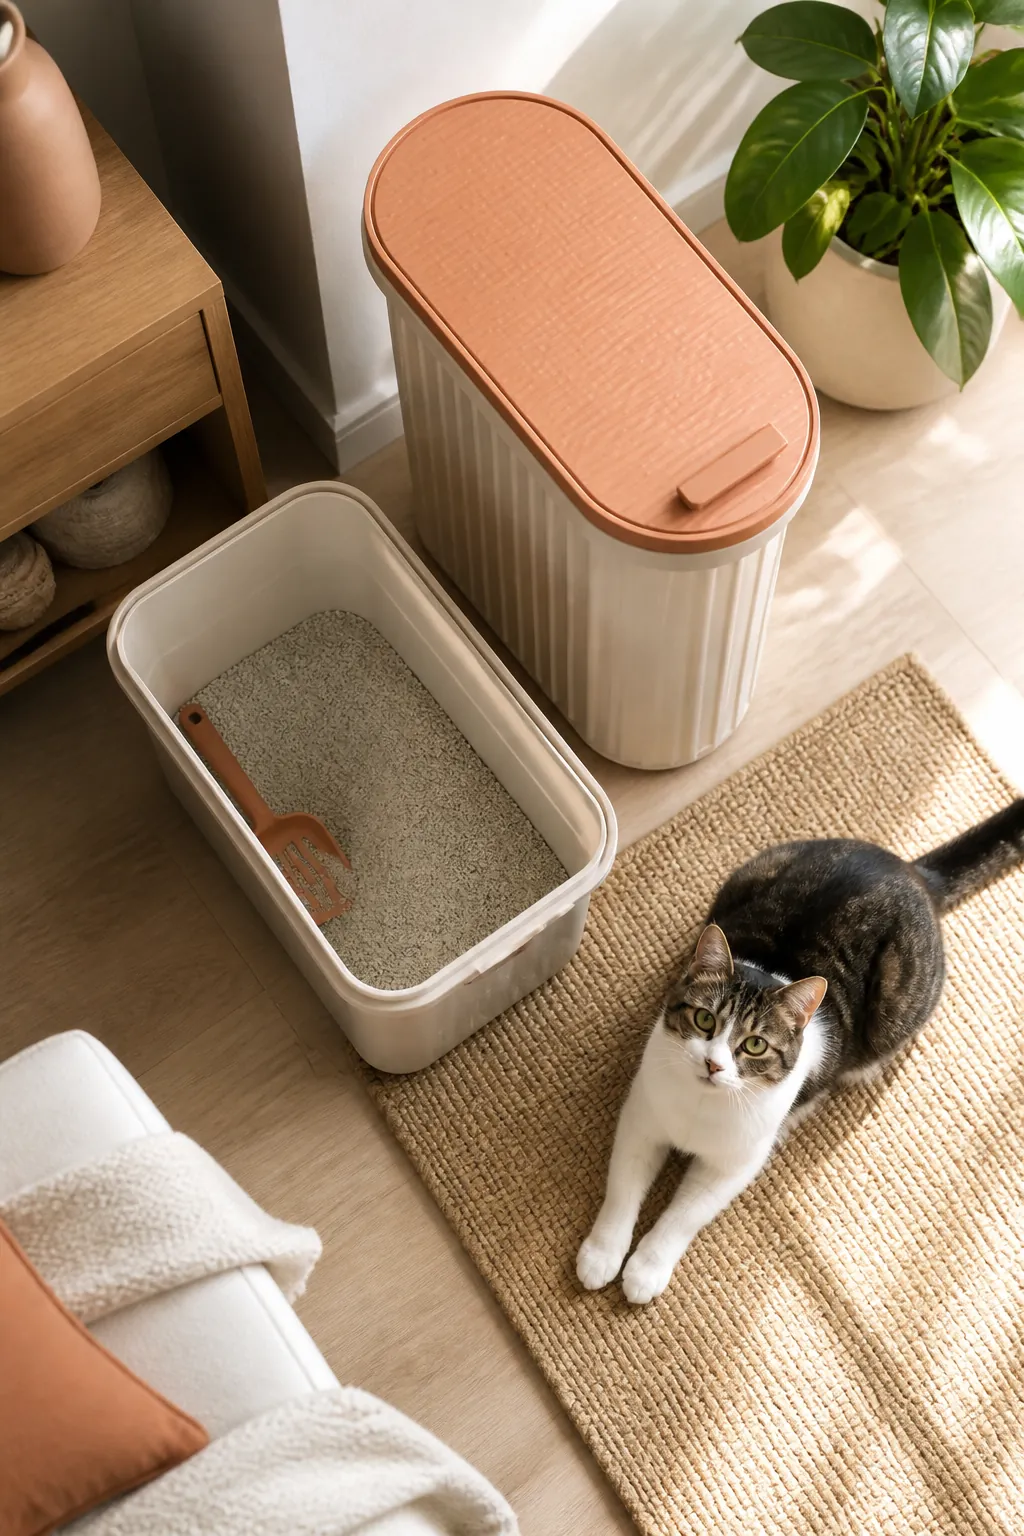
An open bag of litter in a humid bathroom absorbs moisture from the air, and damp litter clumps poorly, sticks to the pan and turns sour faster. A collapsible litter storage container with a rolling lid keeps it dry, pours without a funnel and folds flat when empty, which matters when the container itself has to live in a small bathroom. Keep it beside the box rather than in a closet, for the reason above.
4. Give the area hard, sealed flooring
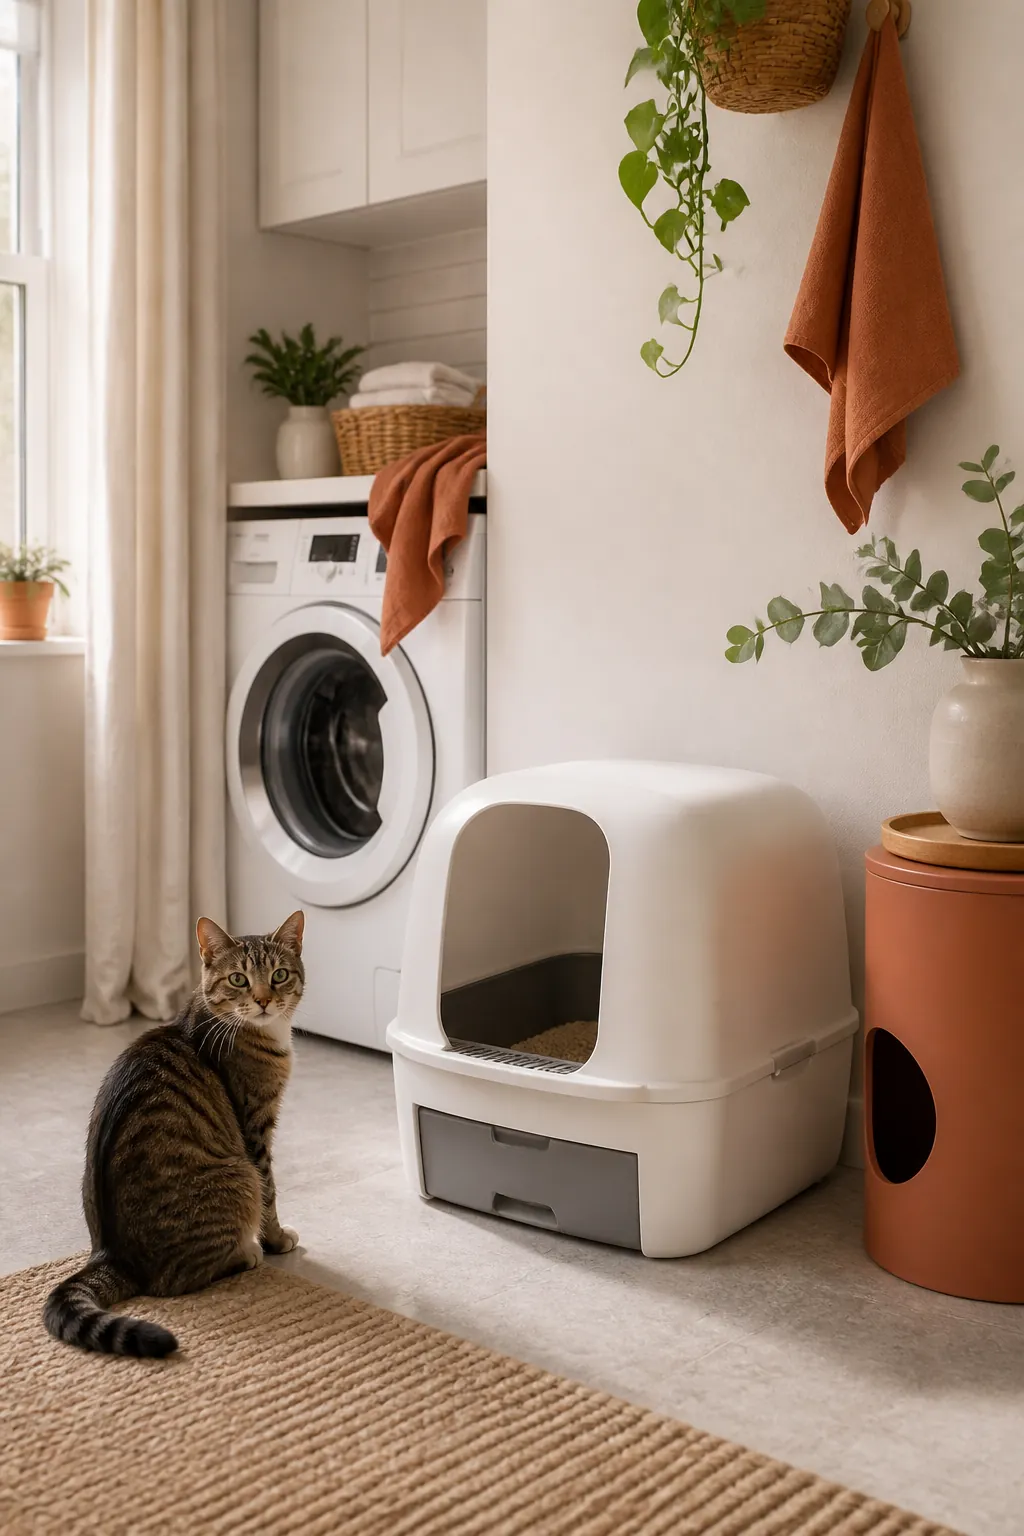
Anything that misses the box goes into whatever is underneath, and carpet is where that becomes permanent. Tile, vinyl and sealed wood all clean completely. If your only workable spot is carpeted, put down a hard waterproof tray or a sheet of vinyl larger than the whole station and treat that as the floor. In a rental this is a deposit question rather than a matter of taste.
5. Catch tracking in the first three steps
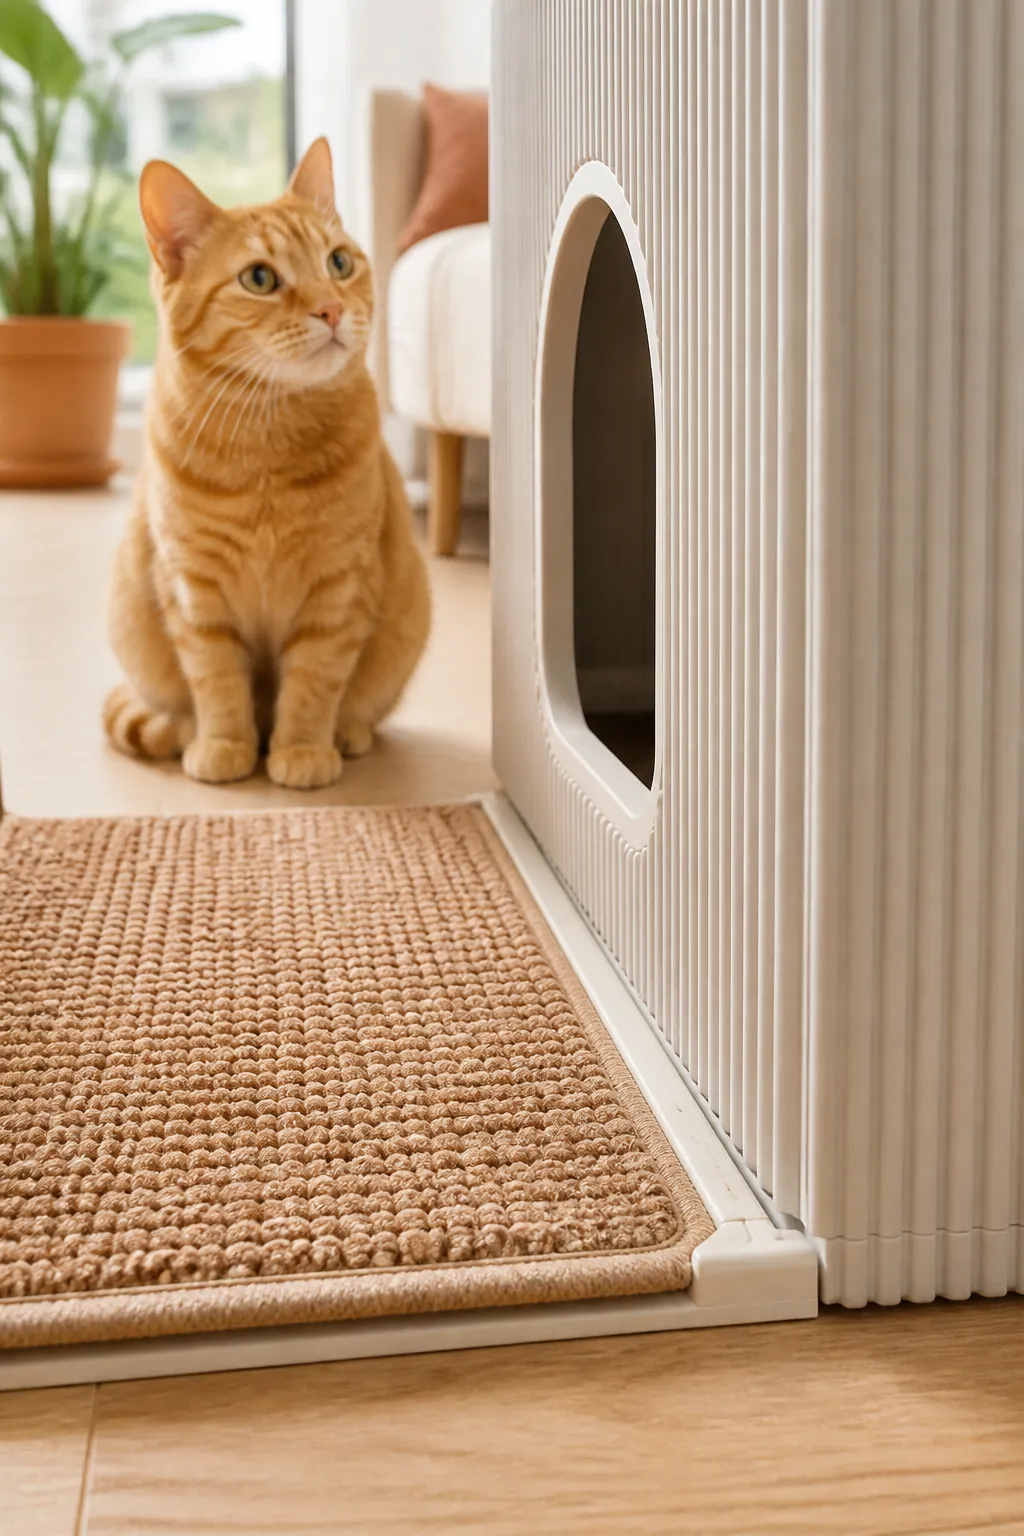
Litter travels a short distance on paws and then falls, which means the mat only works if it is where the paws land. Flush against the exit, not a foot away. A large mat placed slightly wrong catches less than a small one placed right, and this is the most common reason people conclude that mats do not work. Check it lies flat as well. A mat that curls at the edge becomes something the cat steps over rather than onto, which removes the only job it had. Weight the corners or trim it to fit the alcove rather than letting it ride up against a baseboard.
6. Choose a spot with air movement
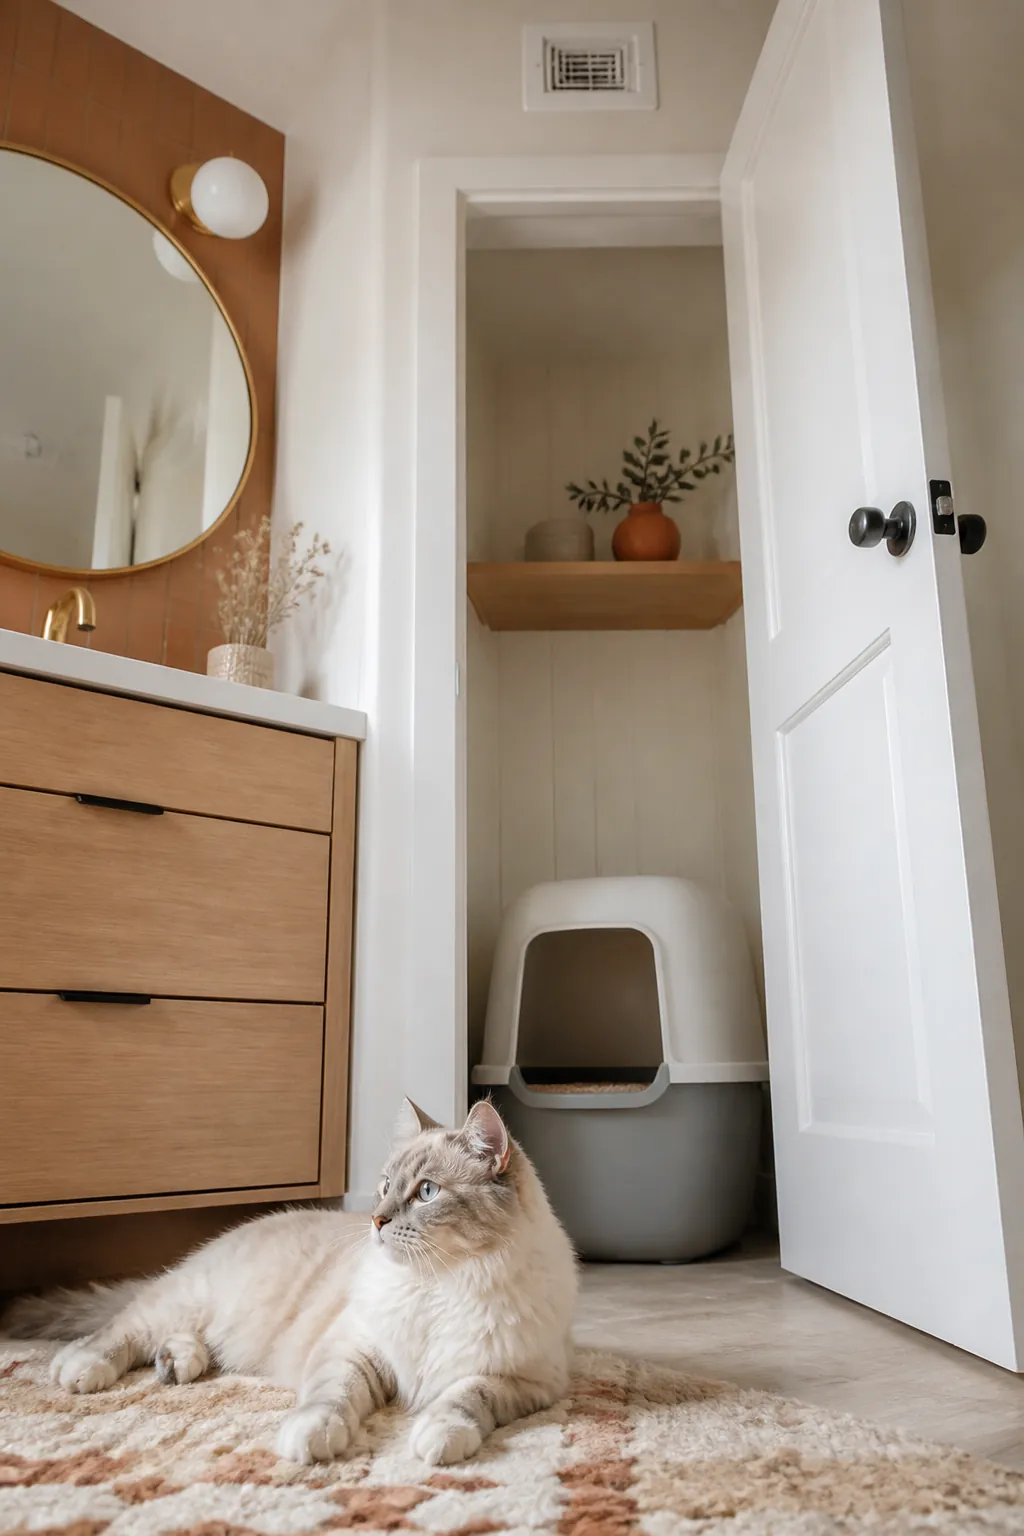
A bathroom with an extractor fan, a laundry nook with a vent, a hallway that connects two rooms. Air that moves takes odor with it. A sealed closet with the door shut does the opposite, concentrating everything into a pocket that greets you when the door opens. If you are choosing between two otherwise equal spots, take the one with airflow.
7. Add a small purifier for what is left over
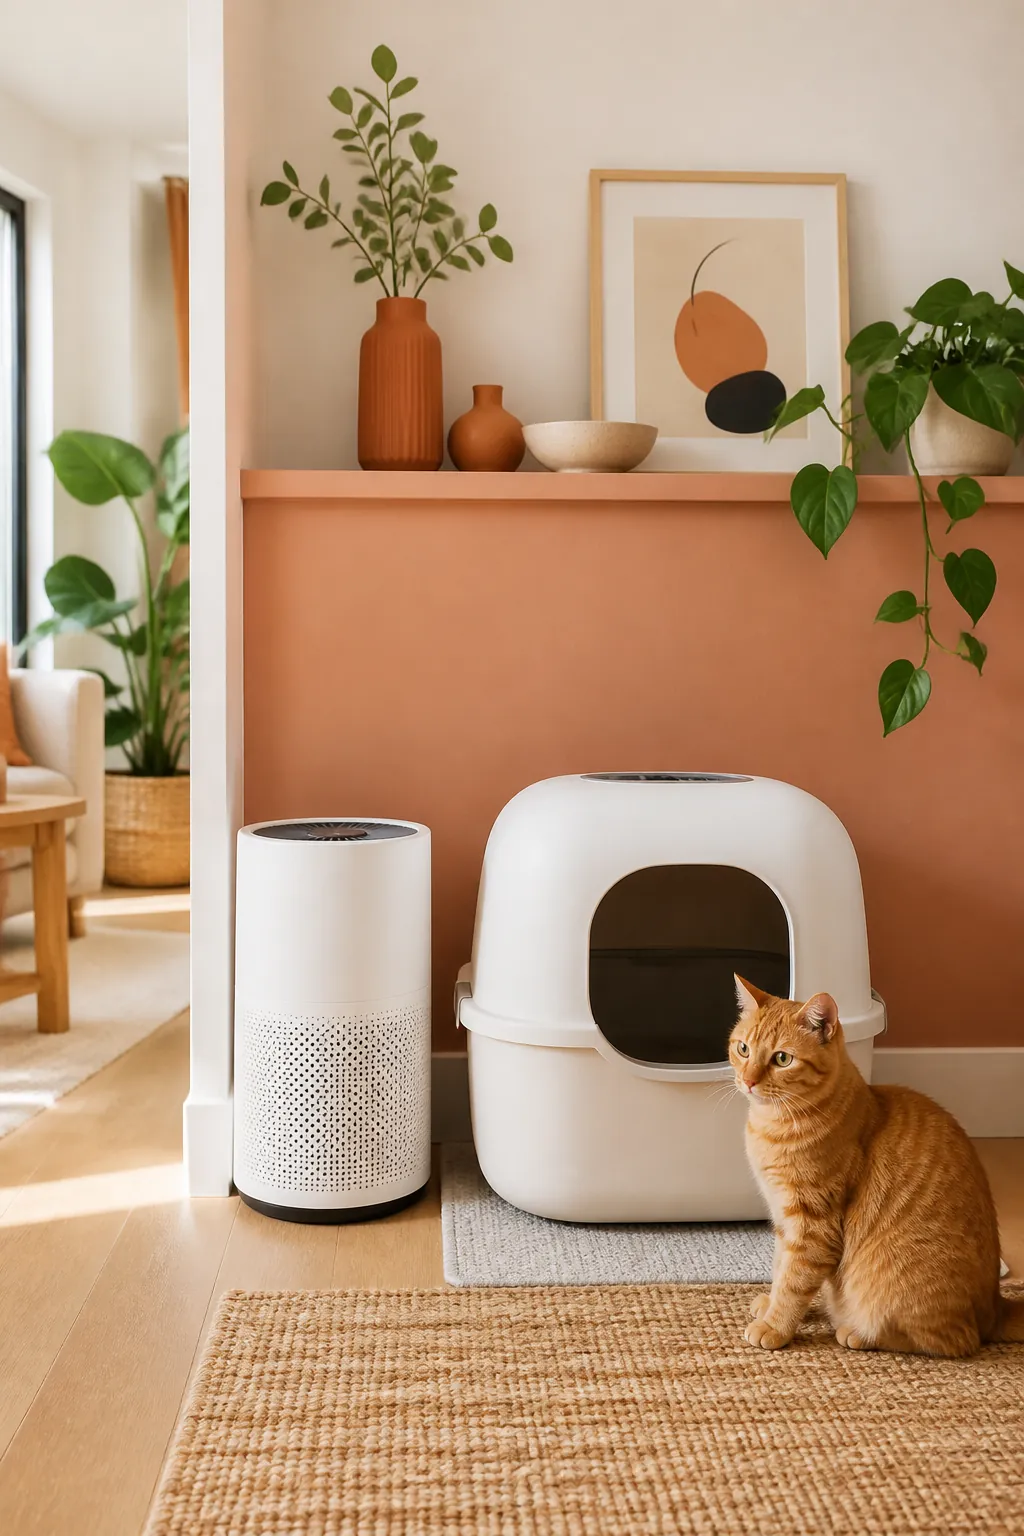
Once scooping, storage and airflow are handled, a compact purifier with a carbon stage cleans up the residue. A small purifier sized for a bathroom or nook is quiet enough to leave running and cheap enough to run continuously. Put it near the box rather than across the room, and understand what it is for: it is the last few percent, and it will not rescue a box that needs scooping.
8. Do not seal the area to hide it
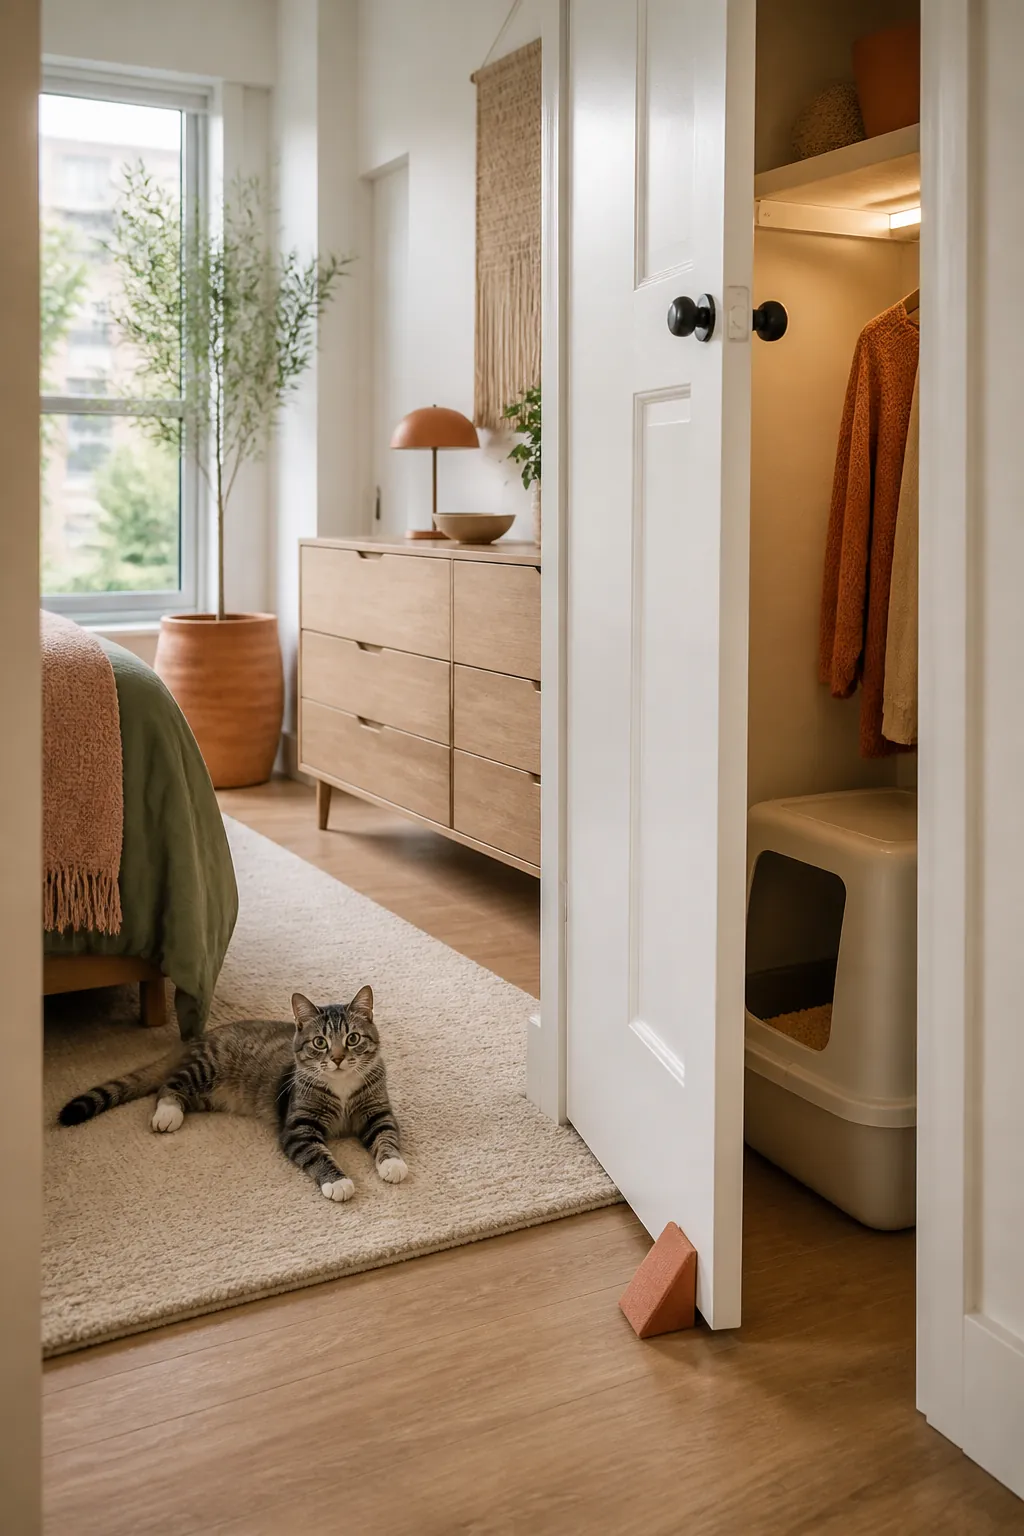
There is a strong instinct to shut the litter area away behind a closed door, and it backfires twice. It cuts the airflow that was working for you, and it puts a barrier between the cat and the box that can close accidentally. If the door has to be shut, fit a wedge or a hook so it cannot latch, and cut a vent low in the panel. A cat that finds the box unreachable once will find somewhere else, and that somewhere else becomes the new habit. Habits formed this way are stubborn, because the cat is not misbehaving, it is using the solution it found when yours was unavailable.
9. Give one cat two boxes if the layout allows
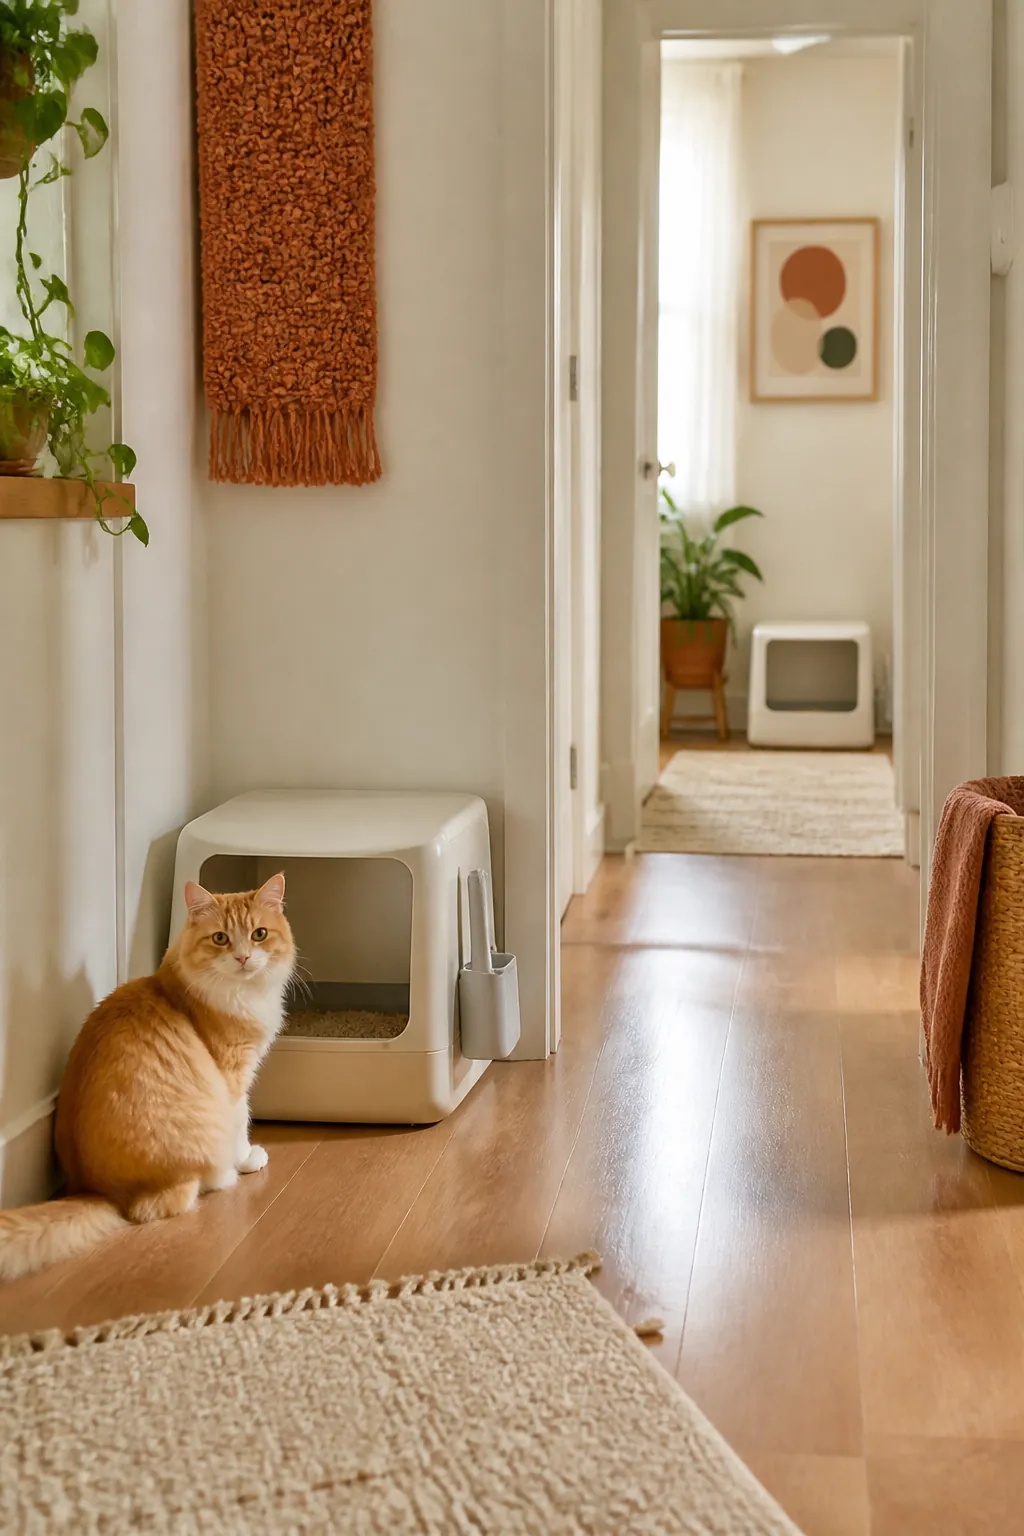
One per cat plus one is the standard guidance and small homes treat it as impossible. It usually is not. A second box in a different room halves how hard each one works, which means each stays acceptable longer between scoops. It also gives you a fallback when the first becomes unusable, whether that is a delivery blocking the hallway or a door that swung shut. Two adequate boxes beat one immaculate one. Put them in different rooms rather than side by side, since two boxes in the same corner function as one large box with the same single approach, and that defeats most of the point.
10. Clean the box itself on a schedule, not on demand
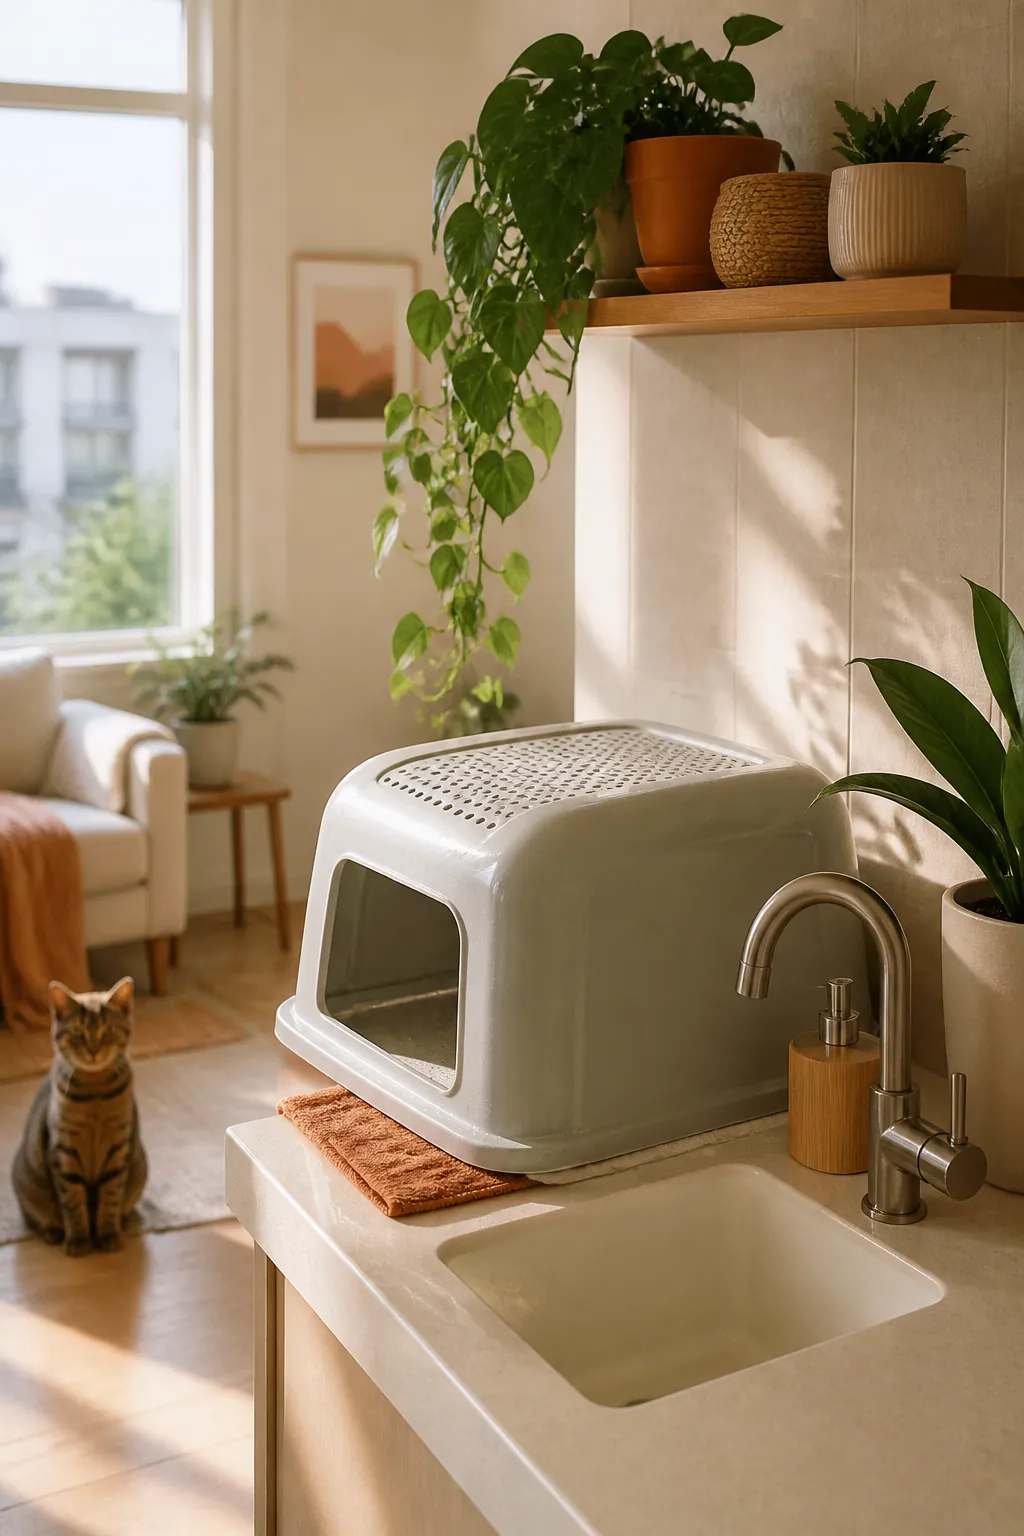
Scooping removes what is on top. The pan underneath still accumulates residue in the corners and along the scratch marks, and that residue is what makes a scooped box still smell. Wash it with plain hot water and unscented soap every few weeks, and replace the pan itself once the interior is visibly scratched, because scratches hold odor no matter how well you clean. Skip anything citrus or ammonia based, since cats avoid both and one of them smells like a reason to go elsewhere. Rinse thoroughly and dry the pan completely before the litter goes back in, because damp litter at the bottom of a clean box clumps into a layer you cannot scoop.
Where to start
Do the free things first, because they carry most of the result. Move the box to hard floor with air movement and two approaches. Put the scoop within arm’s reach of it. Set the mat flush against the exit rather than near it. Those three changes cost nothing and take ten minutes, and they are worth doing before you spend anything, because they also tell you whether the spot you picked is workable at all.
Then buy in this order. The disposal pail first, because shortening the trip is what makes daily scooping stick. The sealed litter container second, because it protects the litter you already pay for and stops the bag sagging in a corner. The purifier last, once the routine is running, so you can actually tell whether it is doing anything.
Give any change two weeks before judging it. Odor complaints usually build slowly and fade slowly, and the useful signal is not how the room smells on the day you rearrange it but whether you are still scooping daily two weeks later. If you are, the system fits your life. If you are not, the fix is another step removed rather than another product added.