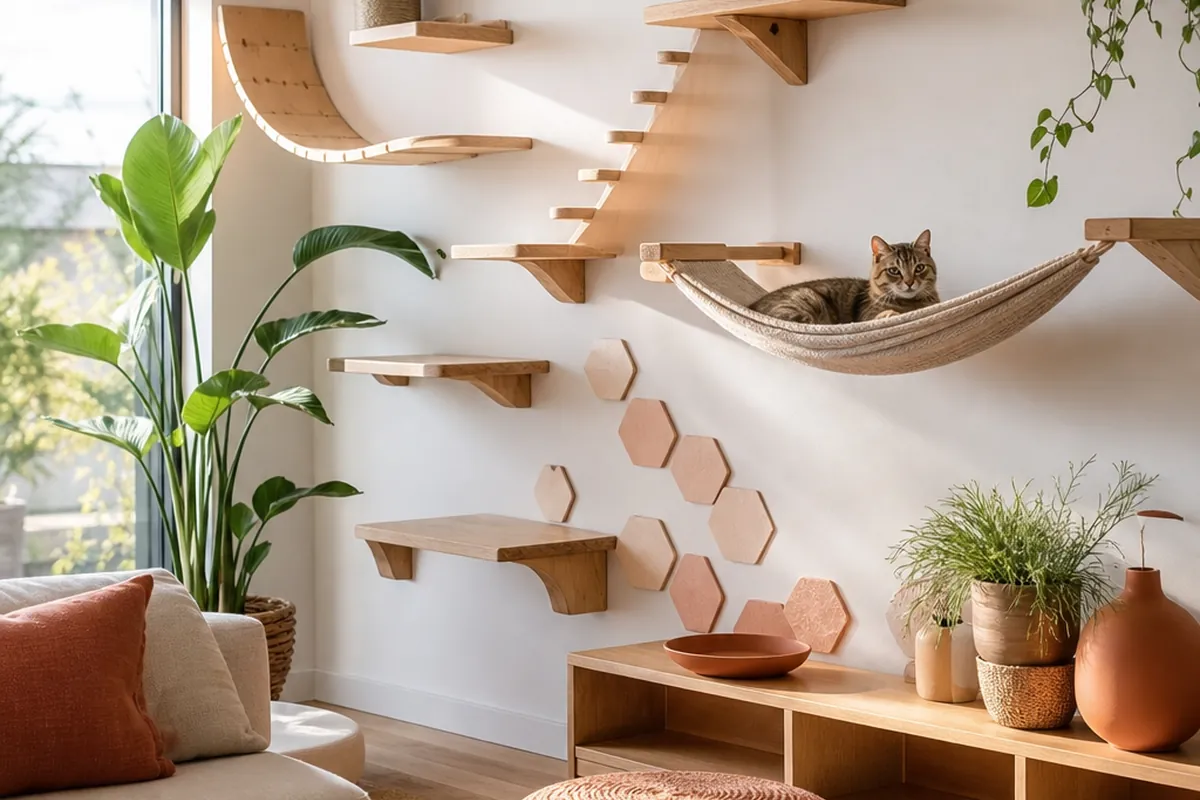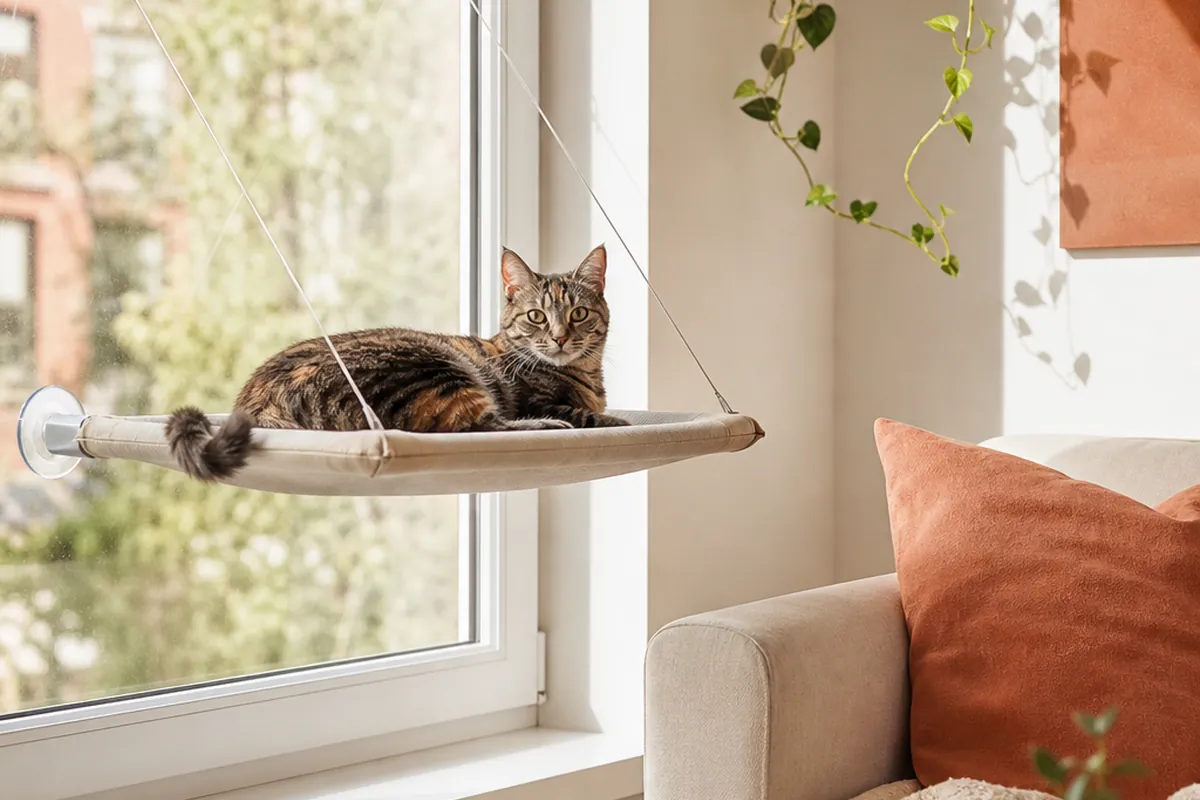
A wall of cat shelves is one of the few pet purchases where the hardware is the easy part. Anyone can hang a shelf. What separates a wall cats actually live on from an expensive decoration is the route: where it starts, how far apart the steps are, what the surfaces feel like under a landing paw, and how the cat gets down without committing to a jump.
Sixteen things to get right, starting with the ones you decide before drilling anything.
1. Plan the route before you plan the shelves
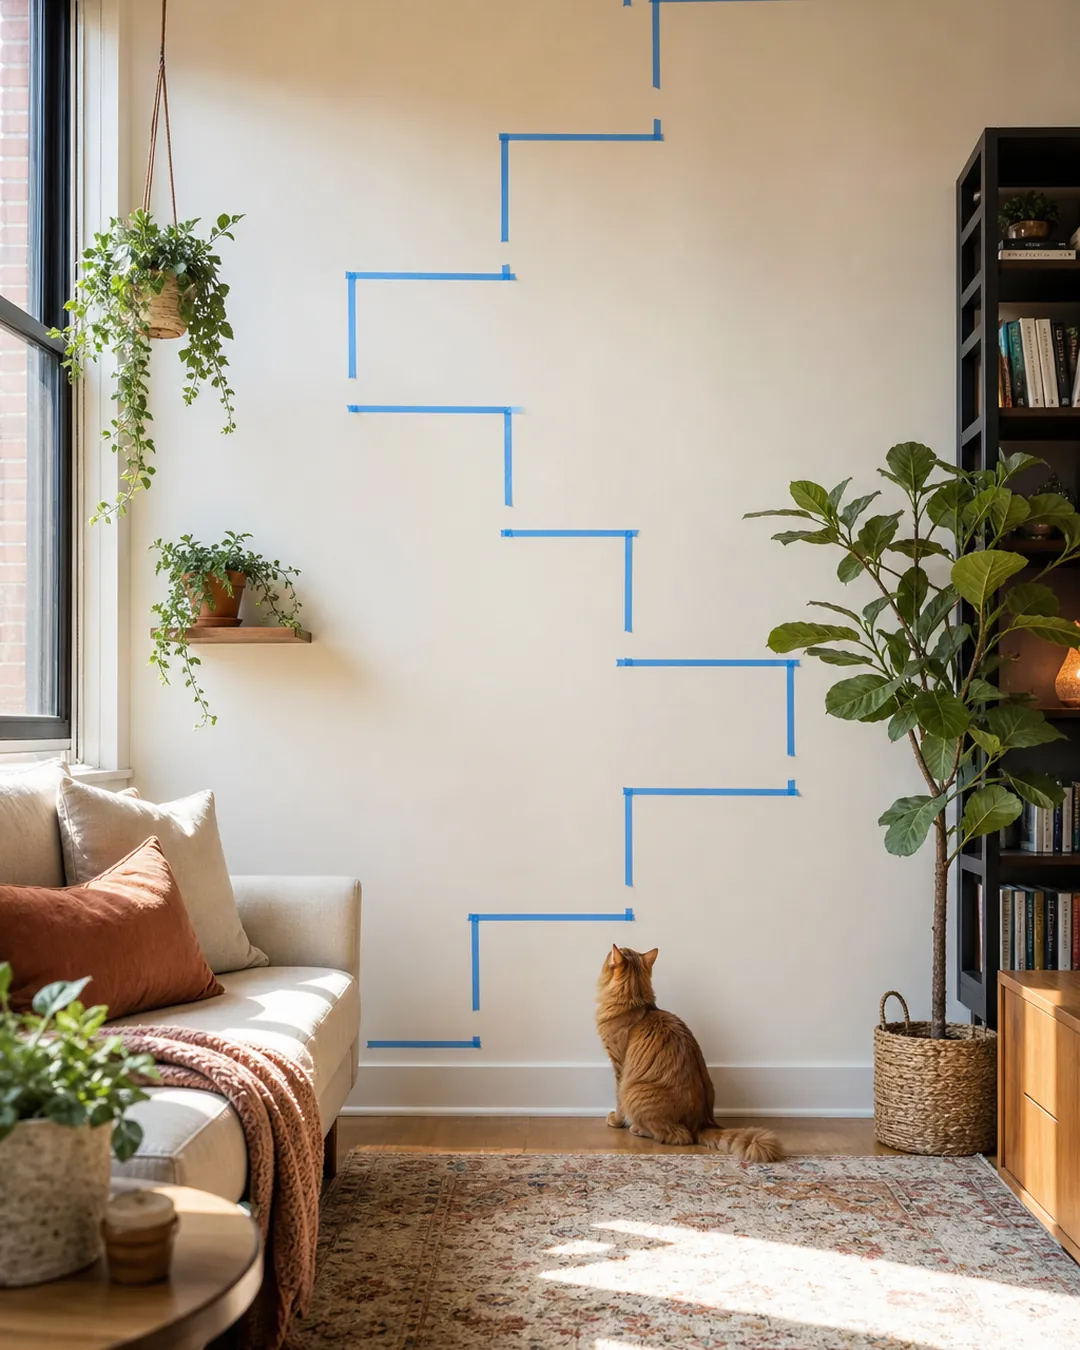
Draw the path on the wall with painter’s tape first. Where does the cat get on, where does it go, and where does it end up? A route is a sequence, and a shelf that is not part of one is just a ledge. Ten minutes of tape saves an afternoon of patching. Leave the tape up overnight and watch what the cat does with it, because cats investigate changes to a wall and you will learn where the natural entry point is without guessing.
2. Start the climb from furniture that already exists
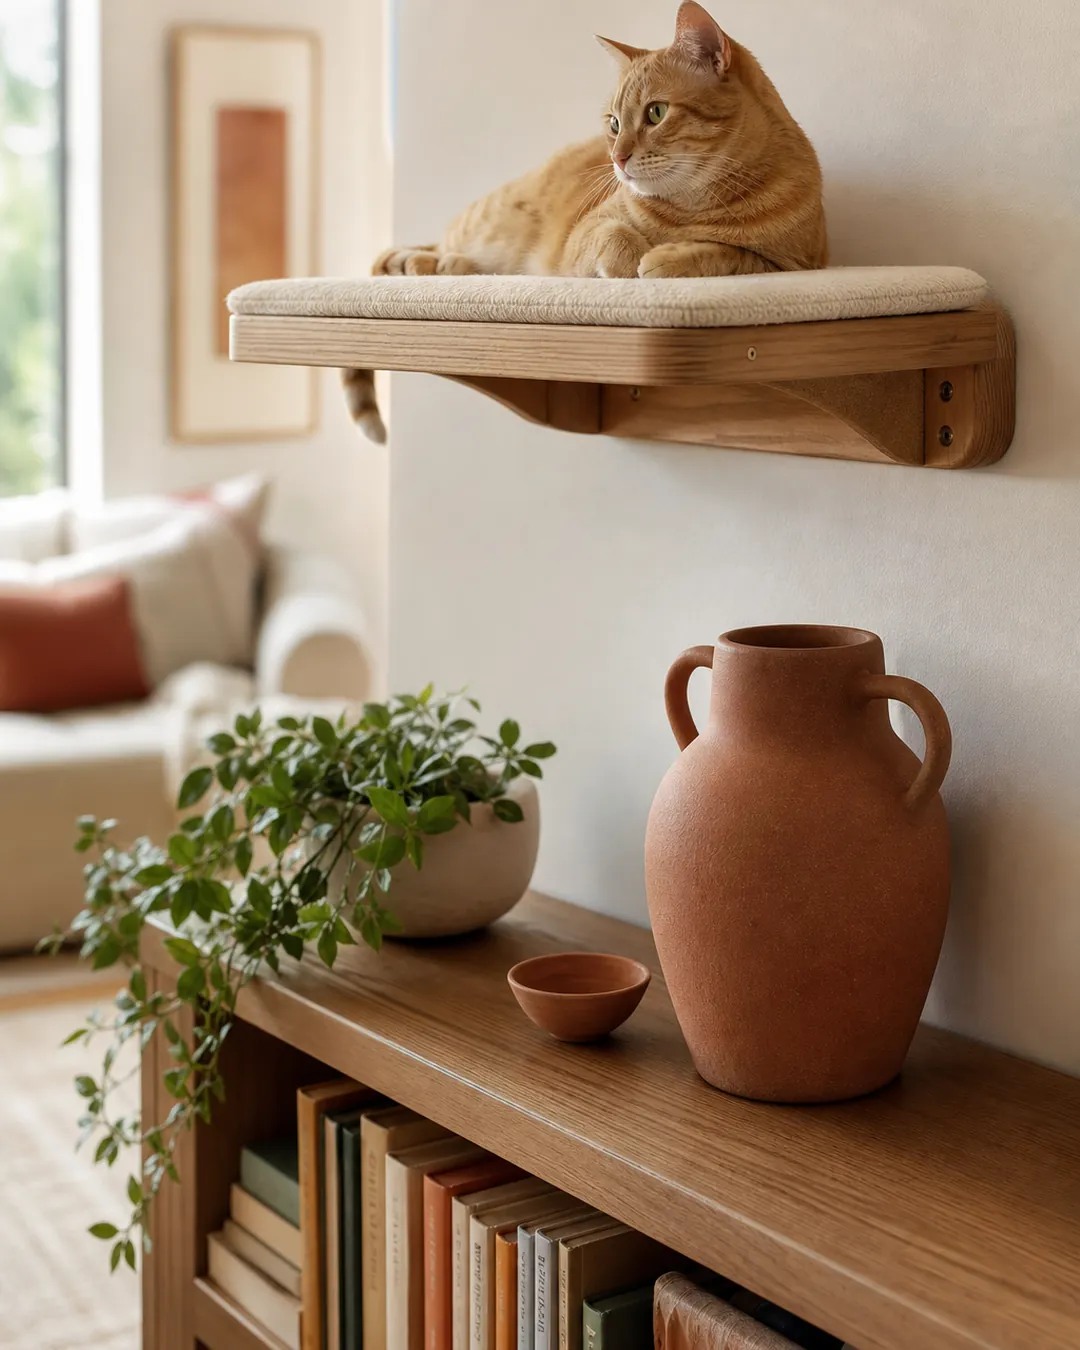
Cats prefer an intermediate step to a standing jump. Begin the route at the arm of a sofa, the top of a bookcase or a windowsill the cat already uses. A first shelf placed at chest height with nothing below it asks for a commitment most cats decline. If nothing suitable sits near the wall you want to use, move a sturdy storage box or an ottoman there permanently rather than raising the first shelf, since the entry is the step that determines whether the rest ever gets used.
3. Keep the rise between steps modest
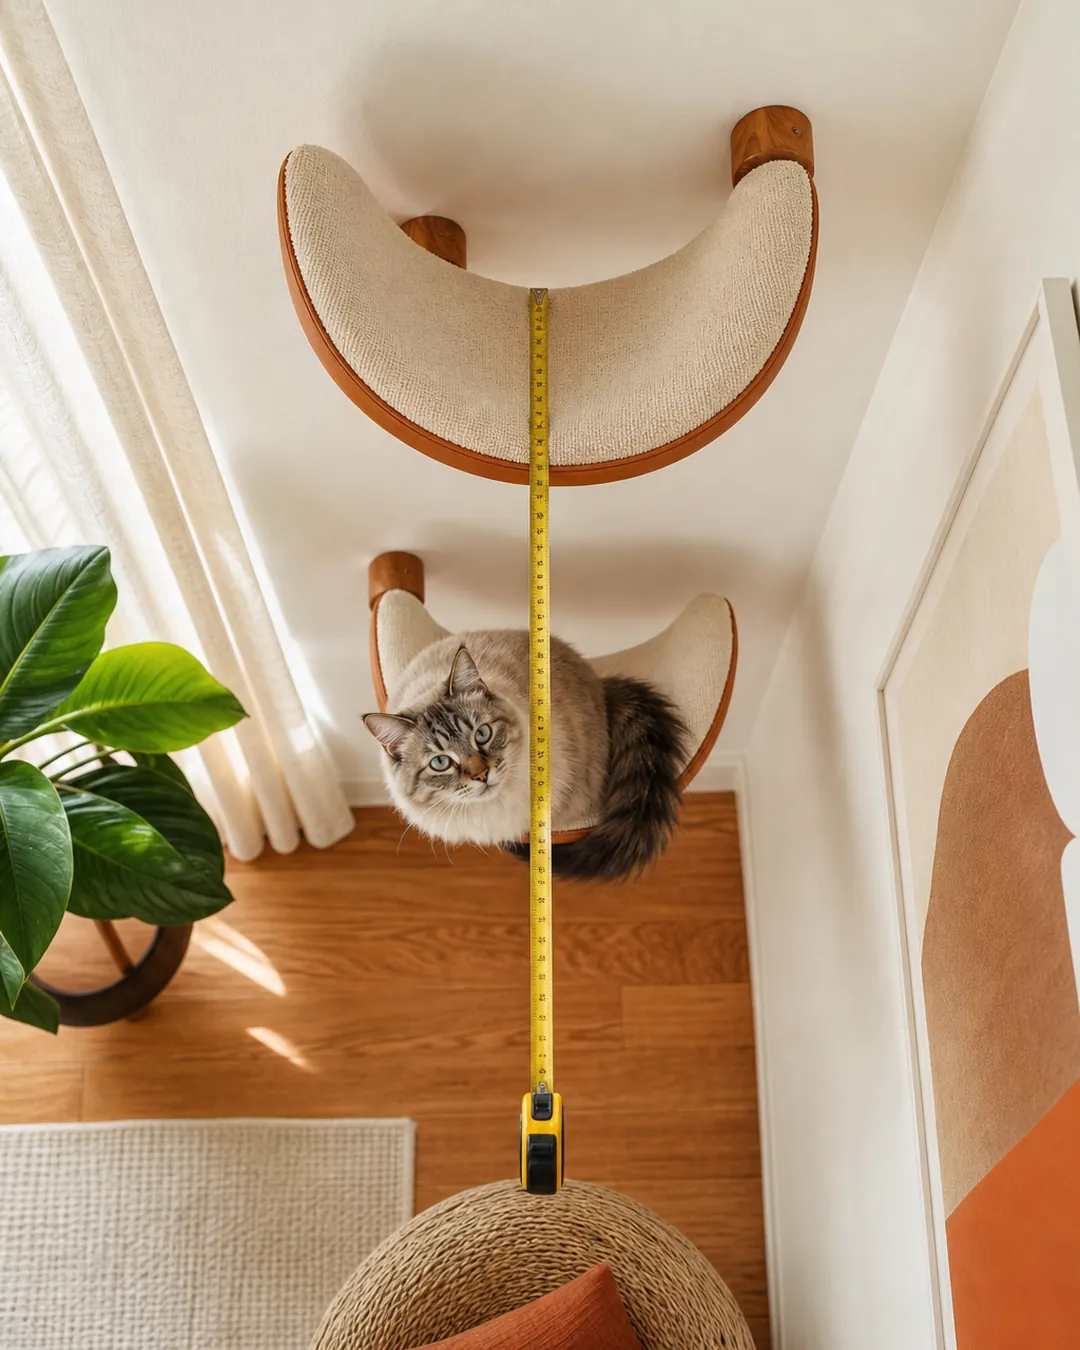
Roughly 8 to 14 inches of vertical gain per step suits most adult cats, with the shorter end for anything heavy, older or long-bodied. Wide gaps photograph beautifully and get skipped in practice, and a route with one impossible step is a route with an ending.
4. Offset the steps horizontally

A straight vertical stack forces the cat to climb like a ladder. Staggering each shelf 12 to 16 inches sideways lets it move diagonally, which is the gait cats actually use. It also spreads the load across more than one point on the wall, and it gives a cat somewhere to go sideways when a second cat is coming up behind it, which prevents the standoffs that make one of them stop using the route.
5. Find the studs, then design around them

In most American homes studs sit 16 inches apart on center. That spacing is convenient rather than restrictive, because 16 inches happens to be a comfortable horizontal offset. Map the studs with a magnet or a detector before finalizing the layout and let the wall dictate the geometry.
6. Use toggle bolts where studs are not available
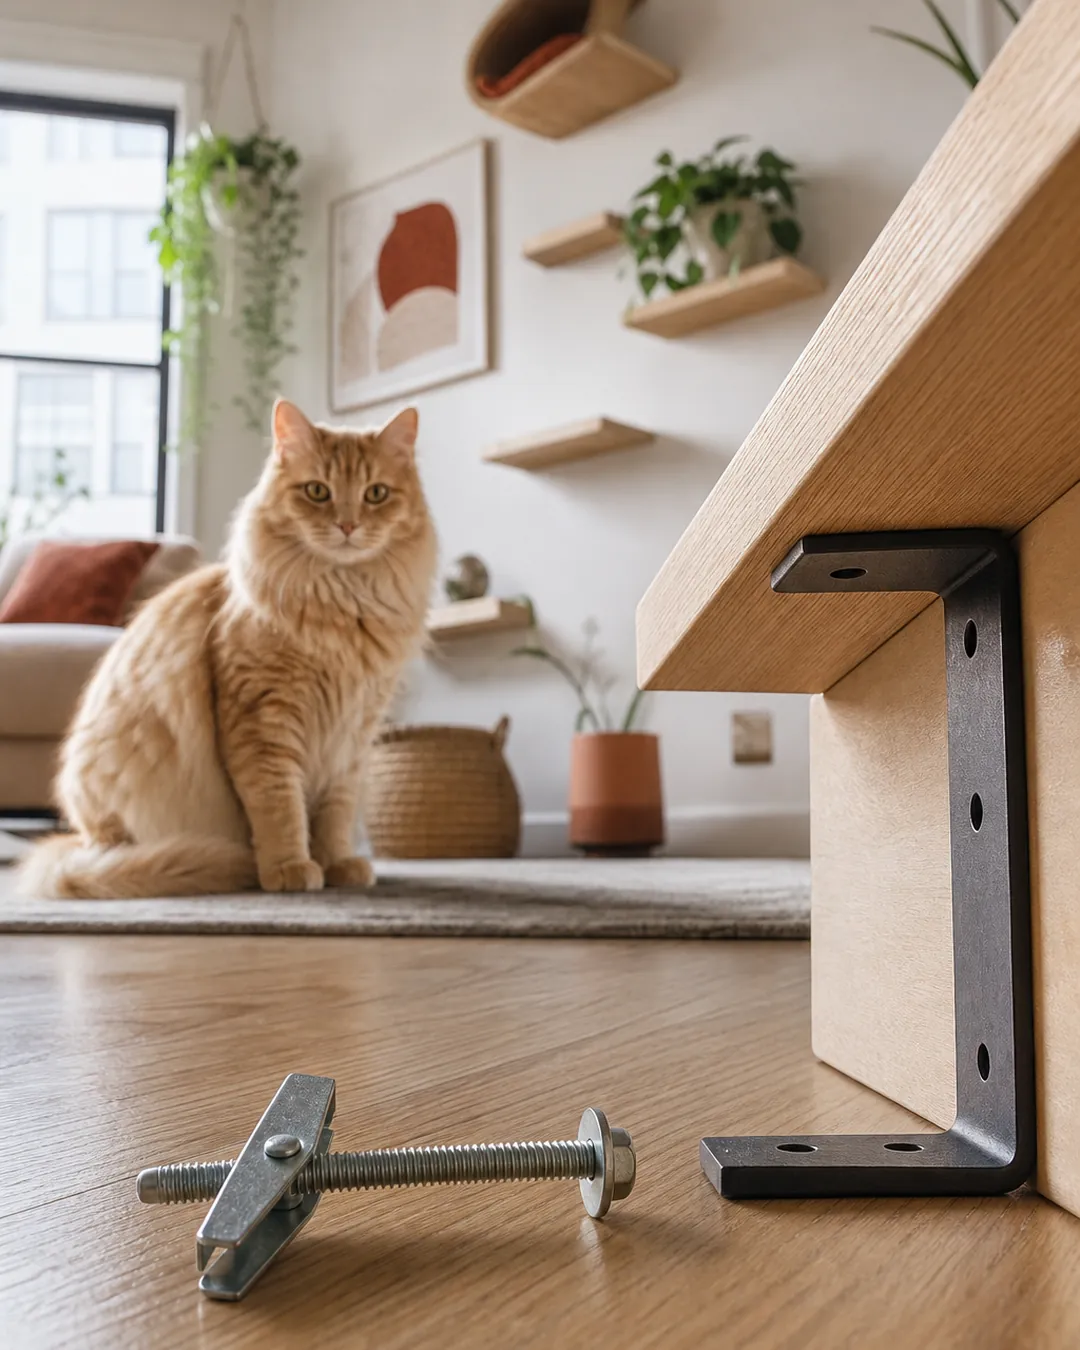
Sometimes the shelf has to go where there is no stud. Heavy-duty toggles spread the load behind the drywall and hold far more than plastic anchors, which crumble out of the hole over months of impact. Buy the toggles separately if the ones in the box look thin, because manufacturers include the cheapest fastener that passes their own test.
7. Do not trust adhesive mounts with a landing cat
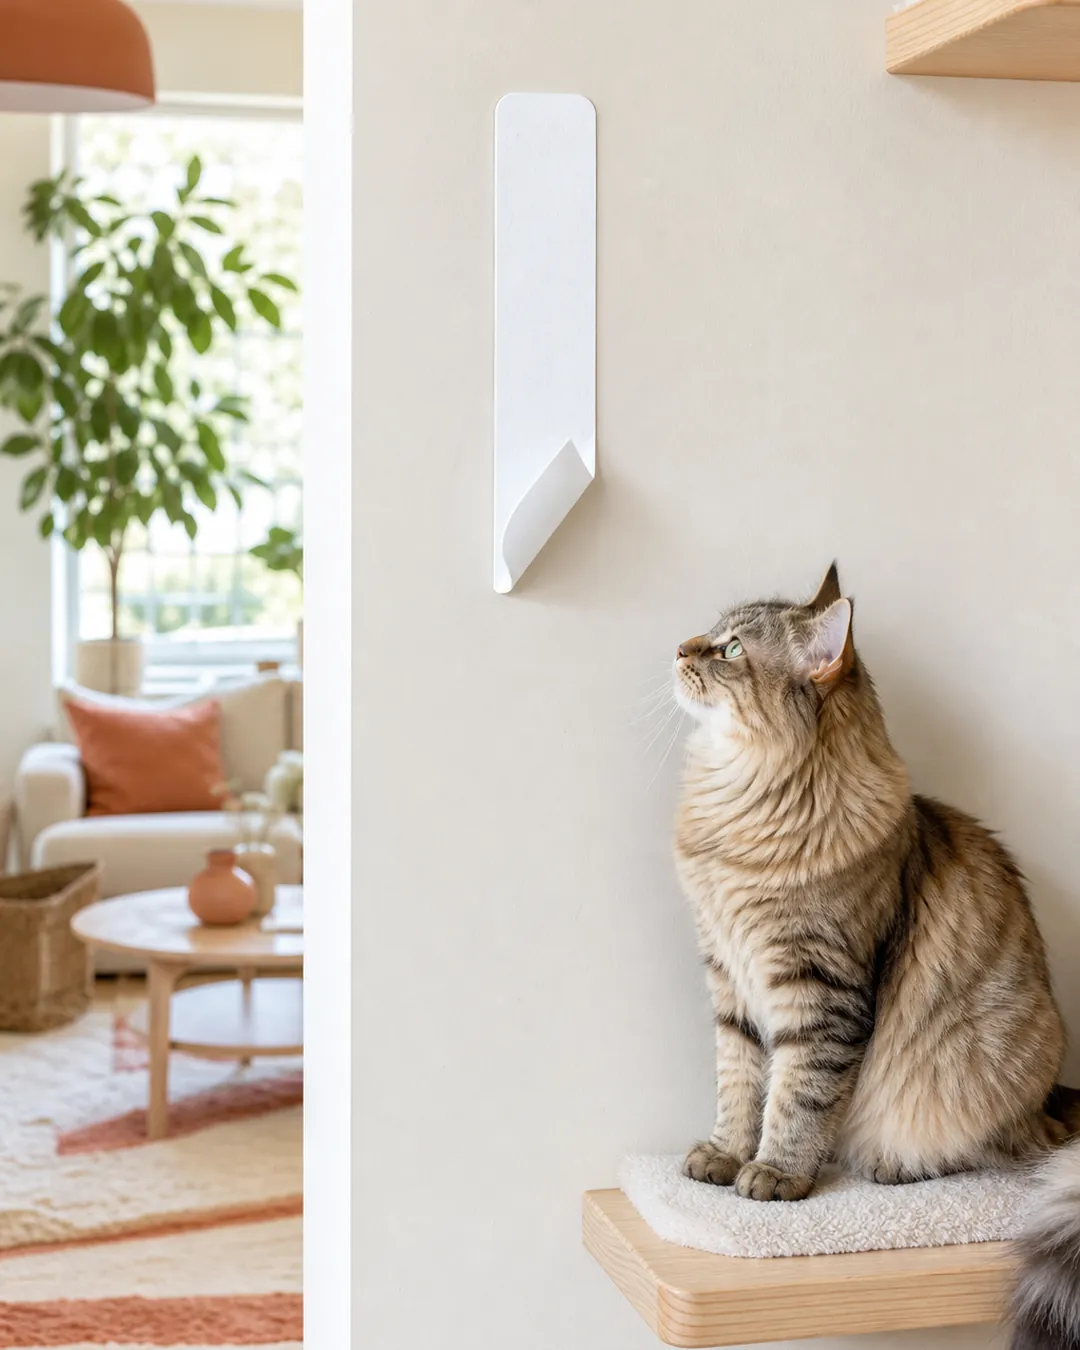
Adhesive strips are rated for static hanging loads. A cat arriving from two feet away applies a brief force several times its weight in exactly the direction that peels a strip off the wall. They also fail all at once rather than gradually, and often take paint with them, which is the outcome a renter was trying to avoid.
8. Halve every weight rating in your head
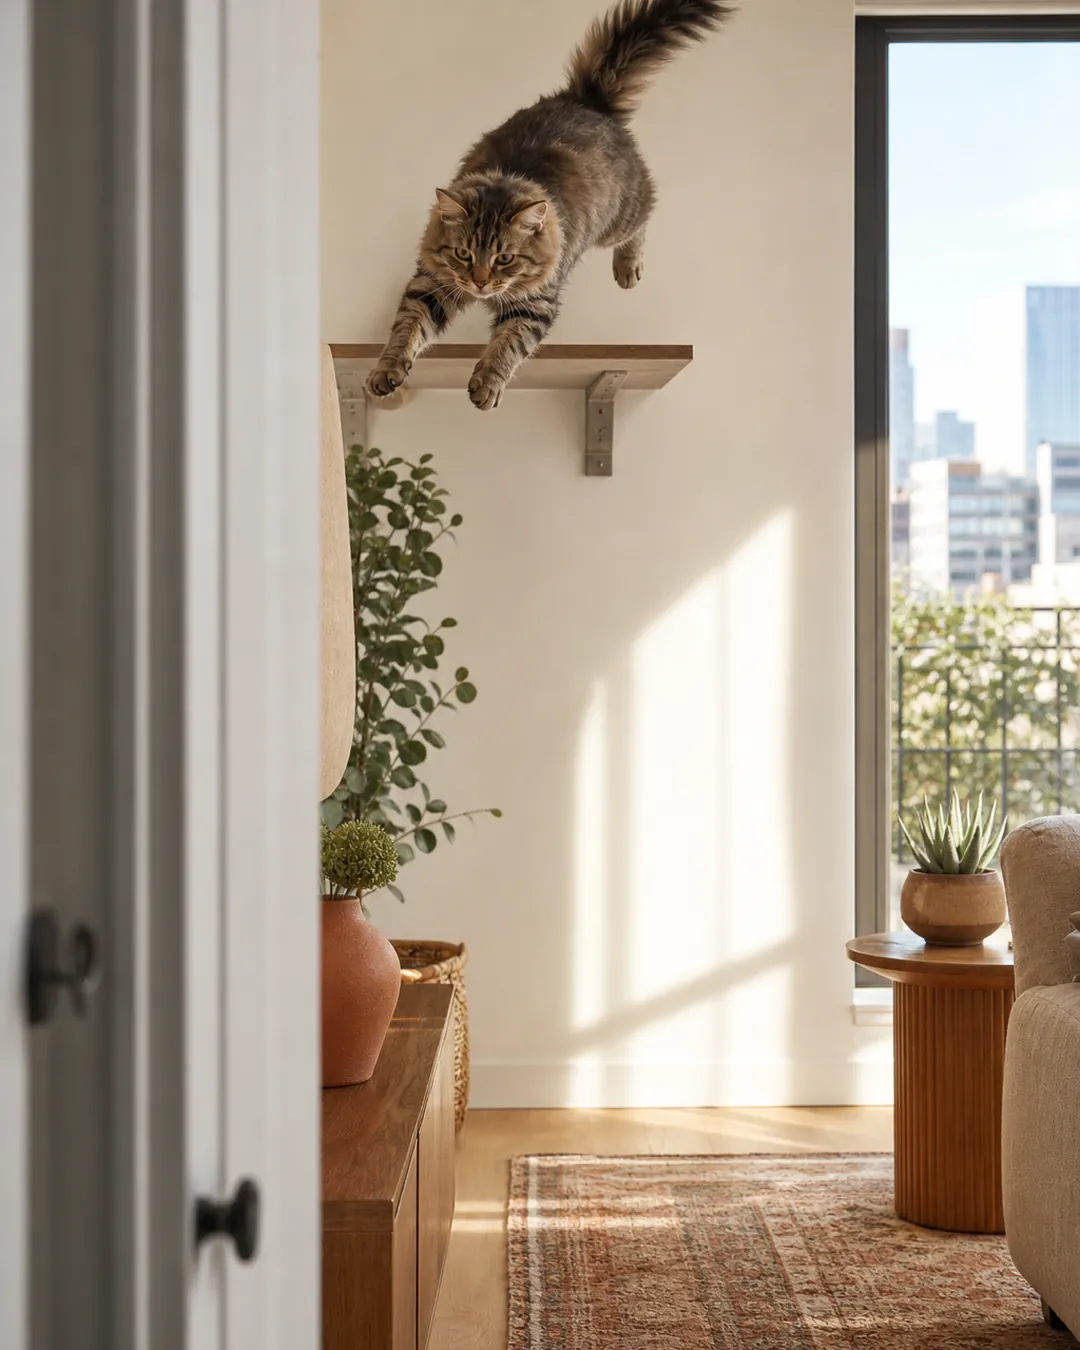
Ratings are measured with a static load in a laboratory. Real use is impact, repeated, sometimes with two cats. Treat half the published figure as your working limit and nothing on the wall will surprise you.
9. Buy a set rather than assembling singles
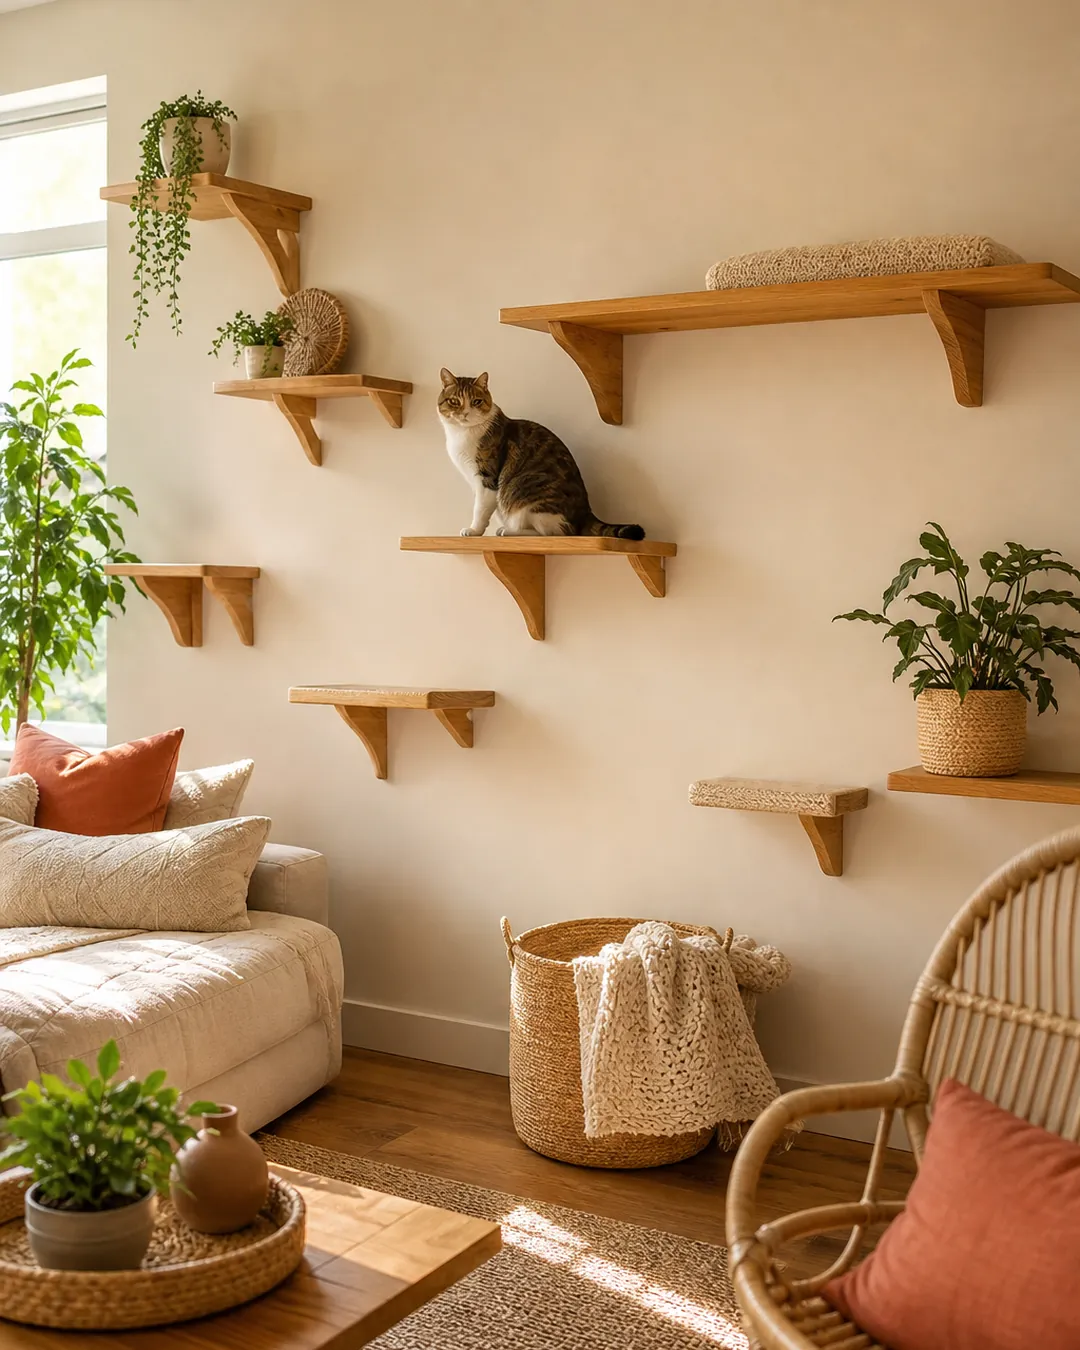
Matching shelves make the wall read as architecture rather than clutter. A nine piece wooden cat wall shelf set gives you enough pieces for a genuine route in one purchase and one finish, which is most of the visual difference between a considered wall and a collection.
10. Add small steps to bridge awkward gaps
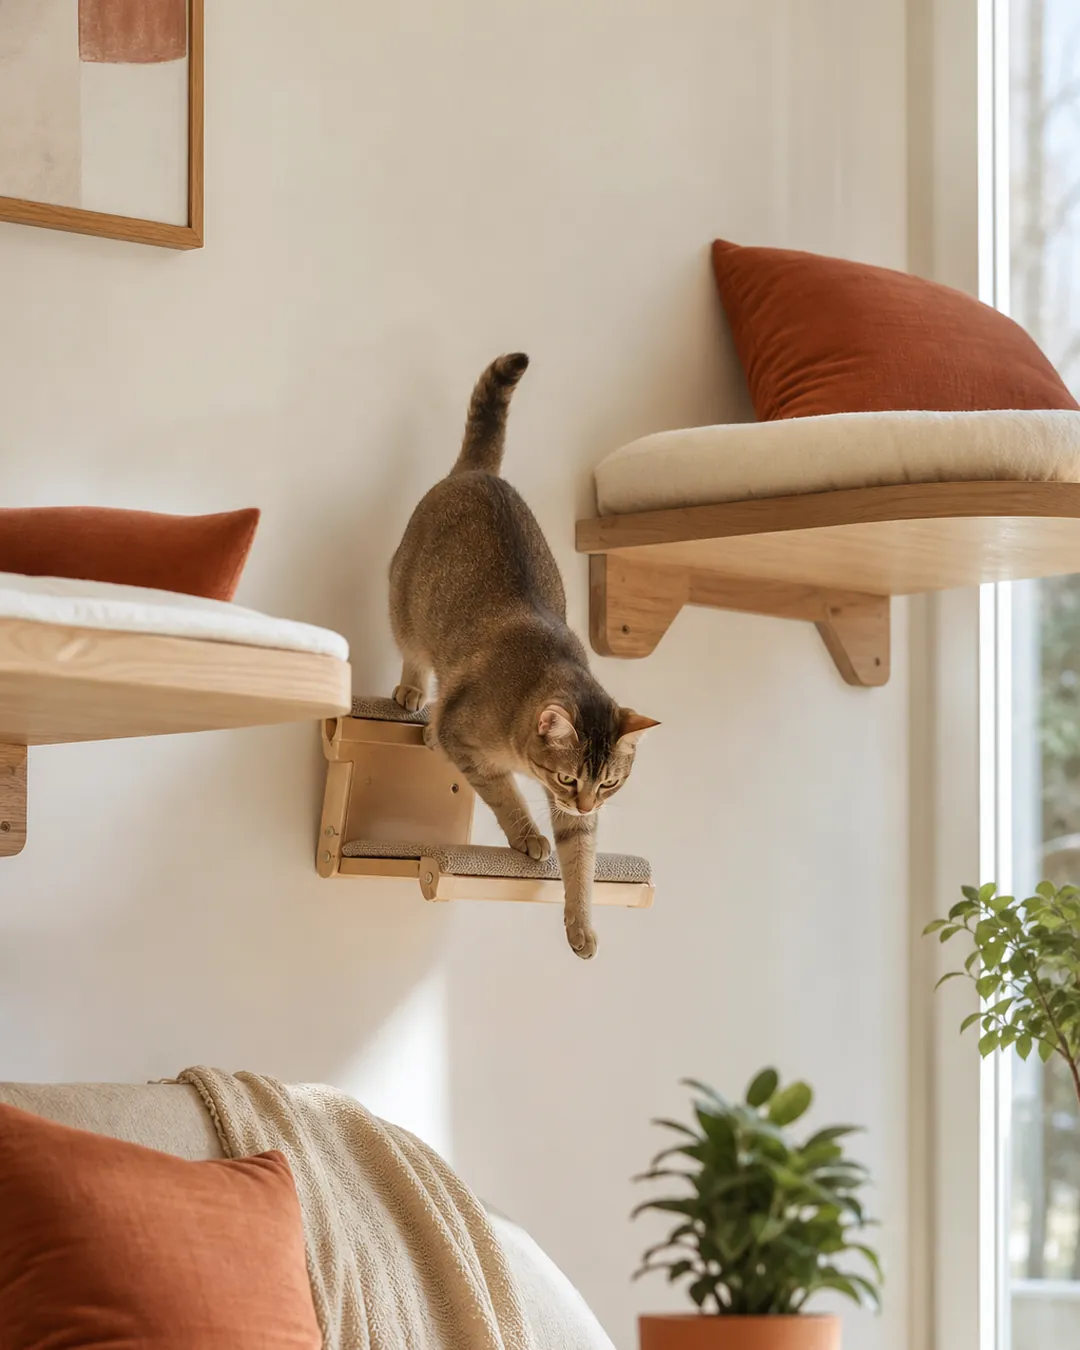
Sets rarely fit a real wall exactly, and there is usually one gap that needs a piece the set does not include. A small wall mounted climbing step fills that gap without occupying much wall, and having two or three spare is the difference between a route that works and one that nearly does.
11. Cover the landing surfaces

Bare varnished wood is slippery to a paw arriving at speed. Carpet, sisal or a rubberized top gives grip and quiets the landing, which matters more than it sounds when the route runs above a bedroom. A cat that slips once remembers that step, and one distrusted step breaks the whole sequence.
12. Put a scratching surface on the route
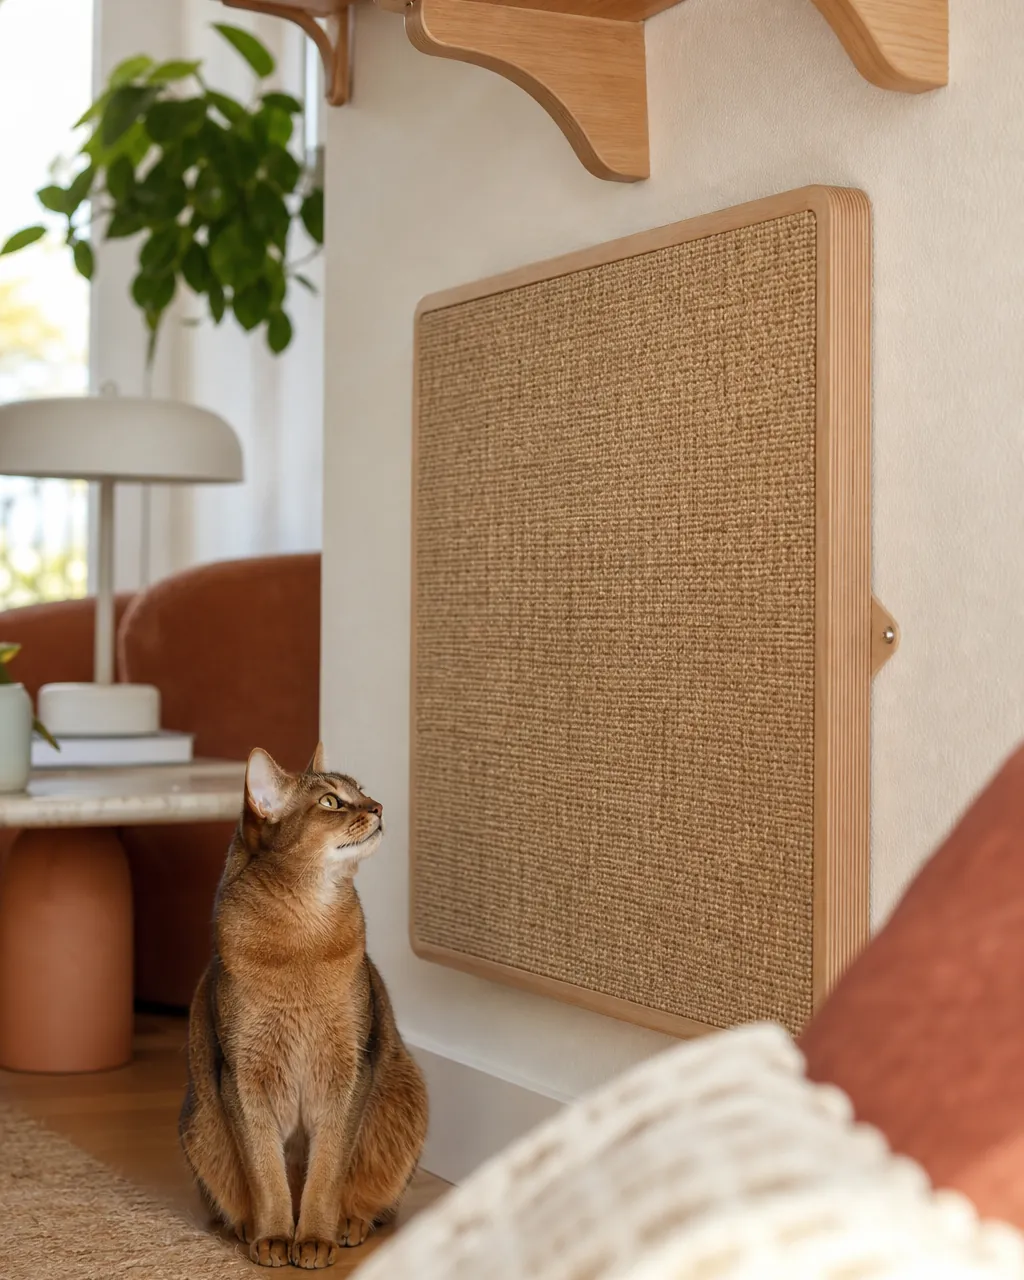
A climbing wall is a place cats stretch, and stretching invites scratching. A wall mounted sisal scratcher at 34 inches placed at the bottom of the climb gives that behavior somewhere legitimate to land, and it protects the corner or door frame that would otherwise absorb it.
13. Finish the route somewhere worth being
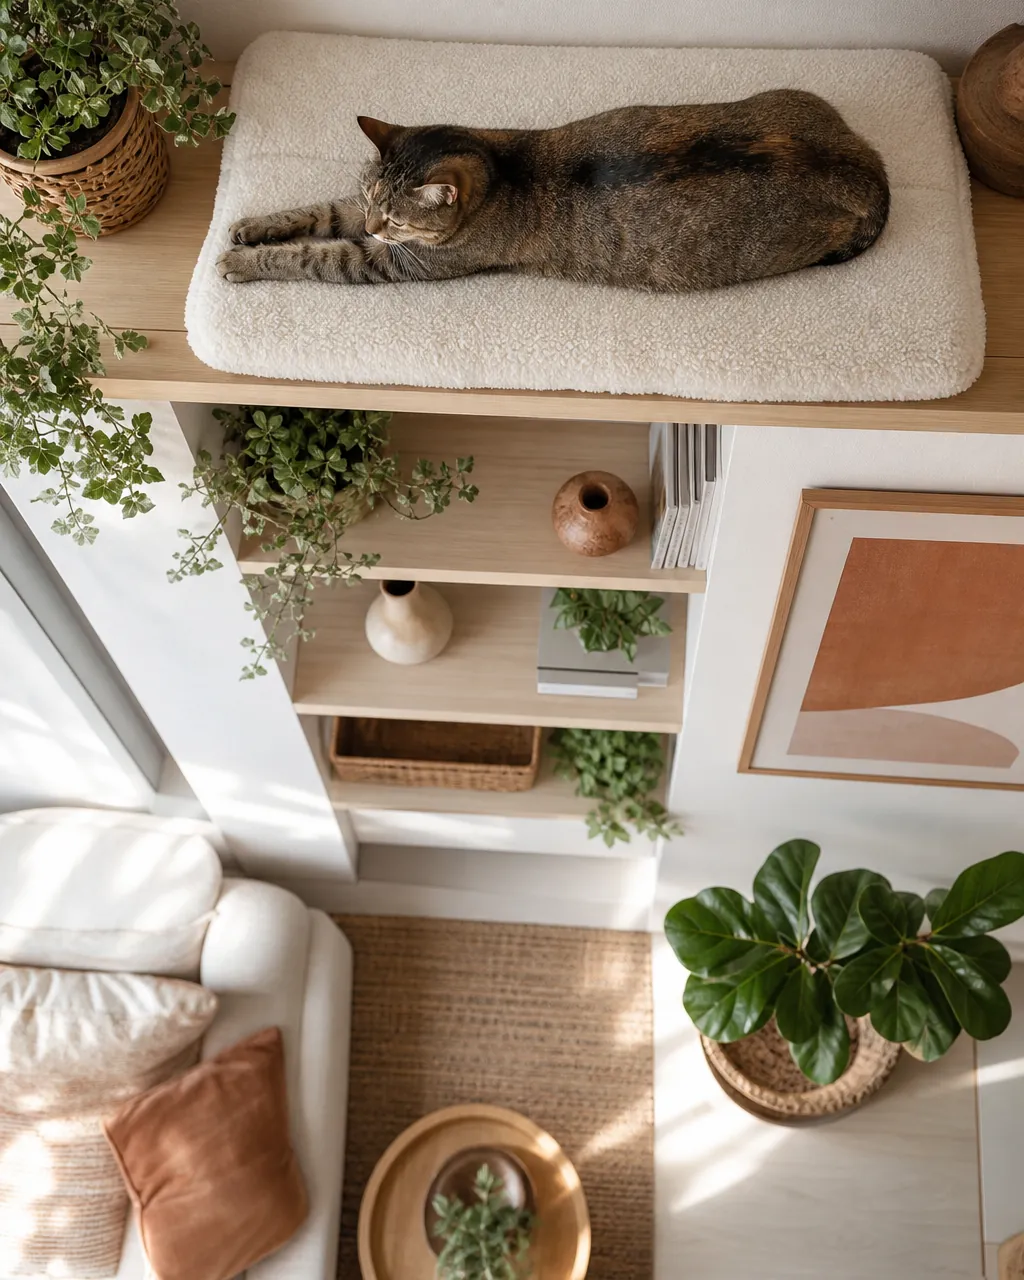
The top of the climb should be a destination: a wide perch, a hammock, a sunny spot with a view. A route that ends at another identical shelf is a staircase to nothing. Give the last position enough room for a cat to lie down fully and turn around.
14. Give the top an exit that is not a jump
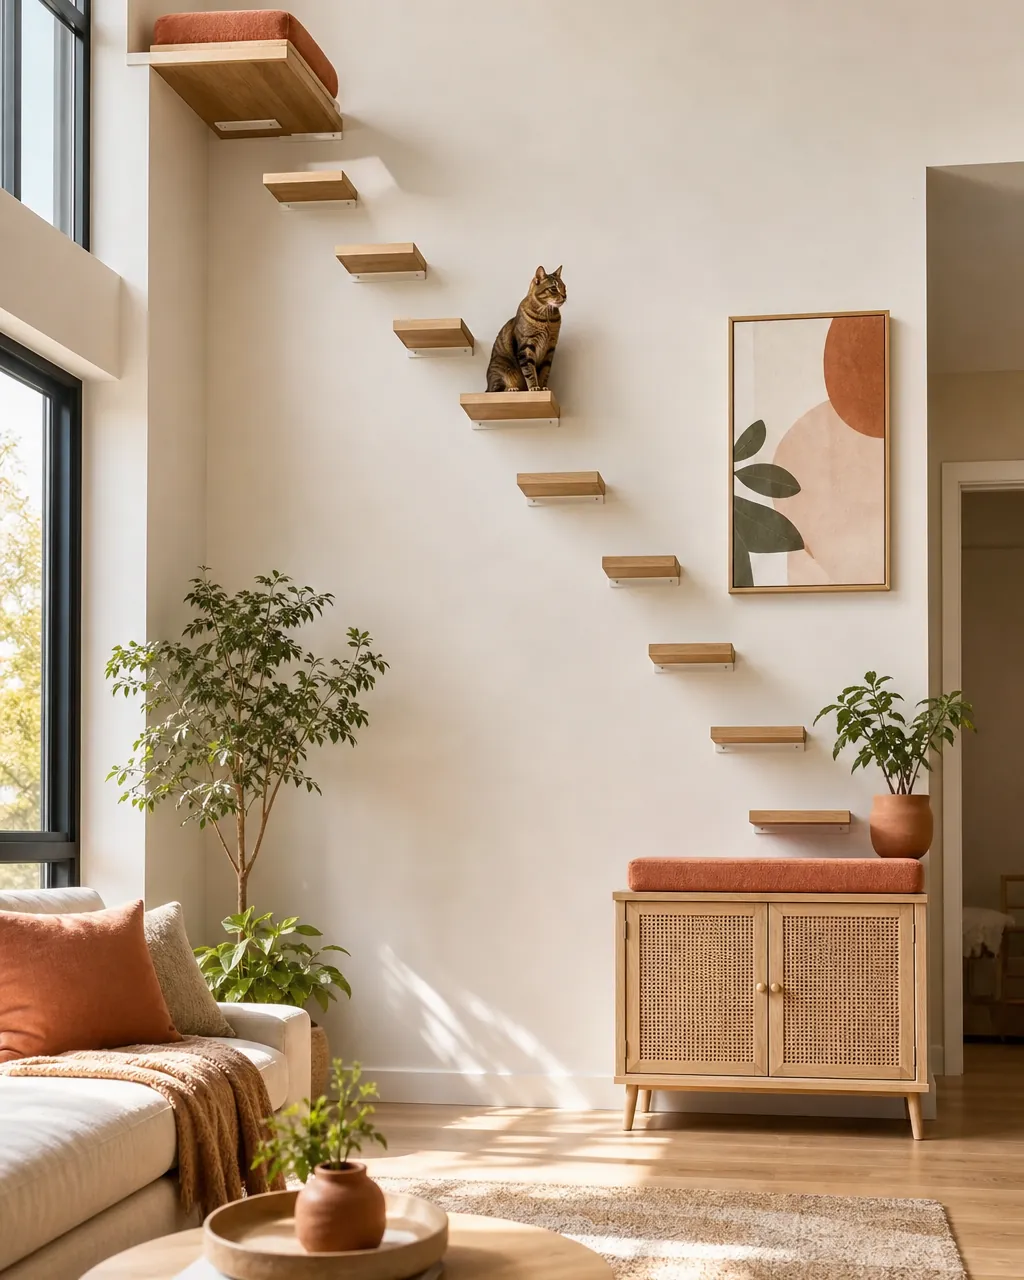
Getting down is where cats get hurt and where they get cautious. Make sure there is a descending sequence, or a piece of furniture near the top, so the cat is never choosing between staying and dropping. Older cats abandon high routes for this reason long before their legs actually fail.
15. Keep the shelves clear of the door swing
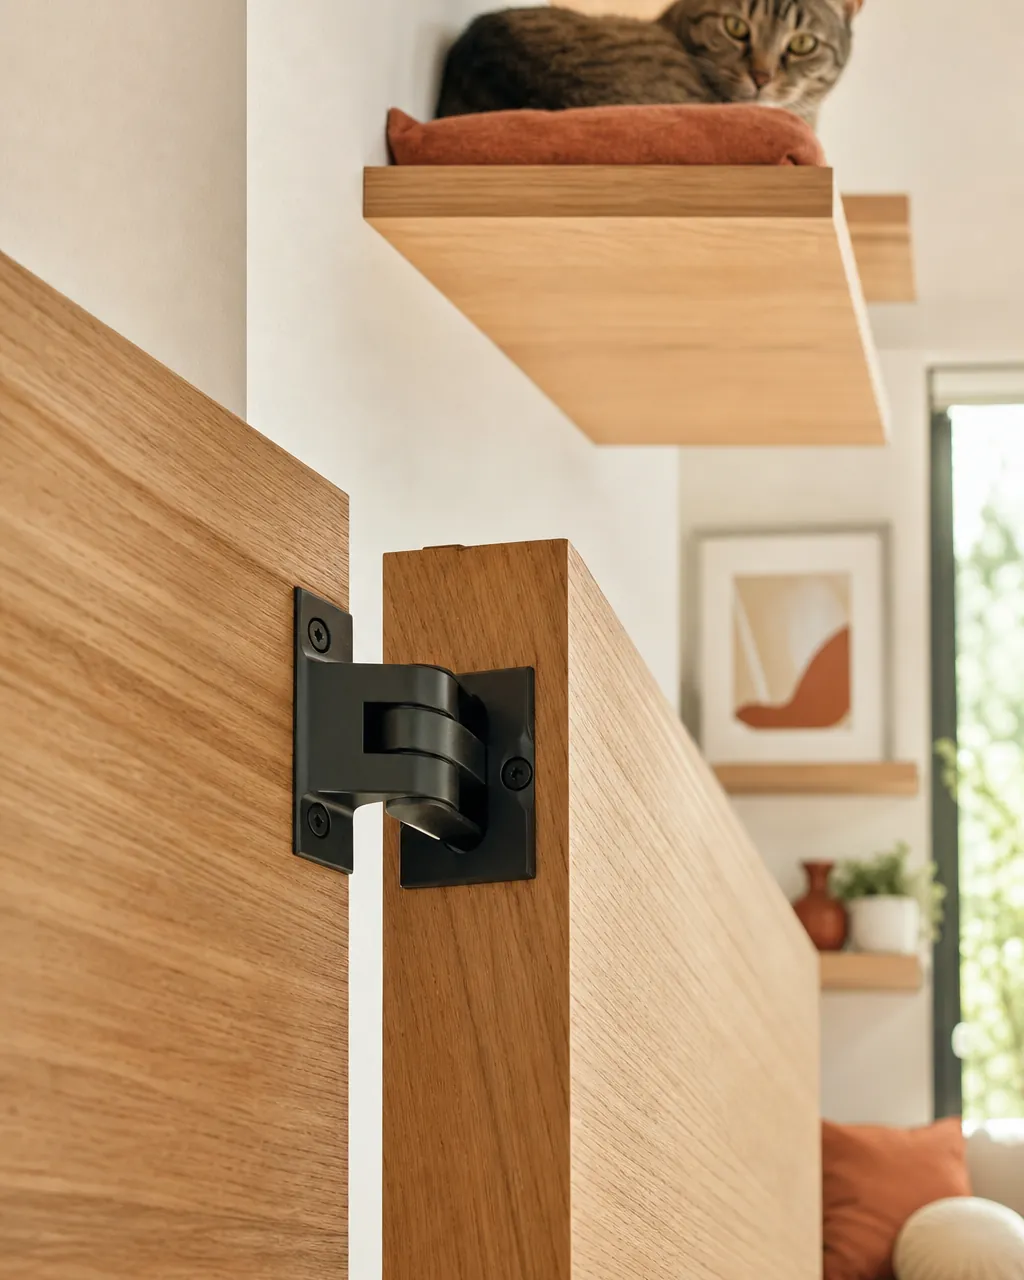
An obvious constraint that gets missed because it is decided at drilling time rather than planning time. Open every door in the room fully and mark where it reaches. A shelf that a door catches will be knocked, and a shelf that gets knocked comes loose.
16. Tighten everything after the first month
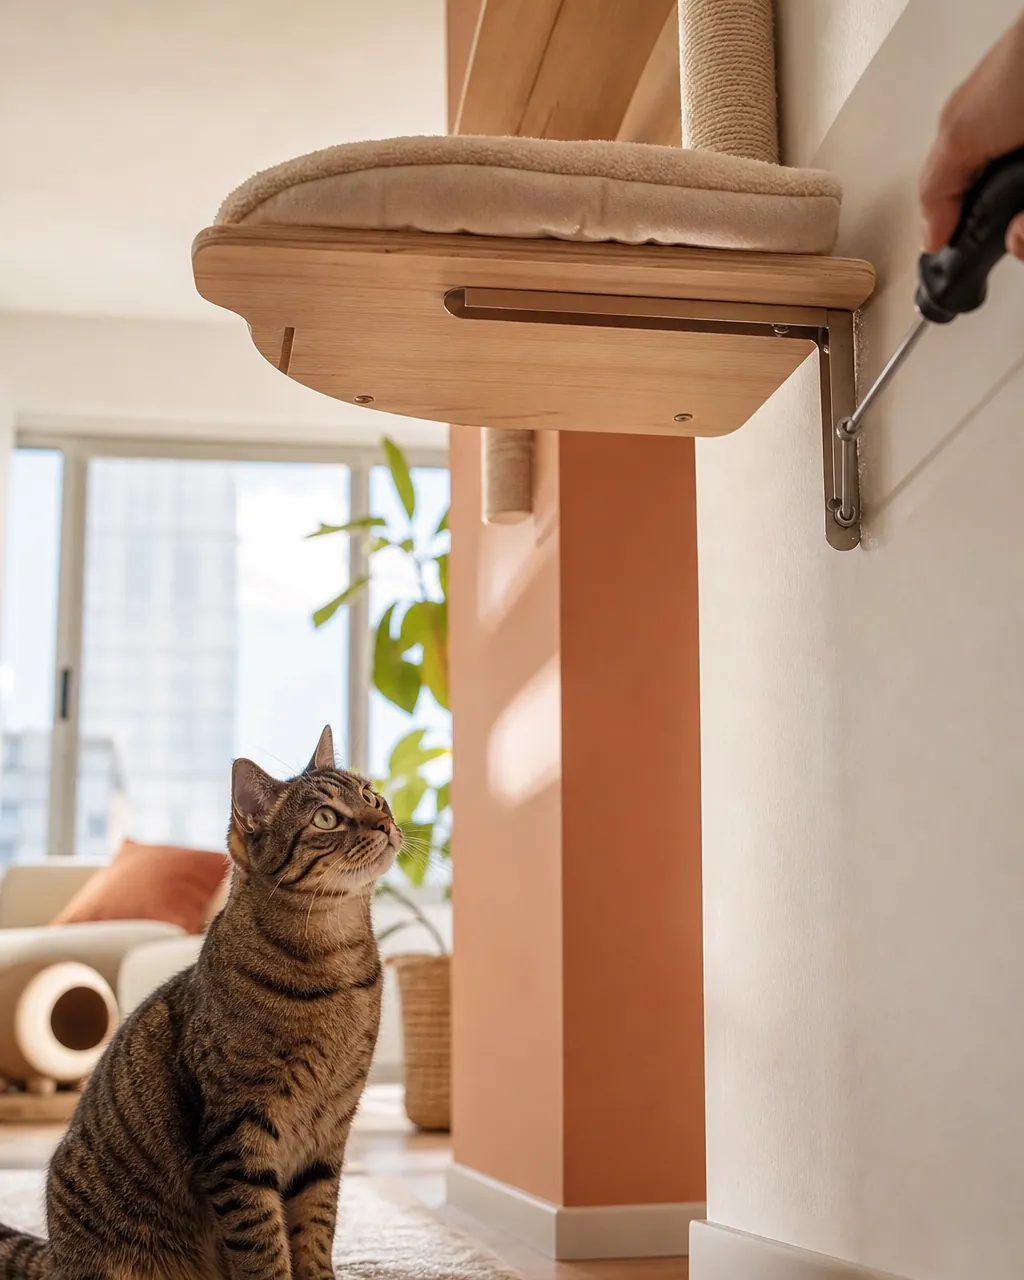
Wood settles, drywall compresses slightly and screws that were snug on day one are not on day thirty. Go around the whole wall with a screwdriver once after a few weeks, then twice a year. It takes five minutes and it is the entire maintenance the wall ever needs.
Where to start
Tape the route on the wall and leave it up for a day. Watch where the cat already jumps, because you are formalizing a path it has partly chosen rather than inventing one. Most people find their planned route is one shelf too high and one step too far apart.
Find the studs next, then adjust the tape to match them. Building around the studs rather than fighting them is what keeps the wall solid and keeps the hole count low, which matters if you are renting.
Mount the bottom two shelves first and stop there for a week. If the cat is using them, continue upward. If it is not, the problem is almost always the entry point rather than the shelves, and moving that first step down to meet existing furniture fixes it more often than anything else.
Buy the set before the individual pieces, and keep two small steps in reserve for the gap you have not noticed yet. Every wall has one.