
A cat ladder solves a smaller problem than a cat wall does. It is not a route with stops along the way, it is one vertical gap that needs closing: six feet of bare wall above a bookcase, a floor-to-ceiling reach with nothing to grab onto, a rental where a full shelf system is off the table but a single piece that comes down at the end of the lease is fine. That narrow job is either the ladder’s strength or its weakness, depending on whether it gets planned like a ladder or bolted up like an afterthought.
Ten things that decide which one you end up with.
1. Match the ladder to one gap, not a whole wall
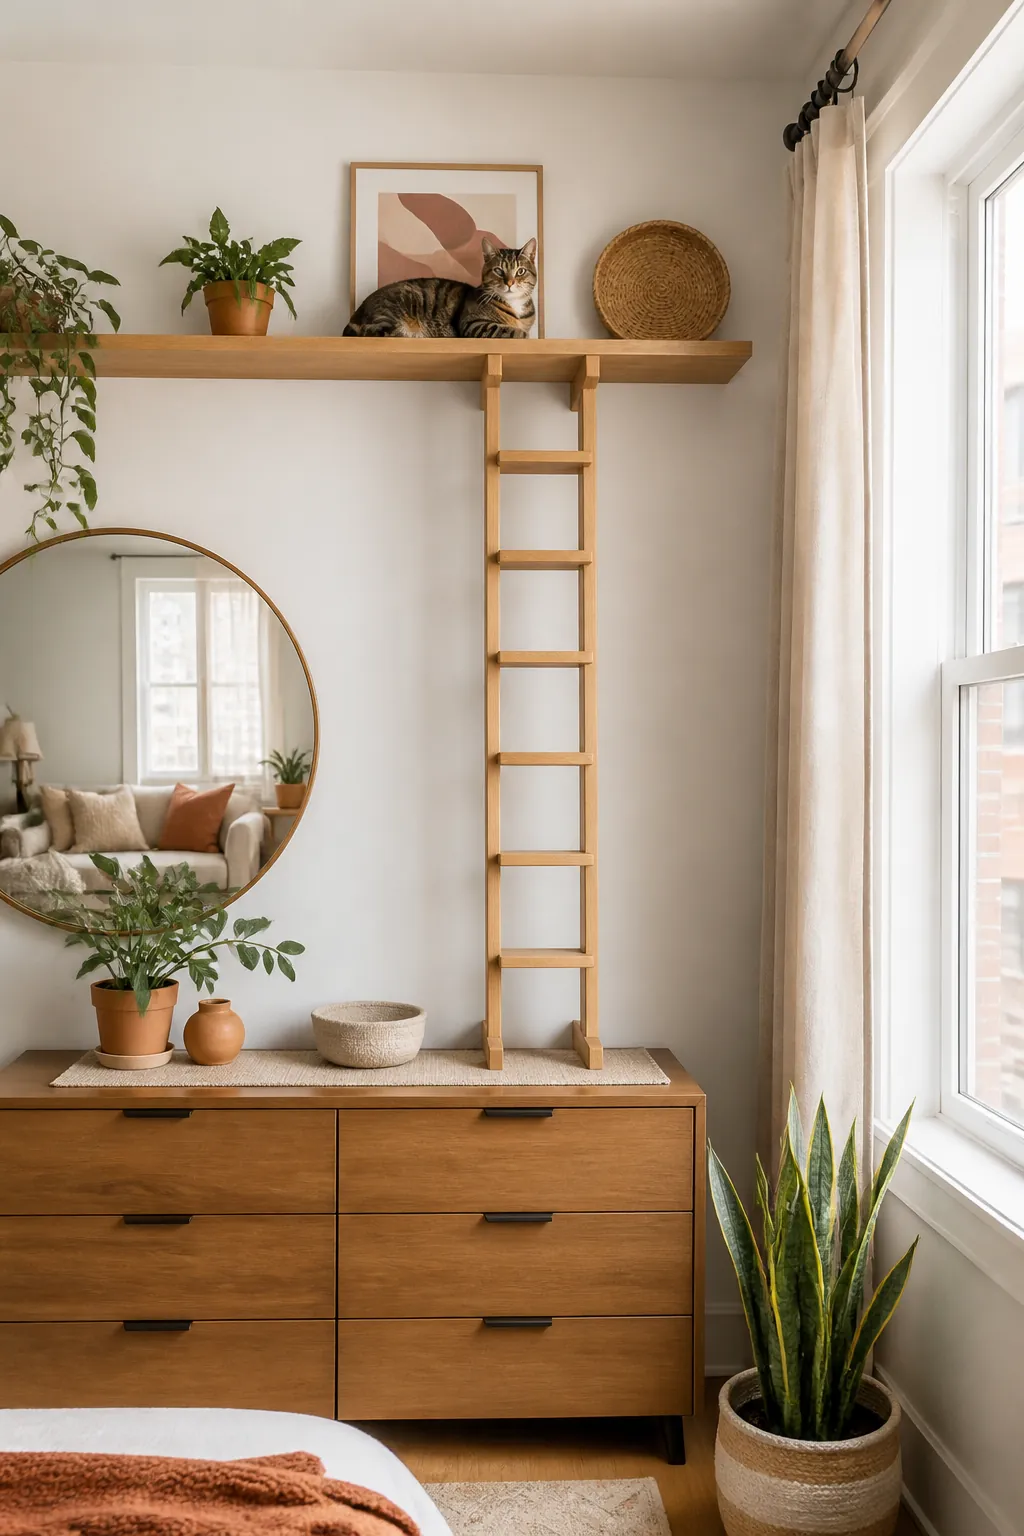
A ladder earns its keep when it closes a specific stretch: from the top of a dresser to a high shelf, from a windowsill to a loft bed frame. Trying to make one ladder do the job of an entire climbing route, with stops and turns and a place to rest partway up, is asking a single-purpose piece to behave like a multi-piece system. If the plan needs more than one stopping point, that is a cat wall project, not a ladder, and pretending otherwise usually produces a ladder nobody climbs because it is either too steep or too long to feel safe.
2. Pitch it for a paw, not a hand
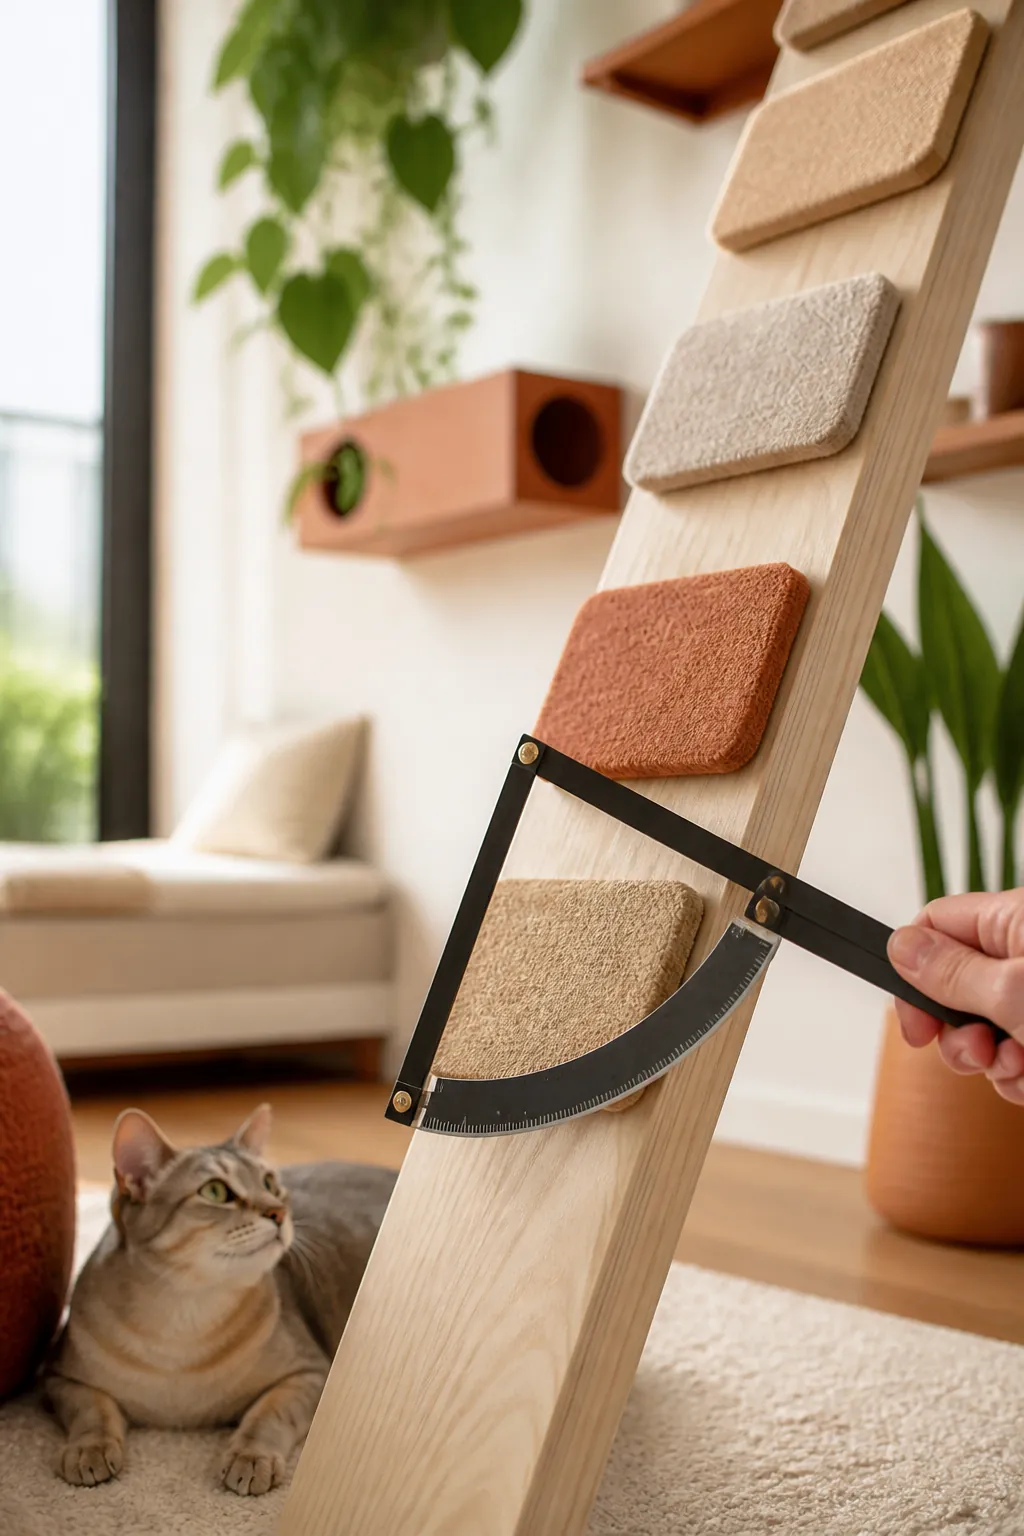
Human ladders run close to vertical because hands can grip a rung. Paws cannot, so a cat ladder needs a shallower lean, somewhere around 65 to 70 degrees off the floor. That is steep enough to save the wall space a ramp would need, but shallow enough that the climb reads as walking rather than scaling. Lean a spare board against the wall at a few different angles and watch which one the cat actually uses before committing to hardware; the difference between 65 and 80 degrees is the difference between a used ladder and a decorative one.
3. Space the rungs for a full paw, not a toe
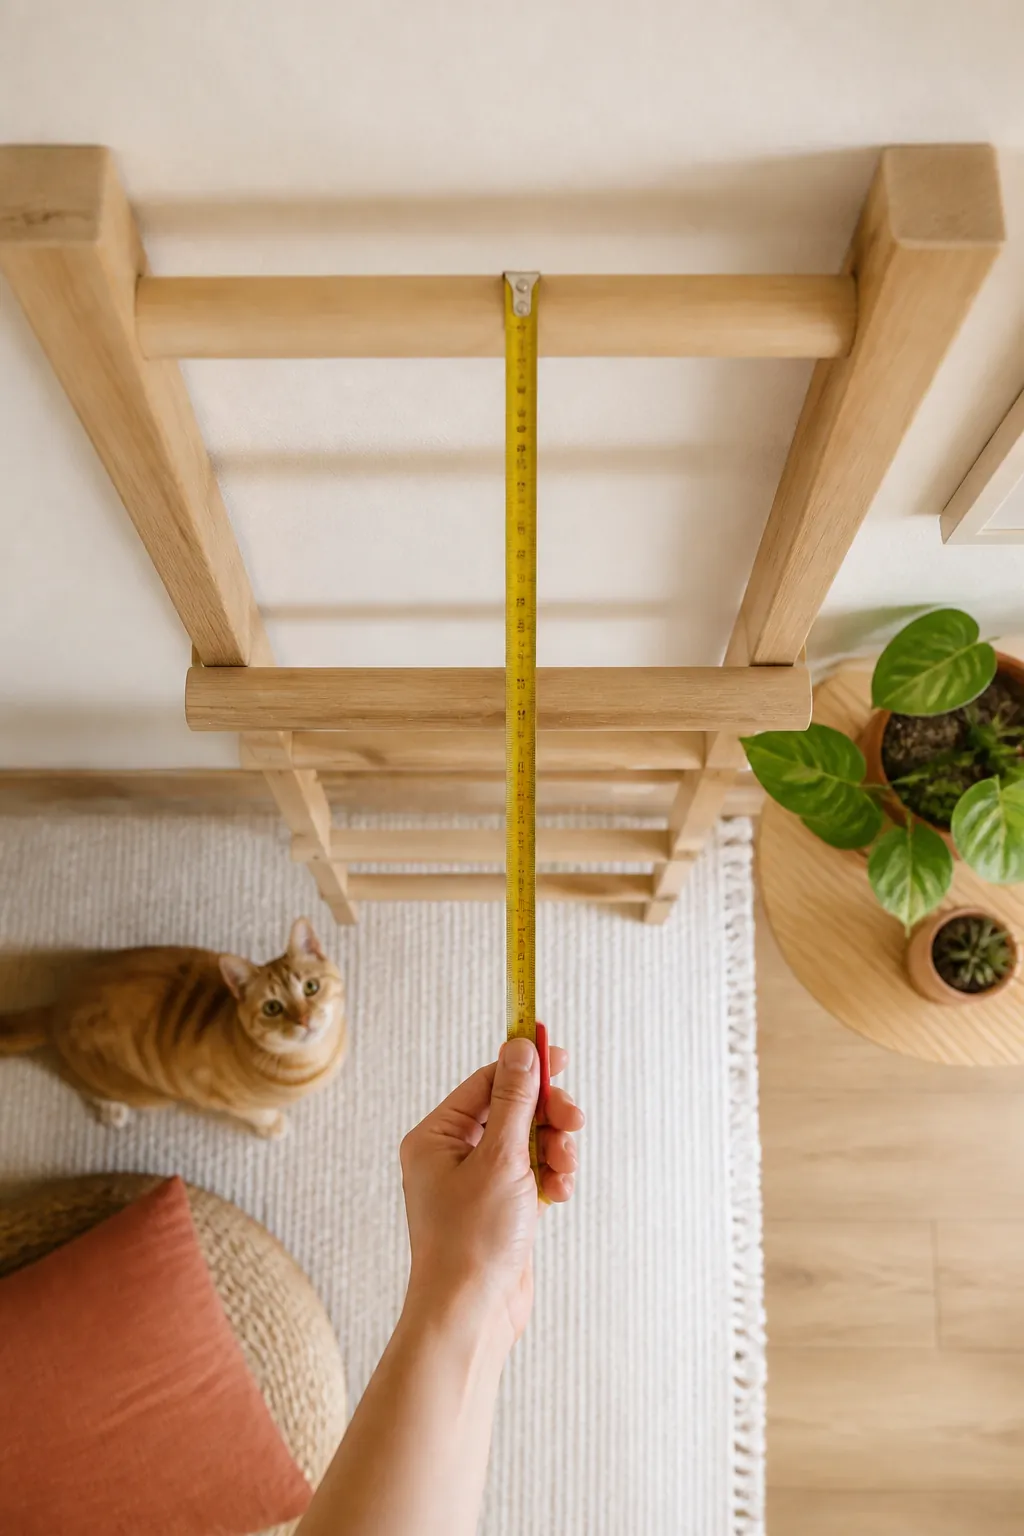
Three to four inches of rise between rungs suits most cats, with each tread at least three inches deep front to back. A narrower tread forces a cat to balance on the edge of its paw pad, which is exactly the kind of uncertain footing that makes a cat hesitate and then avoid the route entirely. Wider gaps between rungs look more architectural in photos and get skipped in practice, the same trade-off that shows up on wall shelf routes, just compressed into a single continuous piece here instead of spread across separate shelves.
4. Put grip on every single rung, not just the first one
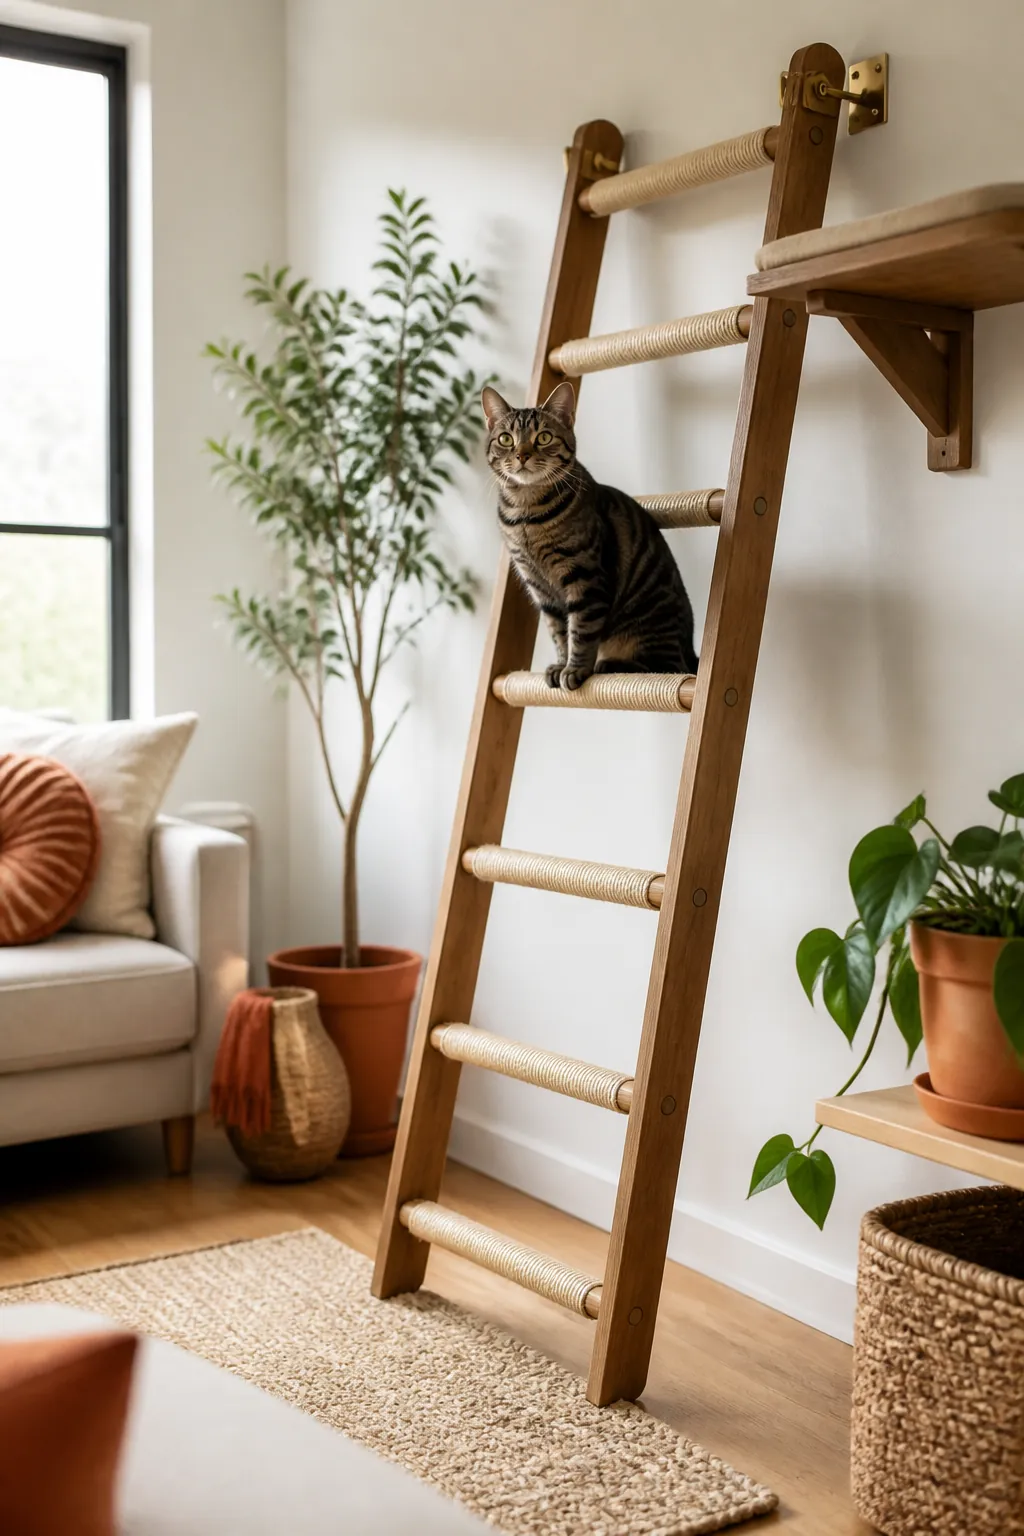
A bare wooden rung is fine until a paw lands on it moving, and then it is slick. Carpet strips, sisal wrap or a textured rubber tread on every rung, not just the ones near eye level where it looks nice, keeps the climb predictable from bottom to top. A cat that slips on rung four remembers rung four specifically, and a route with one distrusted step gets used half as often as one with none.
5. Decide freestanding, wall-mounted or leaning before you buy
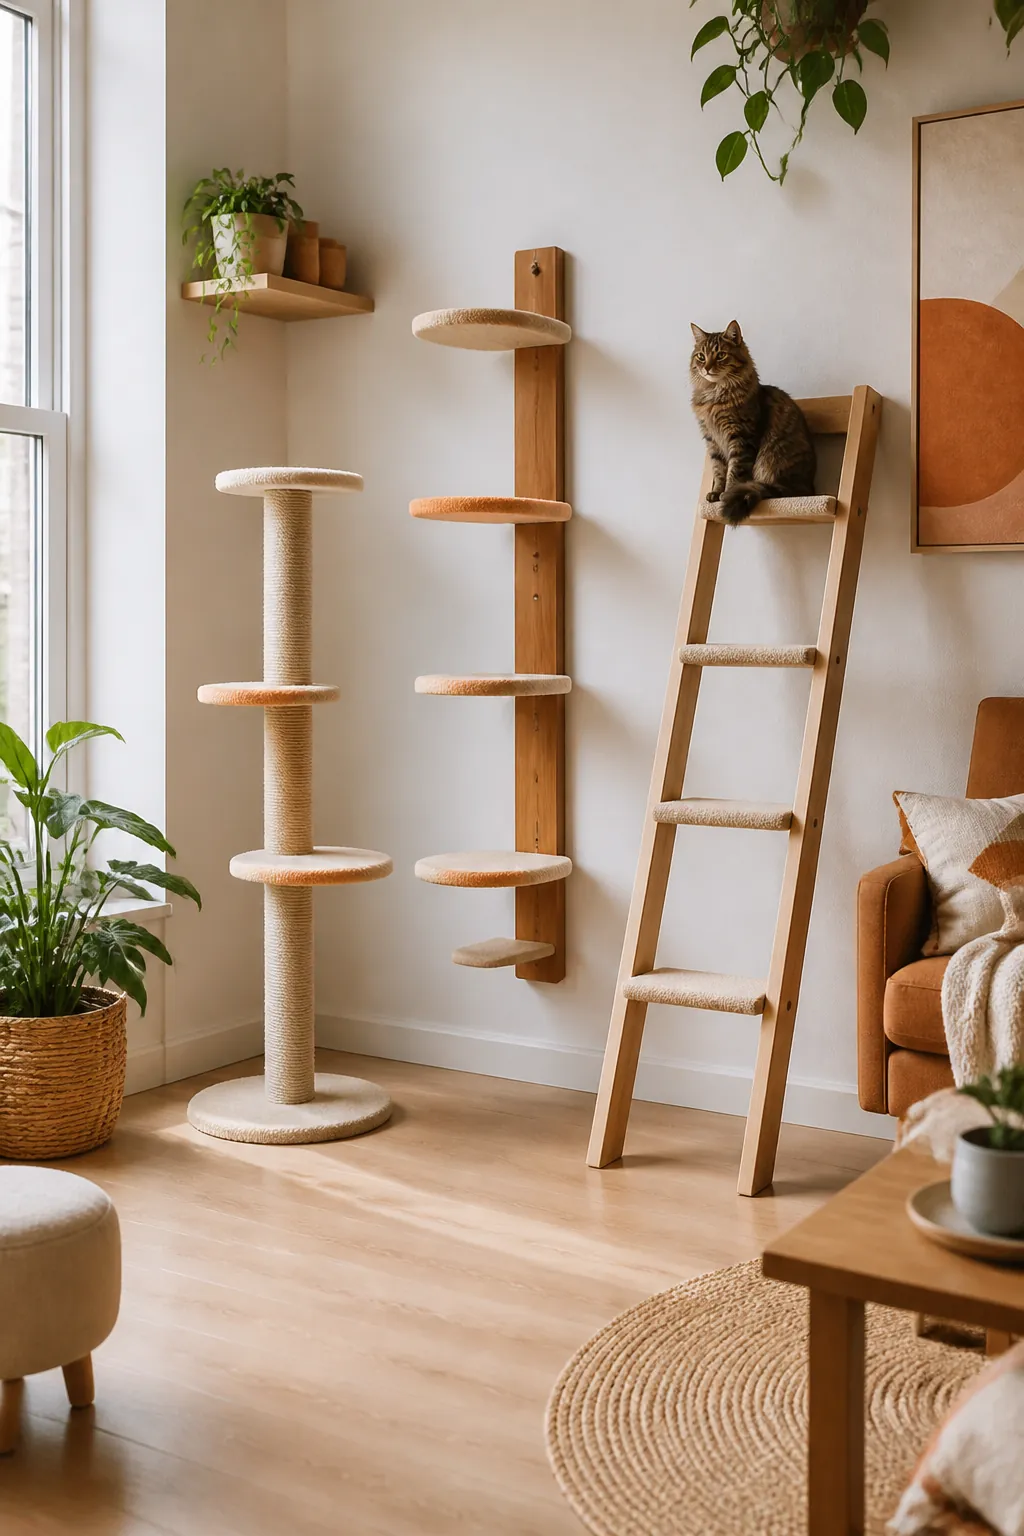
These are three different pieces of hardware with three different failure modes. Wall-mounted needs anchors and commits to a position. Leaning needs something solid at the top to hook onto or it slides. Freestanding needs a wide enough base relative to its height or it tips. Renters usually want leaning or freestanding for the no-holes benefit, but pick which one before shopping, because a ladder built for one mounting style rarely adapts cleanly to another.
6. Anchor the base so a landing cat cannot kick it out
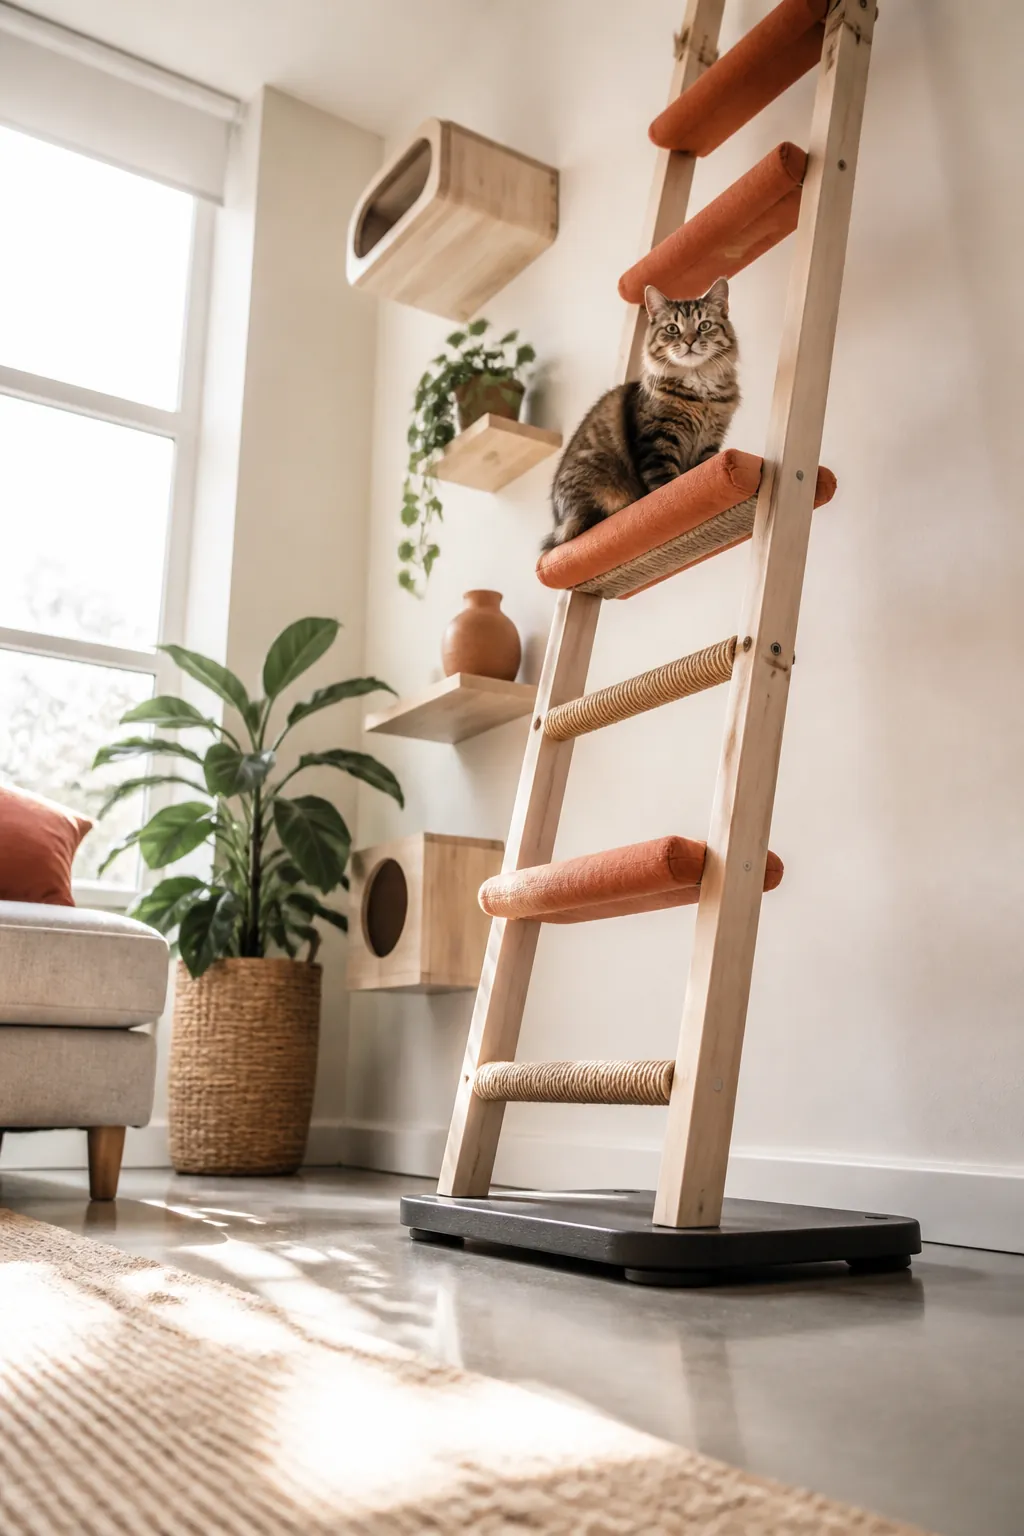
This is the risk a wall shelf route does not have to think about: a freestanding or leaning ladder can move under a cat’s weight, especially at the shallower end of the pitch range. A sandbag-weighted base, rubber feet with real grip, or a top that hooks over a shelf lip instead of resting against flat wall all stop the same failure, which is the ladder’s foot sliding out from under a cat that just landed near the top. Test this before the cat does: push on the top rung yourself with real weight and see if the base holds or walks.
7. Halve the weight rating like you would for any wall piece
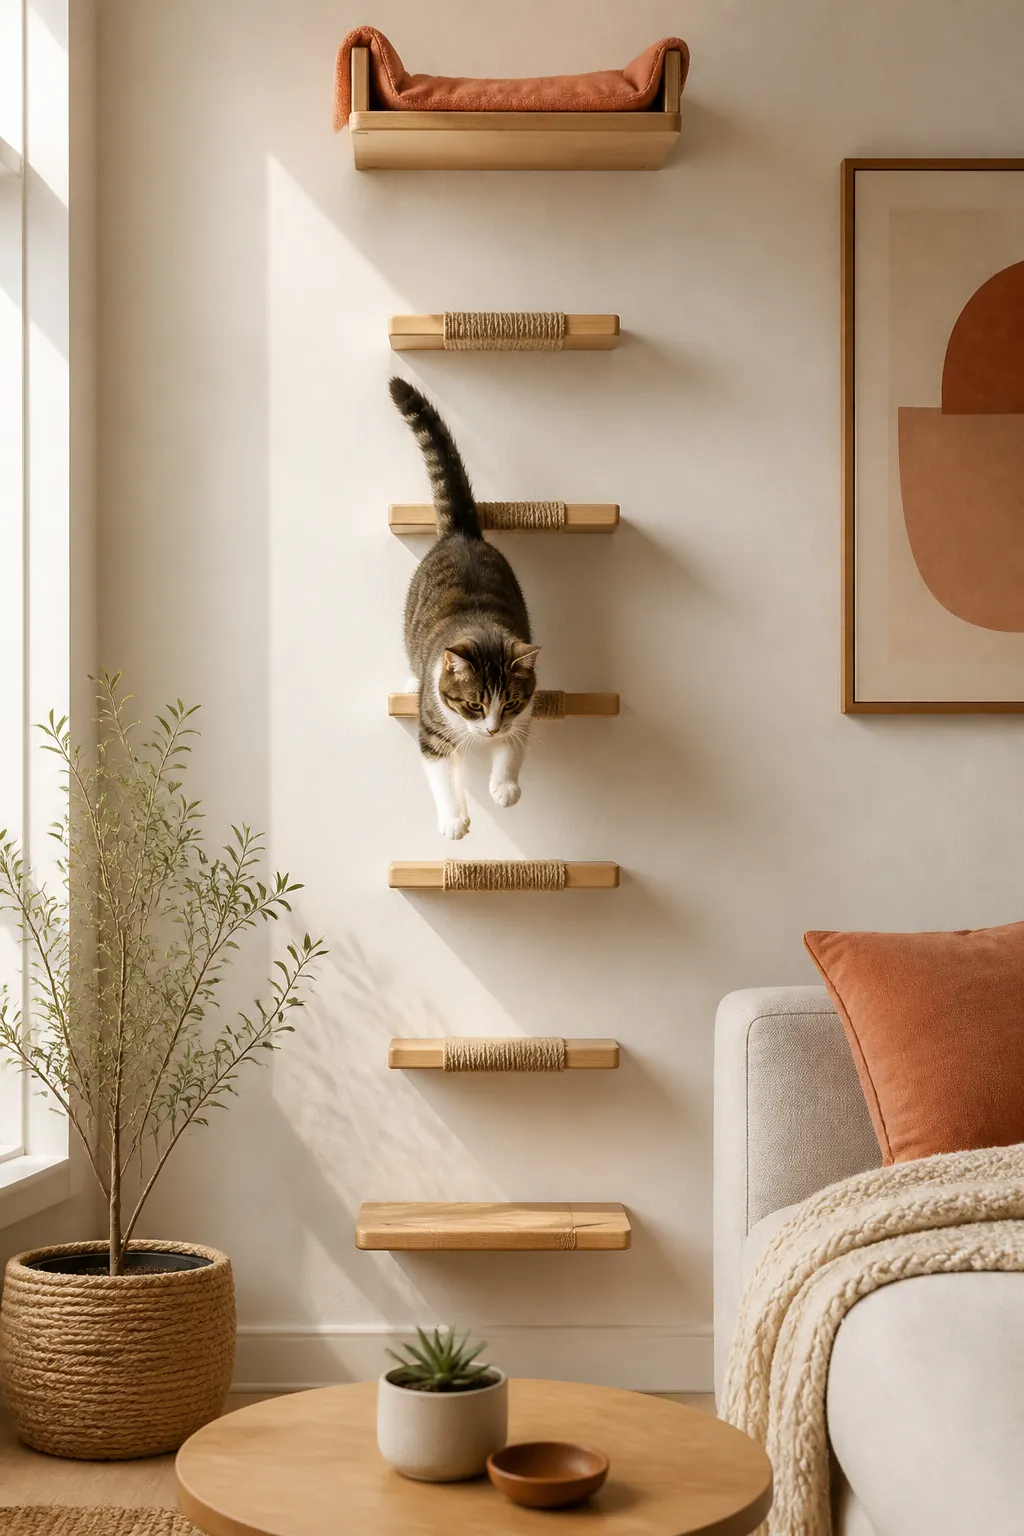
A published weight rating comes from a static load test, and a cat landing partway up a ladder applies a brief, repeated impact rather than a steady one. Treat half the rated figure as the real working limit, and account for two cats crossing paths on the same rung at once, since a household with more than one cat will eventually produce that exact moment whether the ladder was designed for it or not.
8. Skip the wall entirely with a tension pole
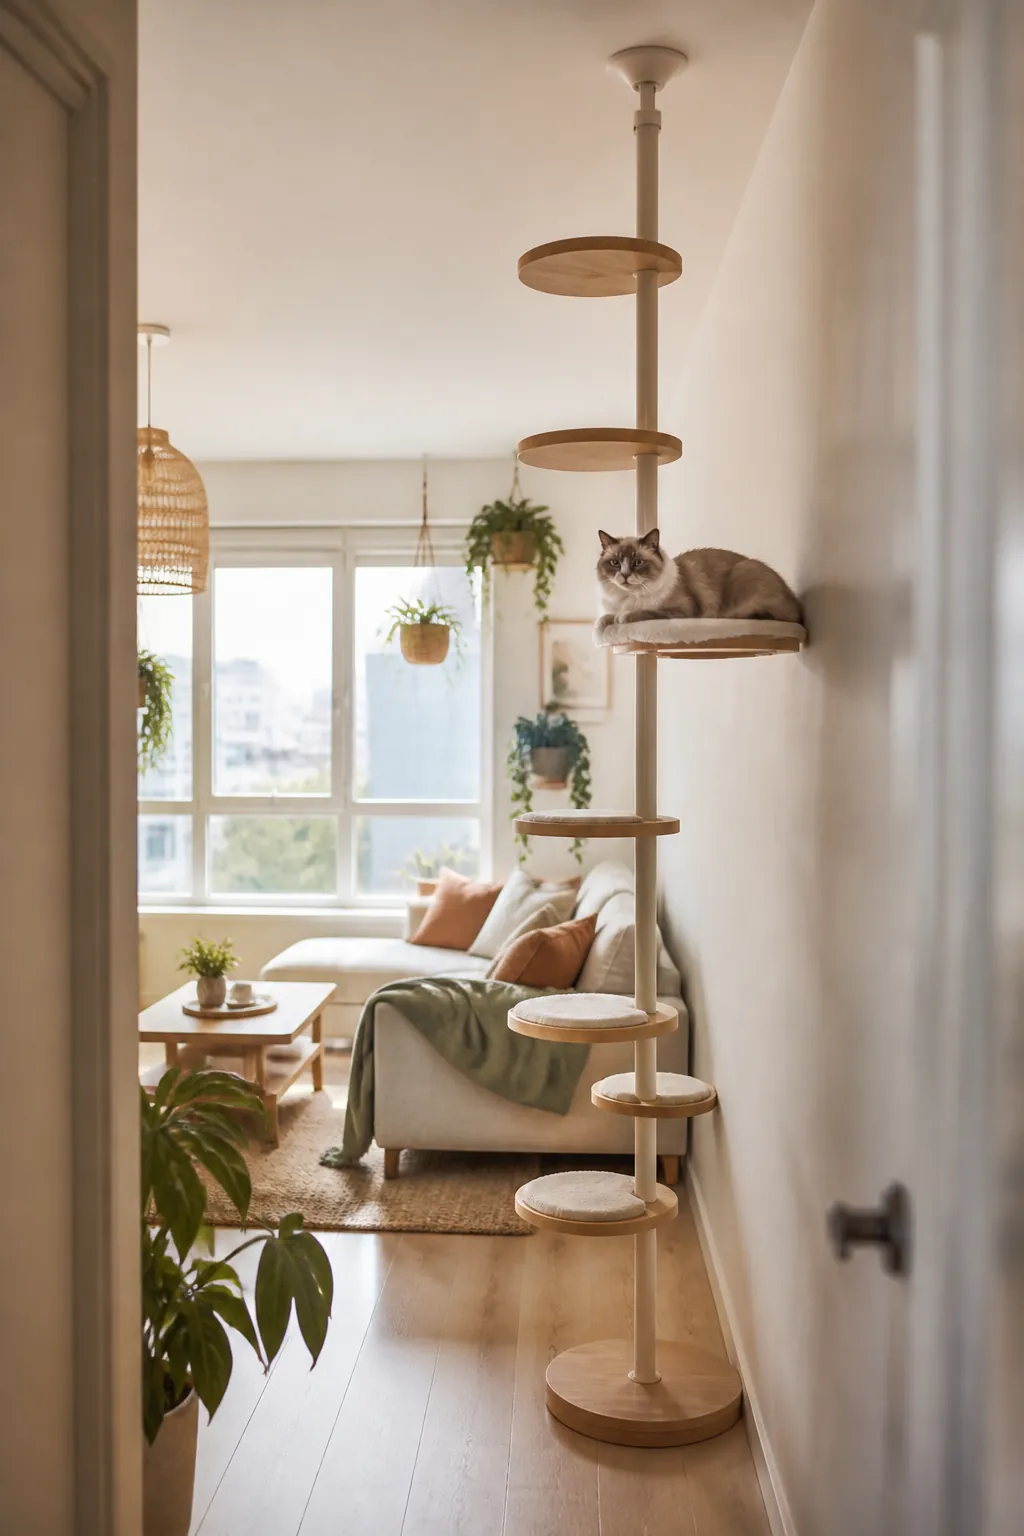
Where drilling is out and leaning hardware feels unstable, a tension pole cat ladder wedges between floor and ceiling, tightened by screw rods at the top, with climbing platforms fixed along its length, and needs no wall anchors at all. It suits ceilings from about six to ten feet and takes the width of a single pole rather than the footprint of a leaning ladder’s base. The trade-off is upkeep: tension loosens slightly as a building settles or the temperature swings, so it needs a monthly check and a quarter turn rather than a one-time install.
9. Give the top a landing, not another rung
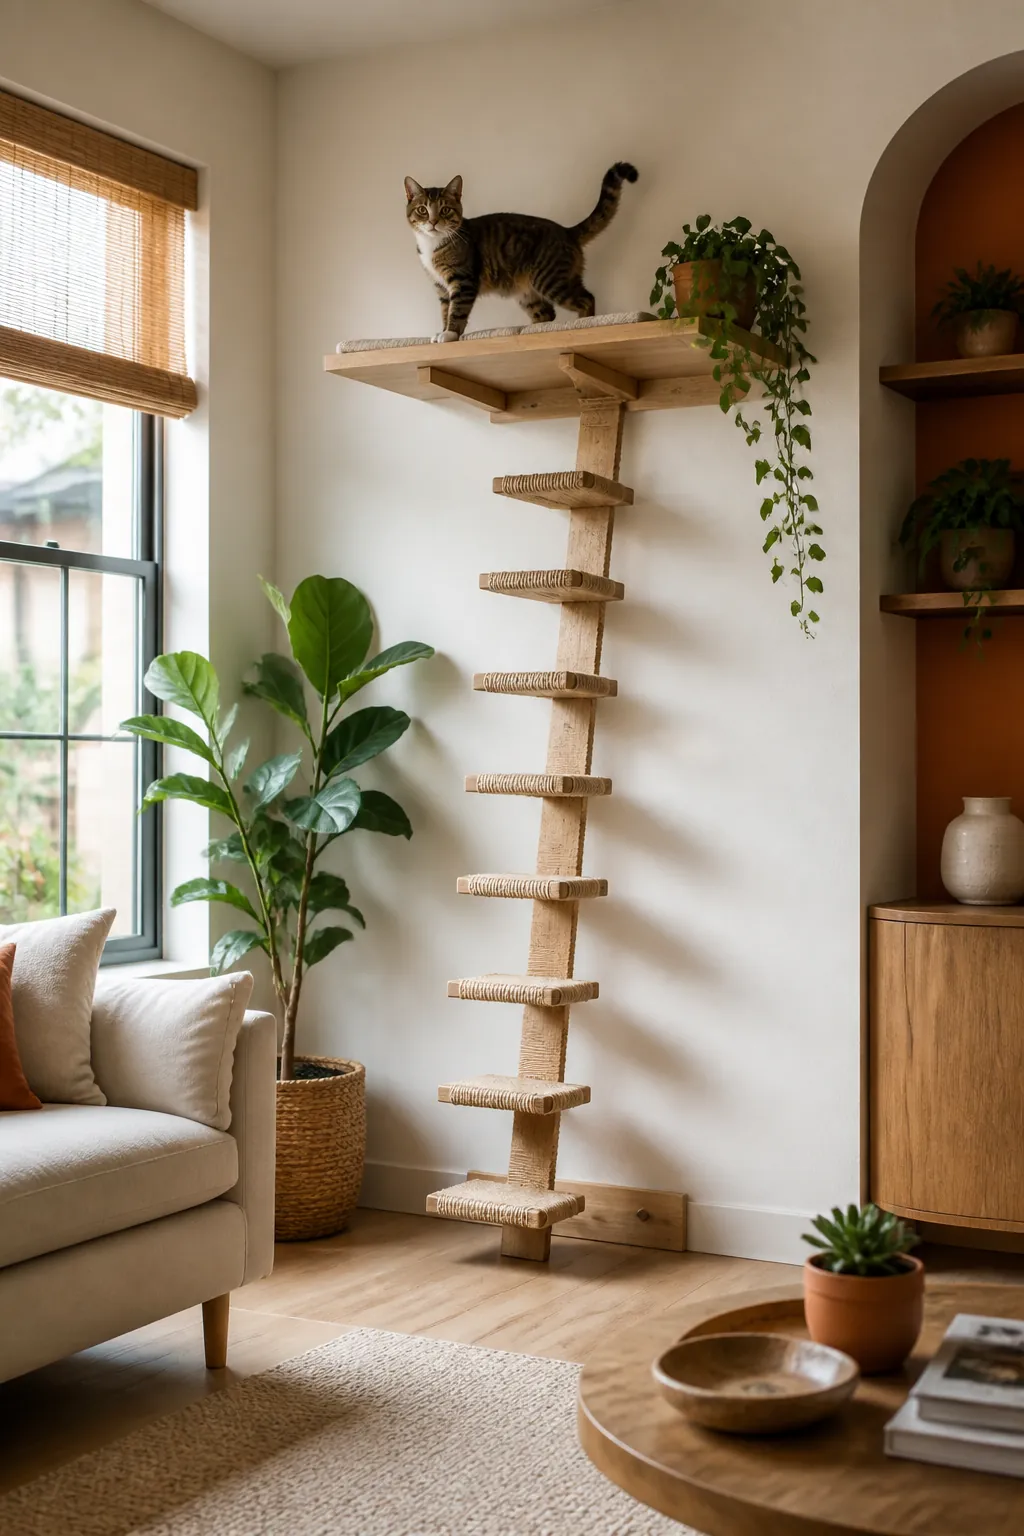
A ladder that ends at the same narrow width as its rungs asks a cat to arrive somewhere it cannot fully stand, which turns a successful climb into an uncomfortable one. A wall shelf sized to extend the climb at the top gives the ladder an actual destination wide enough to turn around on, which matters more than the ladder itself for whether the route gets used a second time. The rule is the same one that ends every cat wall route well: build toward somewhere, not just upward. If the ladder tops out where two walls meet, a corner shelf gives a deeper landing than a straight one, and these corner cat shelf ideas for a small apartment wall cover the brackets and the two stud patterns a corner brings.
10. Bridge an awkward reach with a single extra step
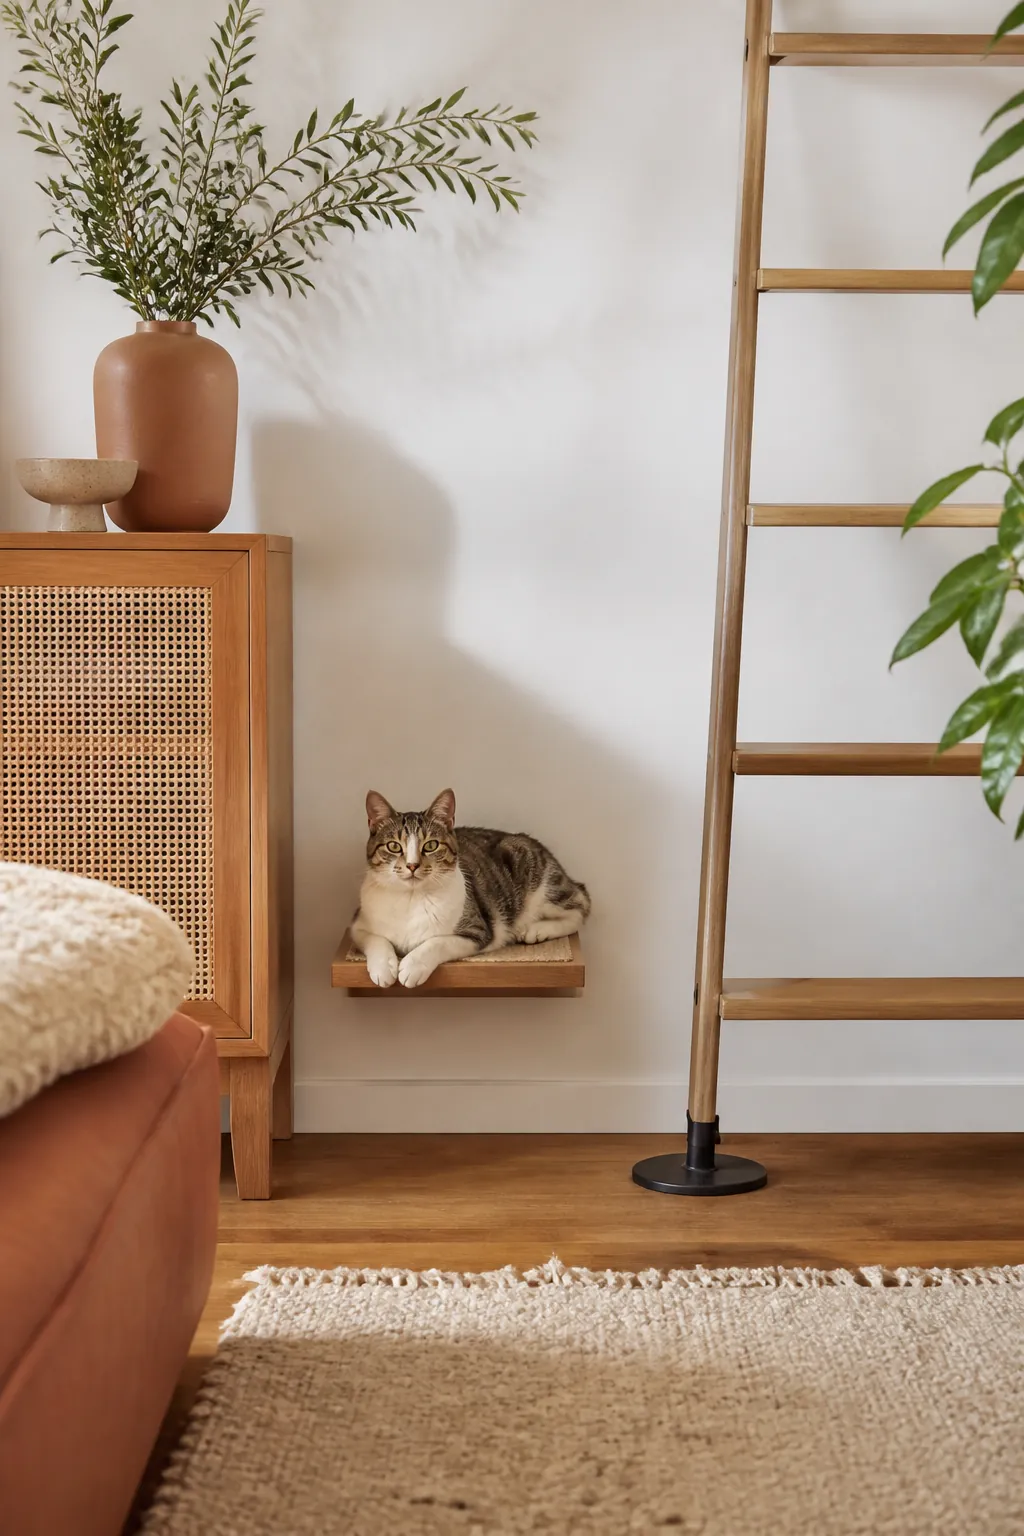
Sometimes the gap between a piece of furniture and the base of the ladder is a few inches too far for a comfortable first step, and buying a whole second ladder to fix a six-inch problem is overkill. A small floating cat step placed between the furniture and the ladder’s base closes that gap for a few dollars, and having one in reserve saves a return trip to the store once the ladder is actually in place and the real gaps become obvious.
Where to start
Measure the gap before buying anything: the vertical rise, the ceiling height if a tension pole is on the table, and what sits at both the bottom and the top of the run. A ladder bought to a size rather than a space usually ends up either too short to finish the climb or too long to fit the wall it was meant for.
Pick the mounting style next. No-drill options exist for both freestanding and tension-pole setups, so a strict lease is not a reason to skip the project, just a reason to rule out wall anchors early rather than discovering it after the hardware is bought.
Build the top landing before worrying about the rungs. A ladder with nowhere comfortable to arrive gets climbed once out of curiosity and ignored after that, while a wide, secure destination is what brings a cat back to the same route daily.
Test the base stability yourself, with your own hand pushing on the top rung, before the cat ever uses it. A ladder that shifts under a person’s push will shift under a landing cat, and that is the one failure on this list worth catching before anyone gets hurt or loses confidence in the route.