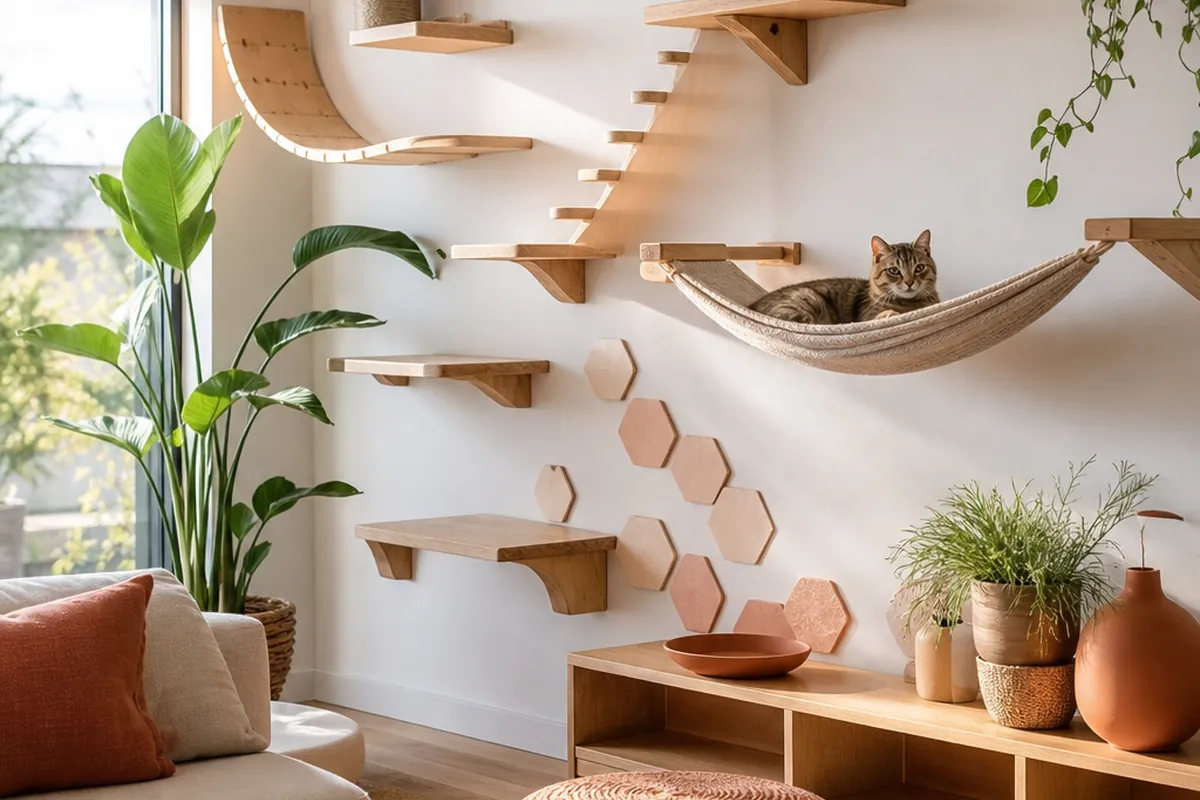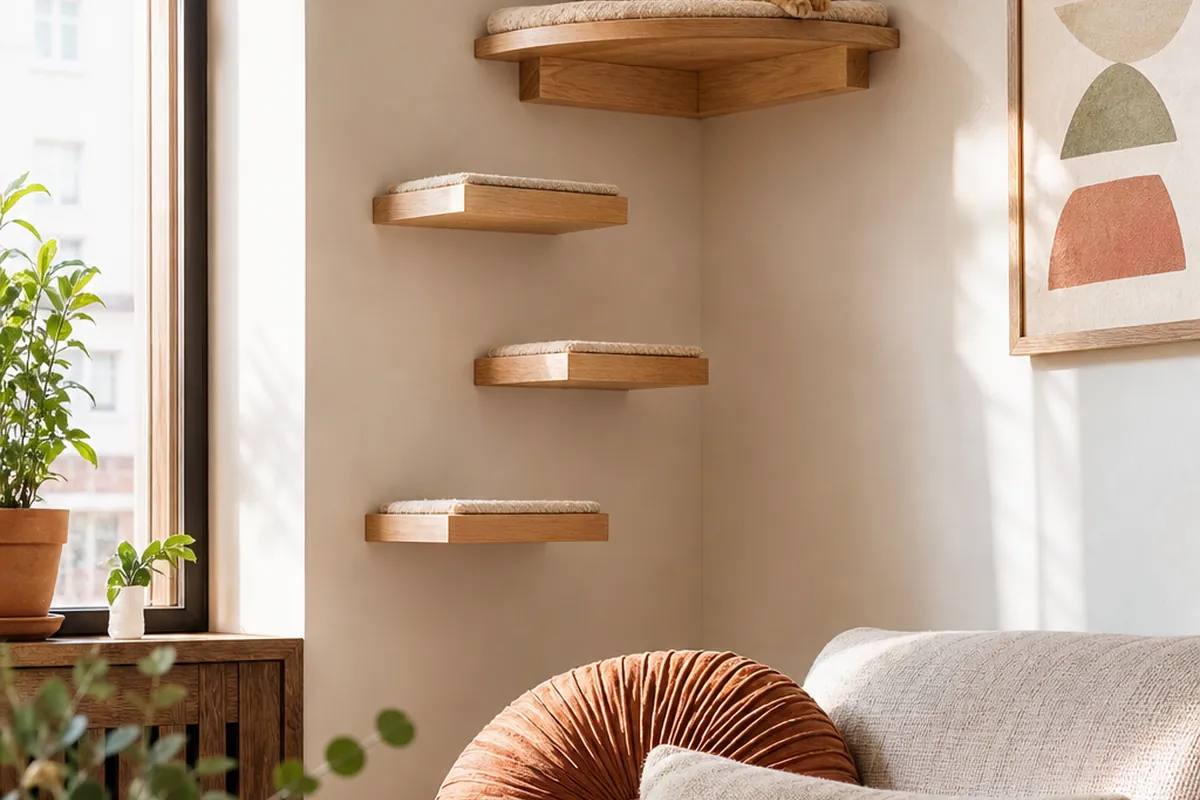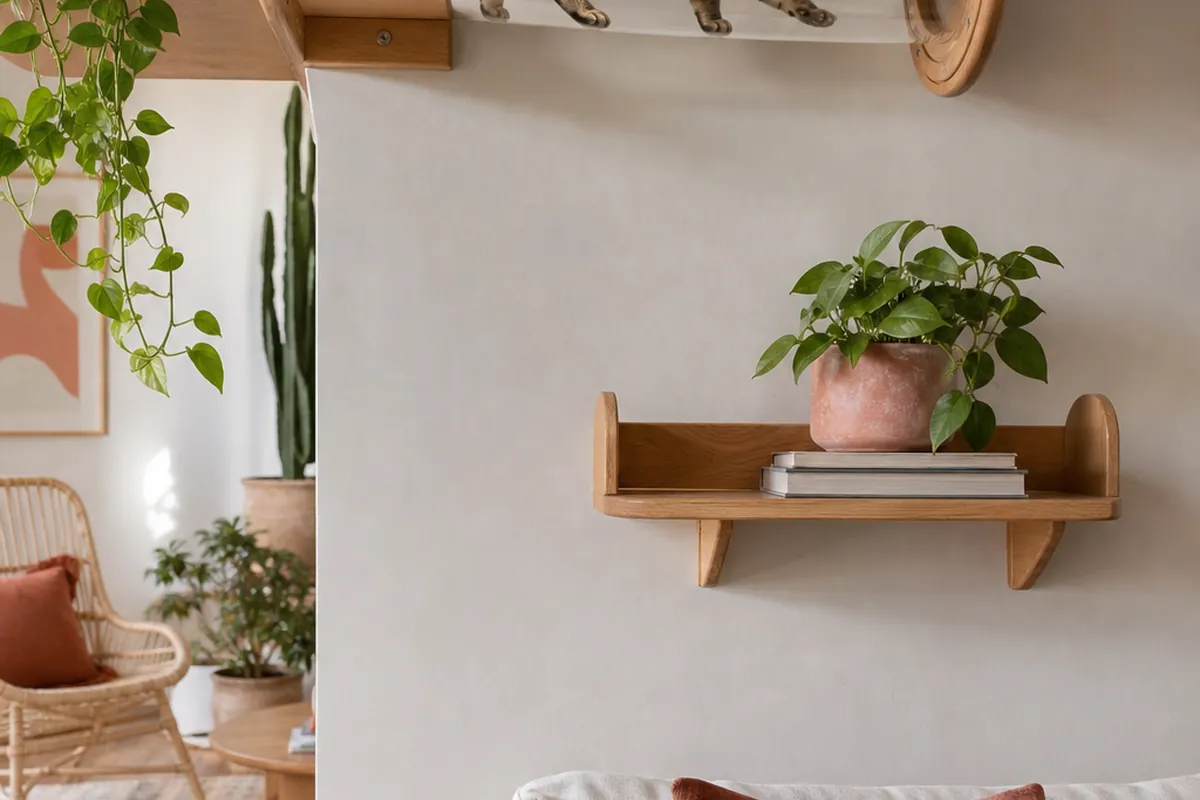
A climbing wall built from open shelves leaves a cat exposed on every step, which is fine for a confident cat and a nonstarter for a nervous one. A wall tunnel solves a different problem: it turns part of the route into an enclosed passage, so a cat can cross a room at height without ever being out in the open. It costs more floor-to-ceiling planning than a run of shelves, and it fails in different ways, which is the gap this article covers.
Nine things to get right before you mount anything, in the order they actually come up.
1. Decide what the tunnel is for before you shop for one
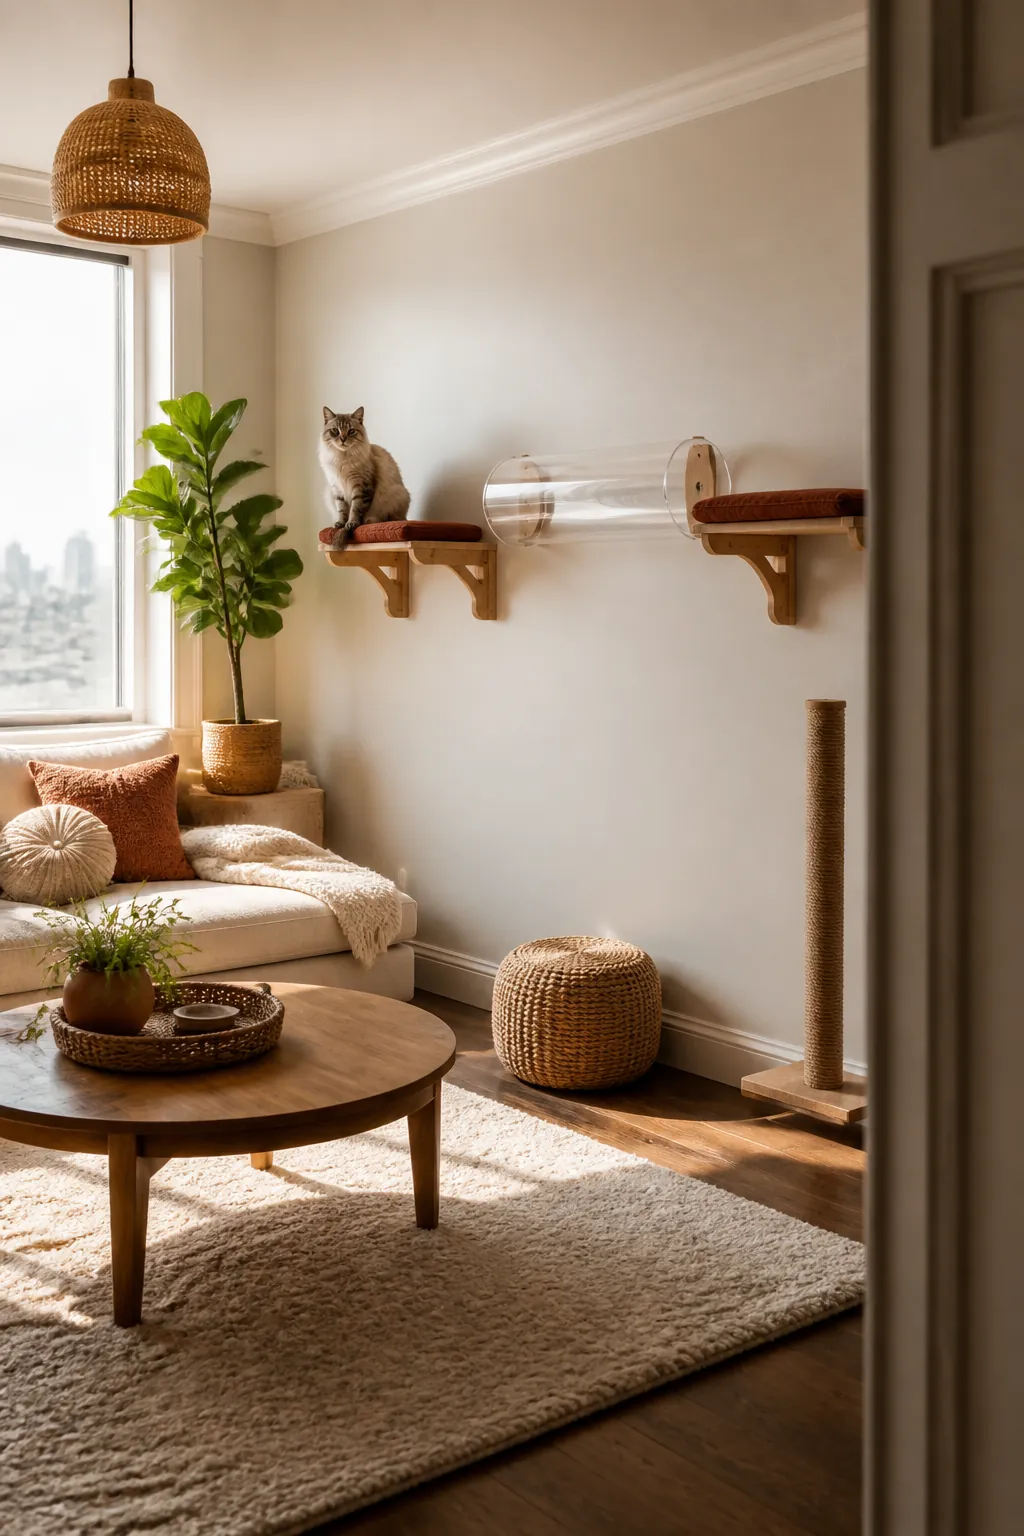
A tunnel earns a wall when it does something open shelves cannot: crossing above a doorway where a flat shelf would get knocked by the door, giving a shy or elderly cat cover between two favorite spots, or routing past a window without a long exposed run in front of the glass. If none of that applies, a tunnel is a more expensive and harder to clean version of a shelf, and the honest answer is to build the open route instead. Treat the enclosed sections as a tool for a specific stretch of wall, not a style choice for the whole climb.
2. Size the inside diameter for the cat you actually have
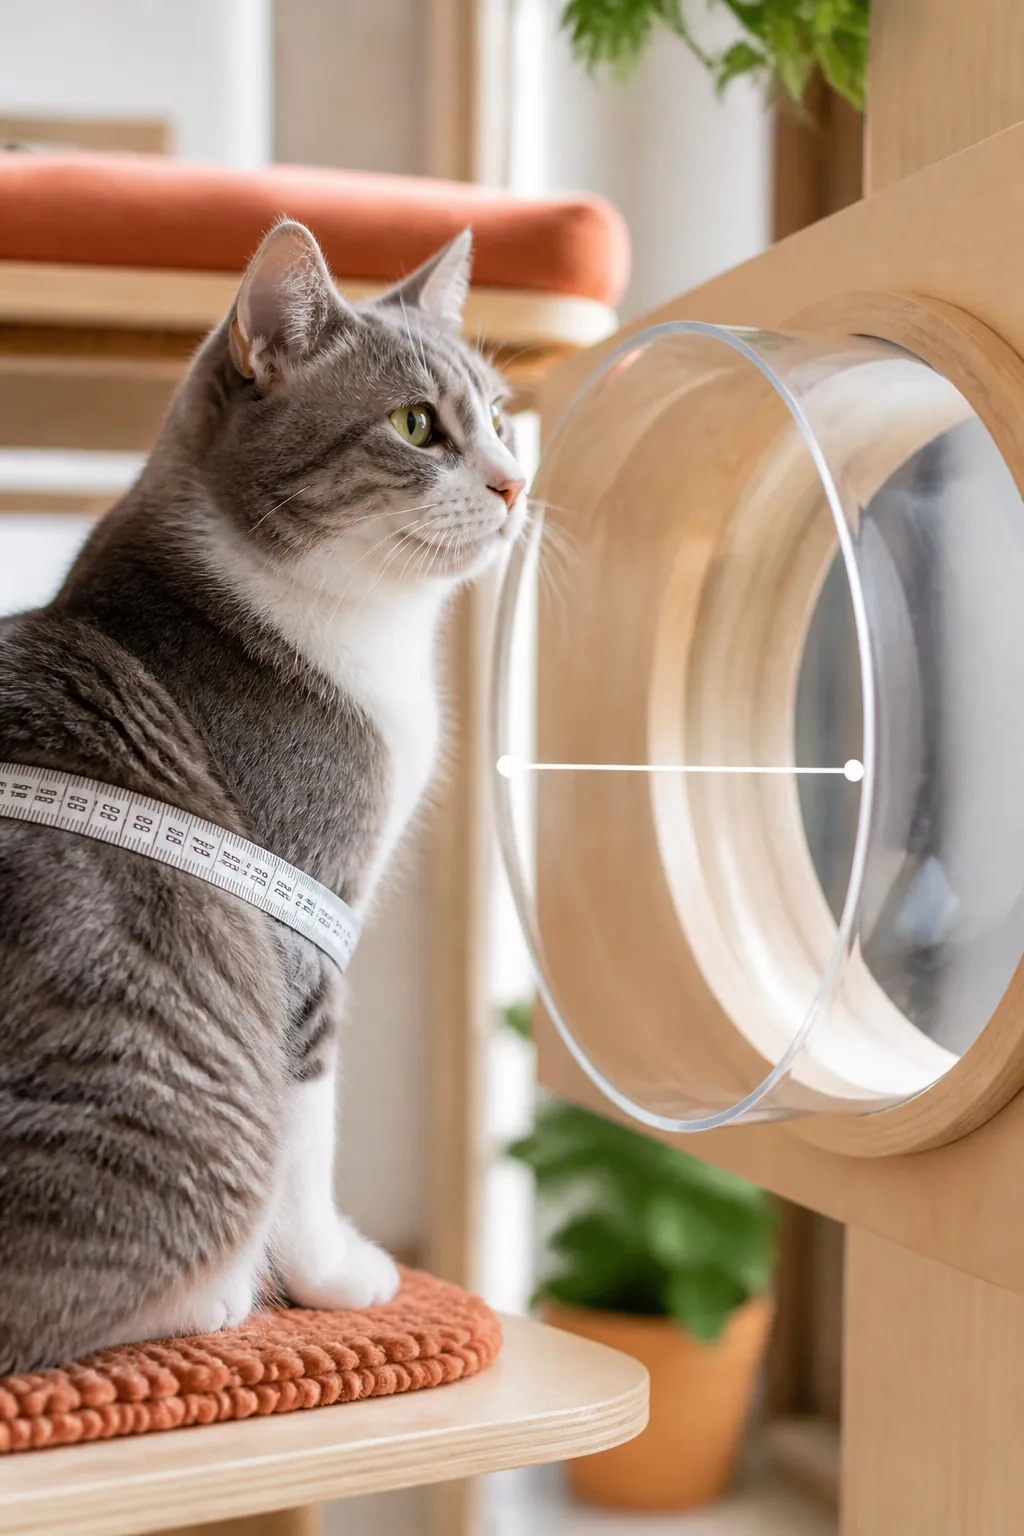
Eight inches of clear inside diameter works for most adult cats; a Maine Coon or a cat north of 15 pounds wants closer to 10. Measure the cat’s rib cage at its widest, not its head, because the shoulders and ribs are what actually get stuck, not the skull. A tunnel that looks generous in a product photo often measures smaller once walls and any internal seam are accounted for, so check the listed inside measurement rather than the outside one.
3. Build in a way to turn around, not just to pass through
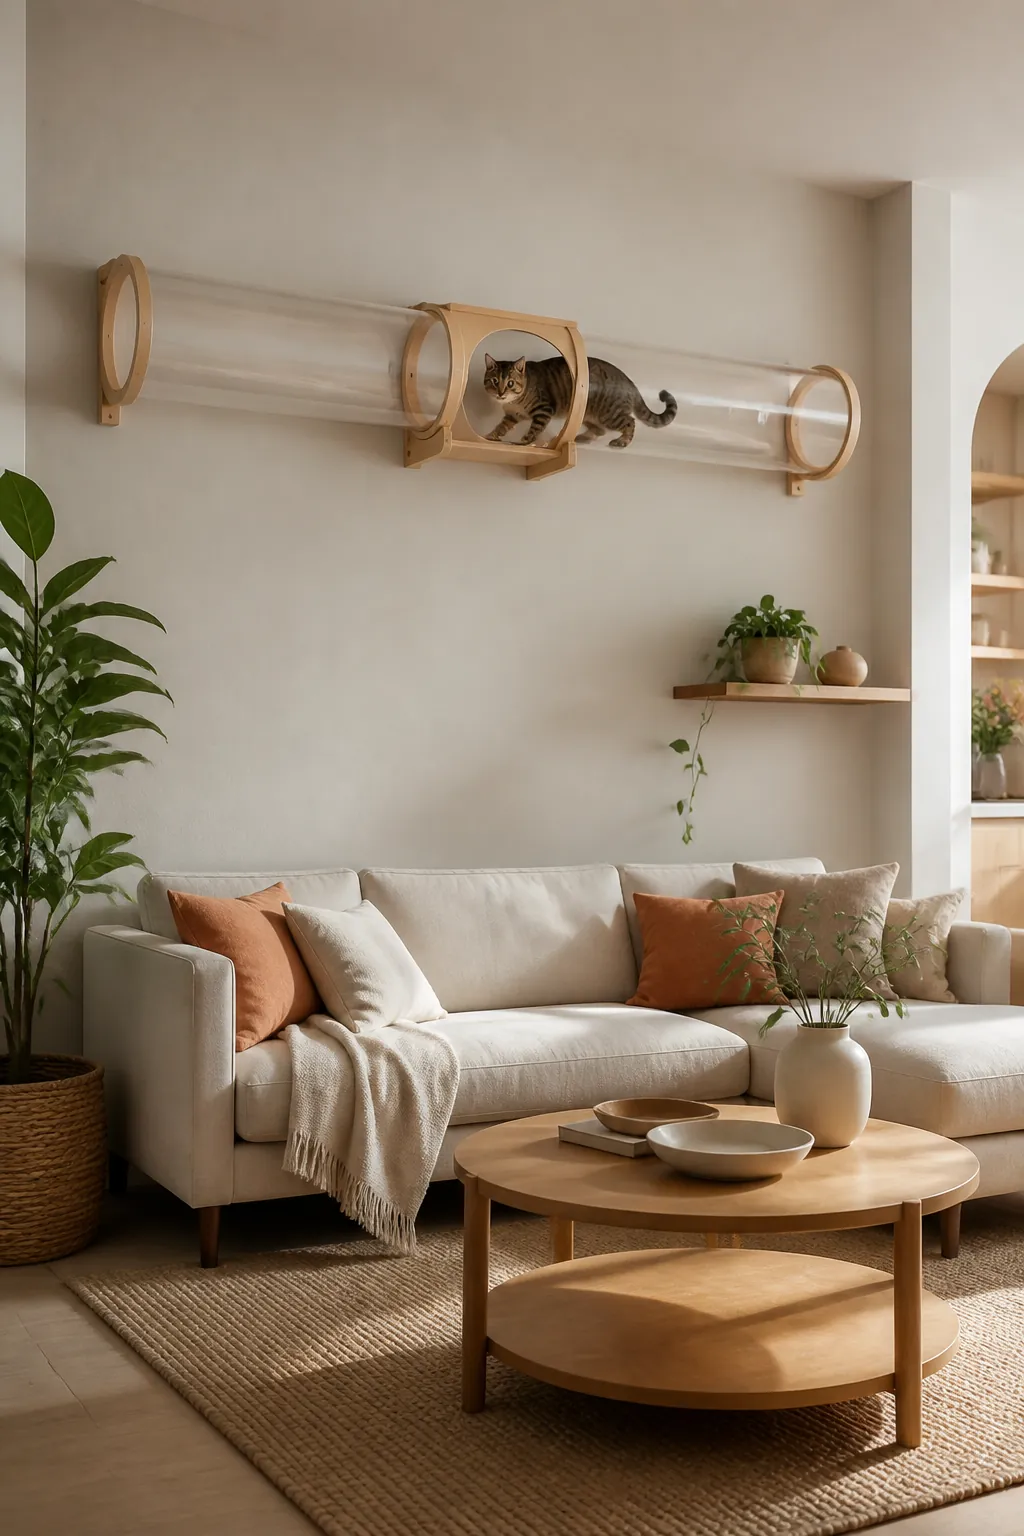
A straight run under about four feet lets a cat back out the way it came, which most cats will do without hesitation. Anything longer, or anything with a bend, needs either a widened pass-through section or one open side partway along where the cat can turn its body. A tunnel with no turning point and a dead end at the far side is the single most common reason cats stop using one: they go in once, cannot see a way to reorient, and decide the whole structure is a trap. Where the route reaches a room corner, ending the tunnel on a corner shelf gives the cat that turning space without a bend in the tube, and these corner cat shelf ideas for a small apartment wall cover anchoring one across the two stud lines a corner brings.
4. Pick acrylic, corrugated plastic, or carpeted boxing, and know the tradeoff
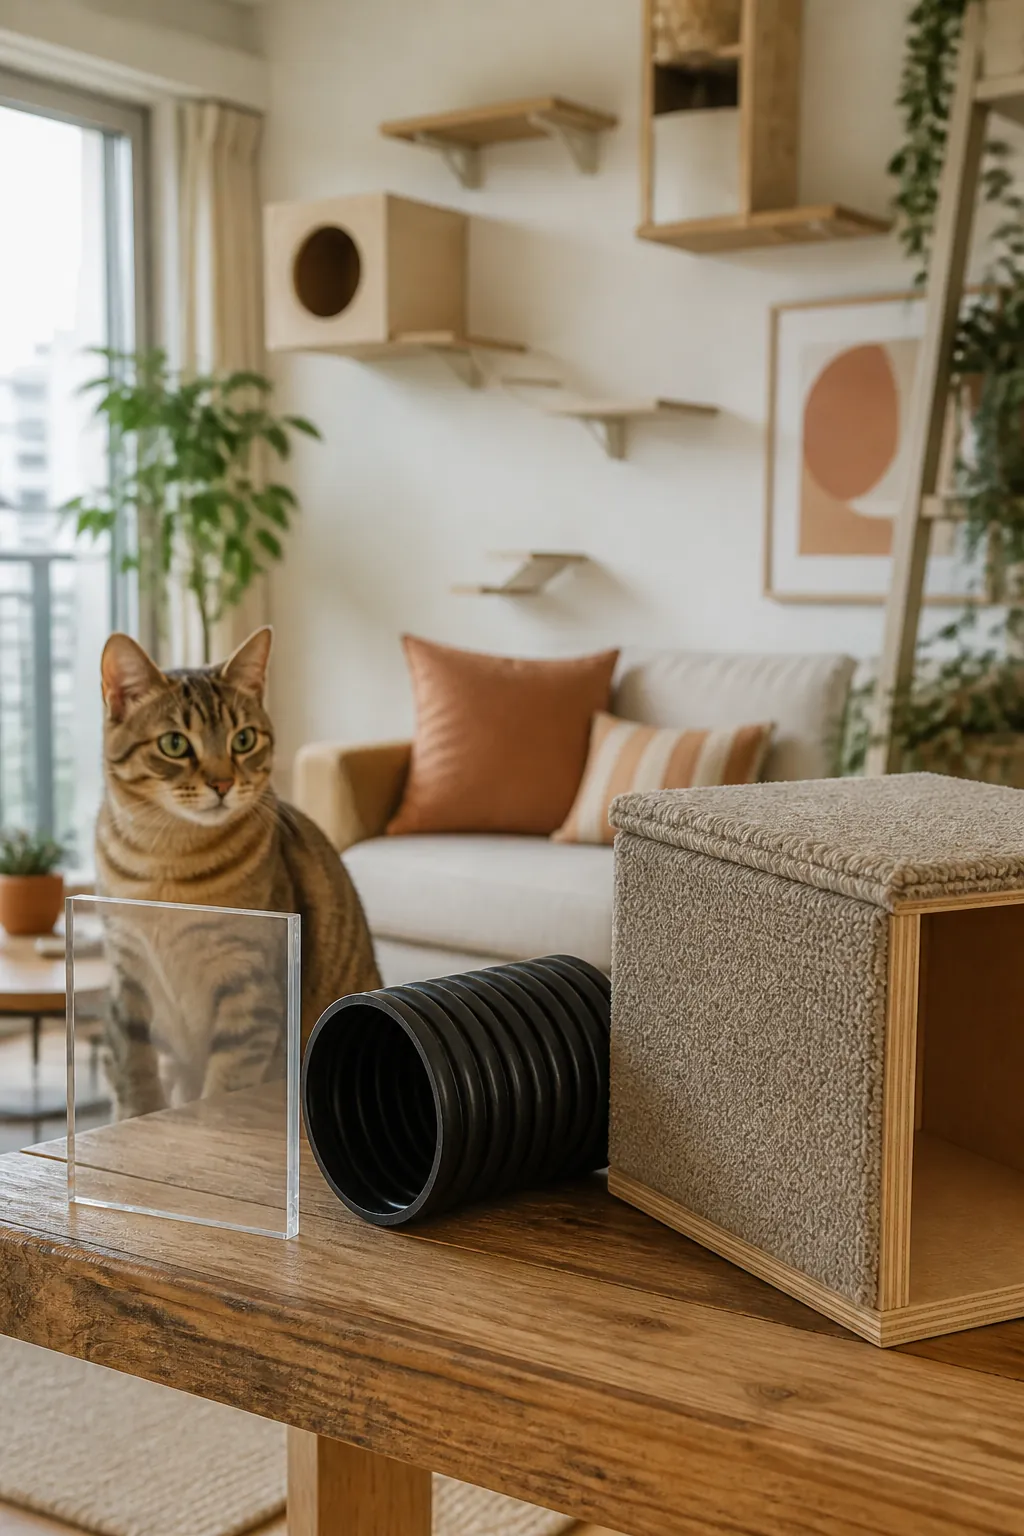
Clear acrylic sheet, bent or seamed into a tube, is what most of the tunnel photos circulating online actually show, and it keeps a small wall looking open rather than boxed in. It also shows every scratch and every bit of fur against the light, and needs wiping down weekly if it is going to stay looking that way. Corrugated plastic drainpipe, the kind sold for yard drainage, costs a fraction as much and shrugs off claws, but it reads as a pipe on your wall rather than a piece of furniture. Carpeted plywood boxing hides wear the longest and matches a room’s decor most easily, at the cost of being heavier to mount and impossible to see inside without opening a panel. None of these is wrong; picking without comparing them side by side is the mistake.
5. Support the span every 12 to 16 inches, not just at the ends
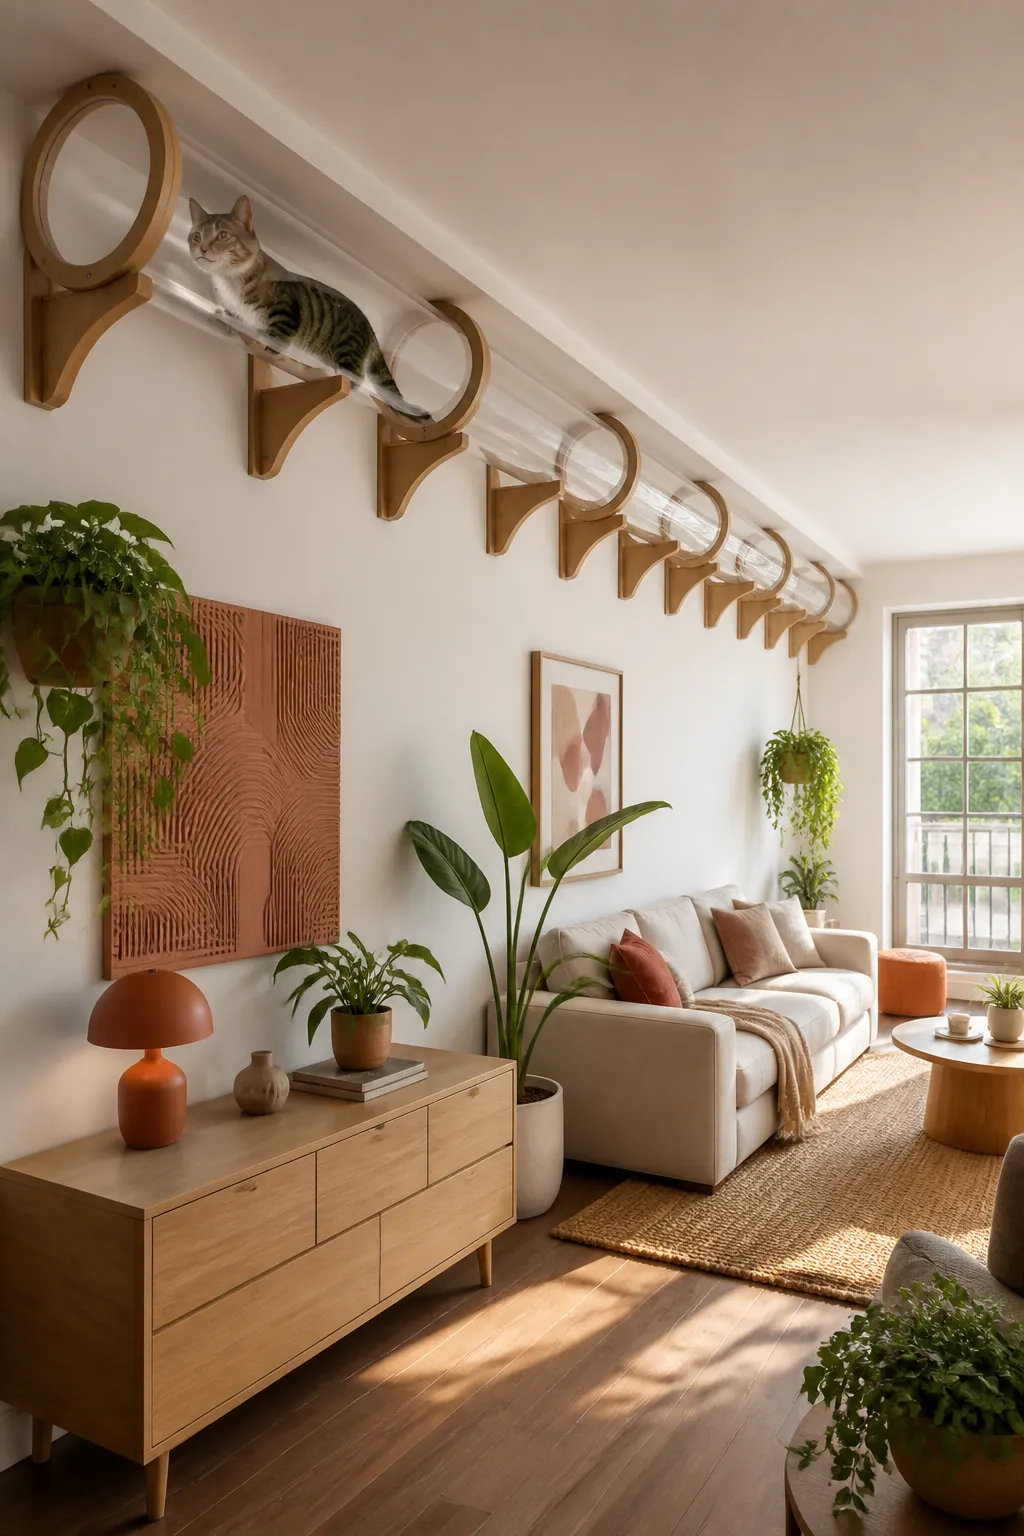
A tube that only touches the wall where it meets a shelf on either end will bow in the middle under a cat’s moving weight, and a tunnel that flexes underfoot gets abandoned fast, well before it actually fails. A cat climbing wall kit built around a run of shelves gives you mounting points at a useful spacing to brace a tunnel section against, rather than relying on the tunnel’s own end caps to carry the whole load. Mark where the brackets land before you cut or order the tunnel material, since retrofitting support into a tube you have already sealed closed means opening it back up.
6. Keep the entry and exit flush with the shelf, not resting on top of it
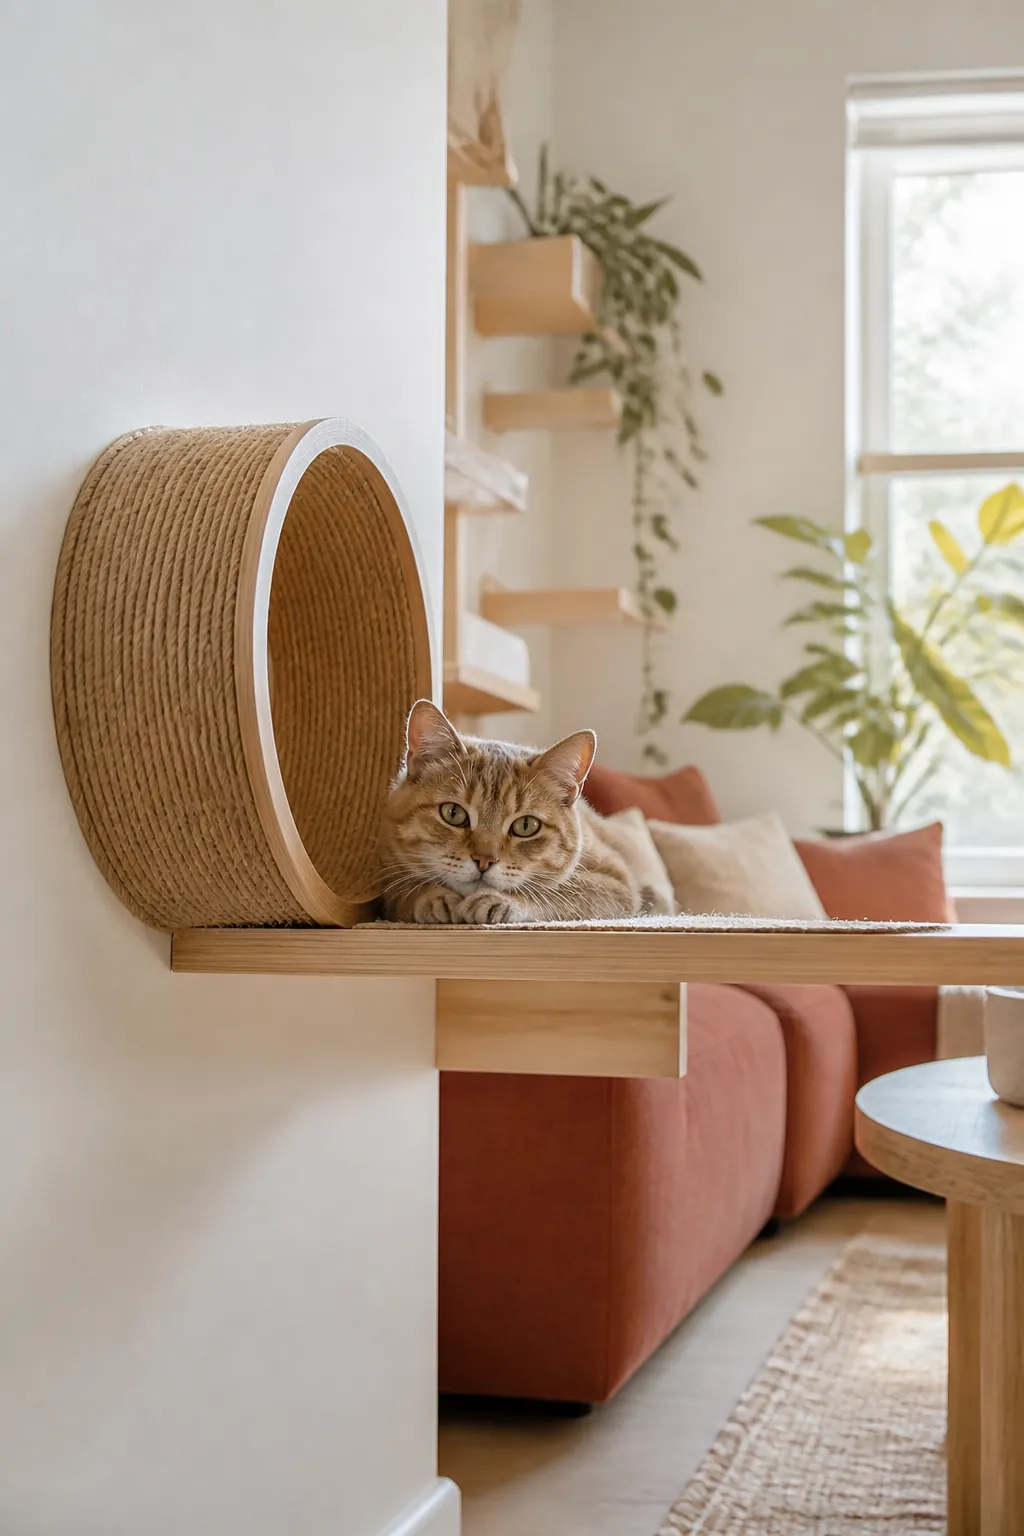
The joint between a tunnel mouth and a shelf is where most wobble actually starts, and it is nearly always because the tunnel sits on top of the shelf surface rather than being let into it or mounted at the same plane. A cat stepping from an open shelf into a tunnel whose floor is half an inch higher hesitates at that lip every single time, the same way a person misjudges a single unexpected step on a staircase. A wall shelf built to extend the climb with a flat, continuous top gives you a clean transition point to butt the tunnel mouth against, which matters more than almost any other dimension on the whole route.
7. Route it over doorways and windows instead of through open wall
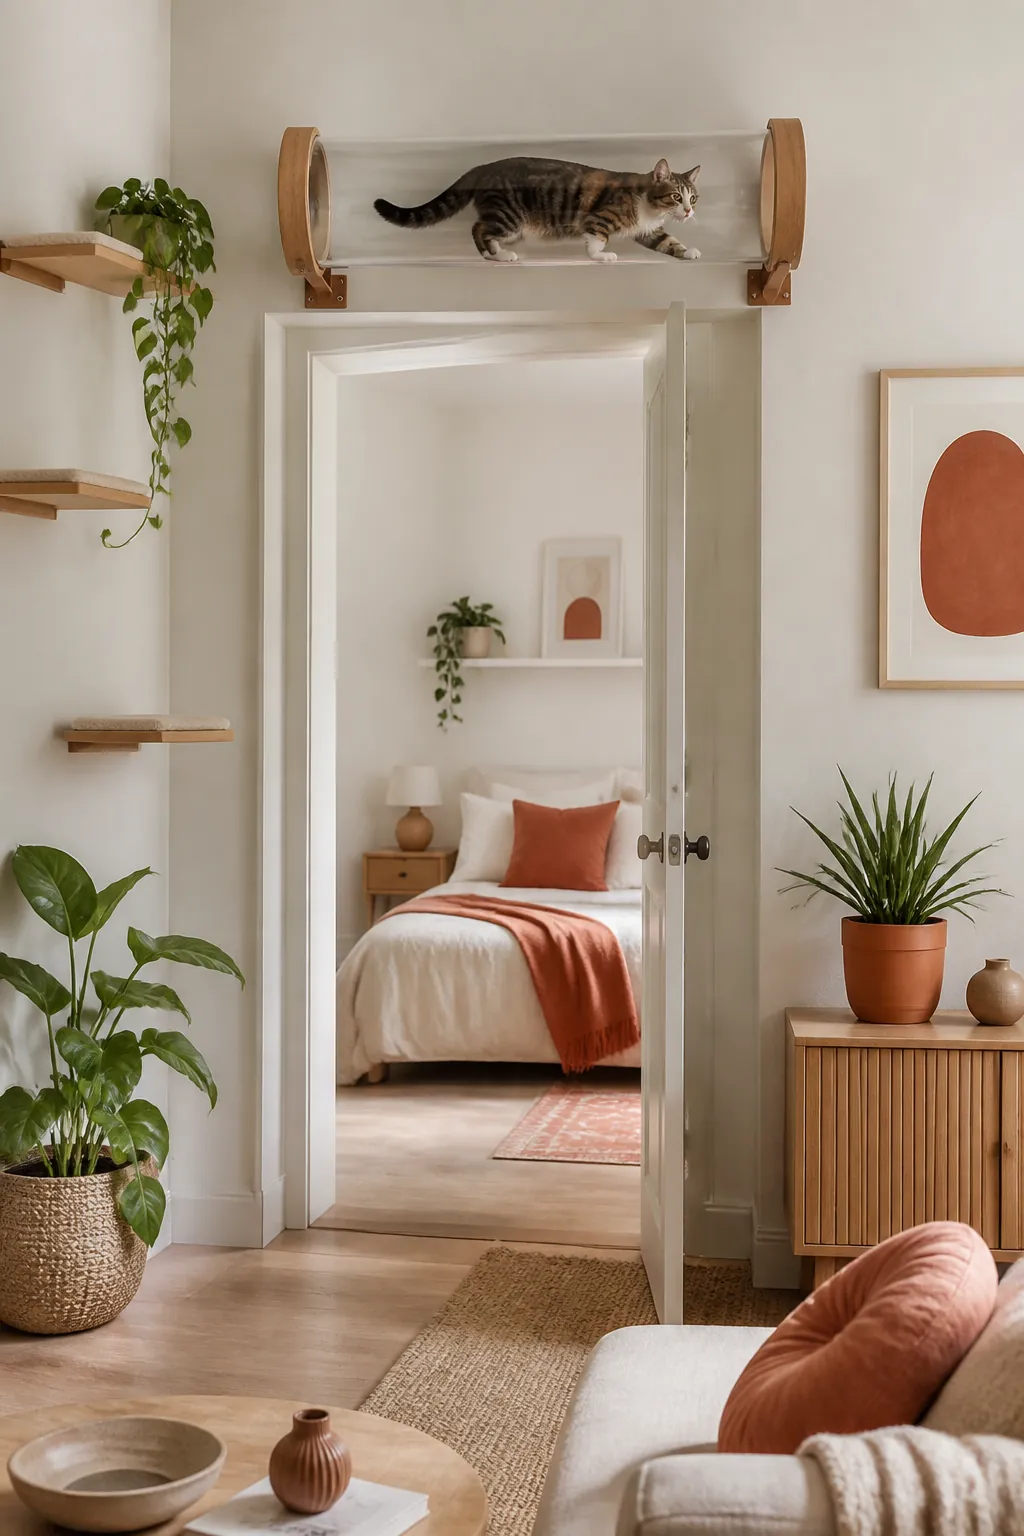
The header space above a door frame is usually six inches of wall nobody uses for anything else, and it is the best place on a floor plan to run a tunnel, since a door swinging underneath cannot knock it and a person walking through never has to duck. The same logic applies above a window: a tunnel crossing six inches above the top of the frame stays clear of curtains and blinds entirely, where a shelf at the same height would interfere with both. Measure the door and window headers in the room before committing to a tunnel’s path, because this is the one placement decision that is nearly free if you plan for it and expensive to fix afterward.
8. Add a pause platform if the run is longer than about six feet

A tunnel that just connects point A to point B with nothing in between is a hallway, and cats use hallways to get somewhere rather than to linger. On any run longer than six feet, build in one small platform, even a few inches of bump-out with an open top, where a cat can stop, look out, and sit for a minute. Without it, a long tunnel gets used for exactly as long as it takes to cross and never becomes a place the cat actually chooses to be, which is most of the point of building one in the first place.
9. Plan for cleaning before you seal anything shut
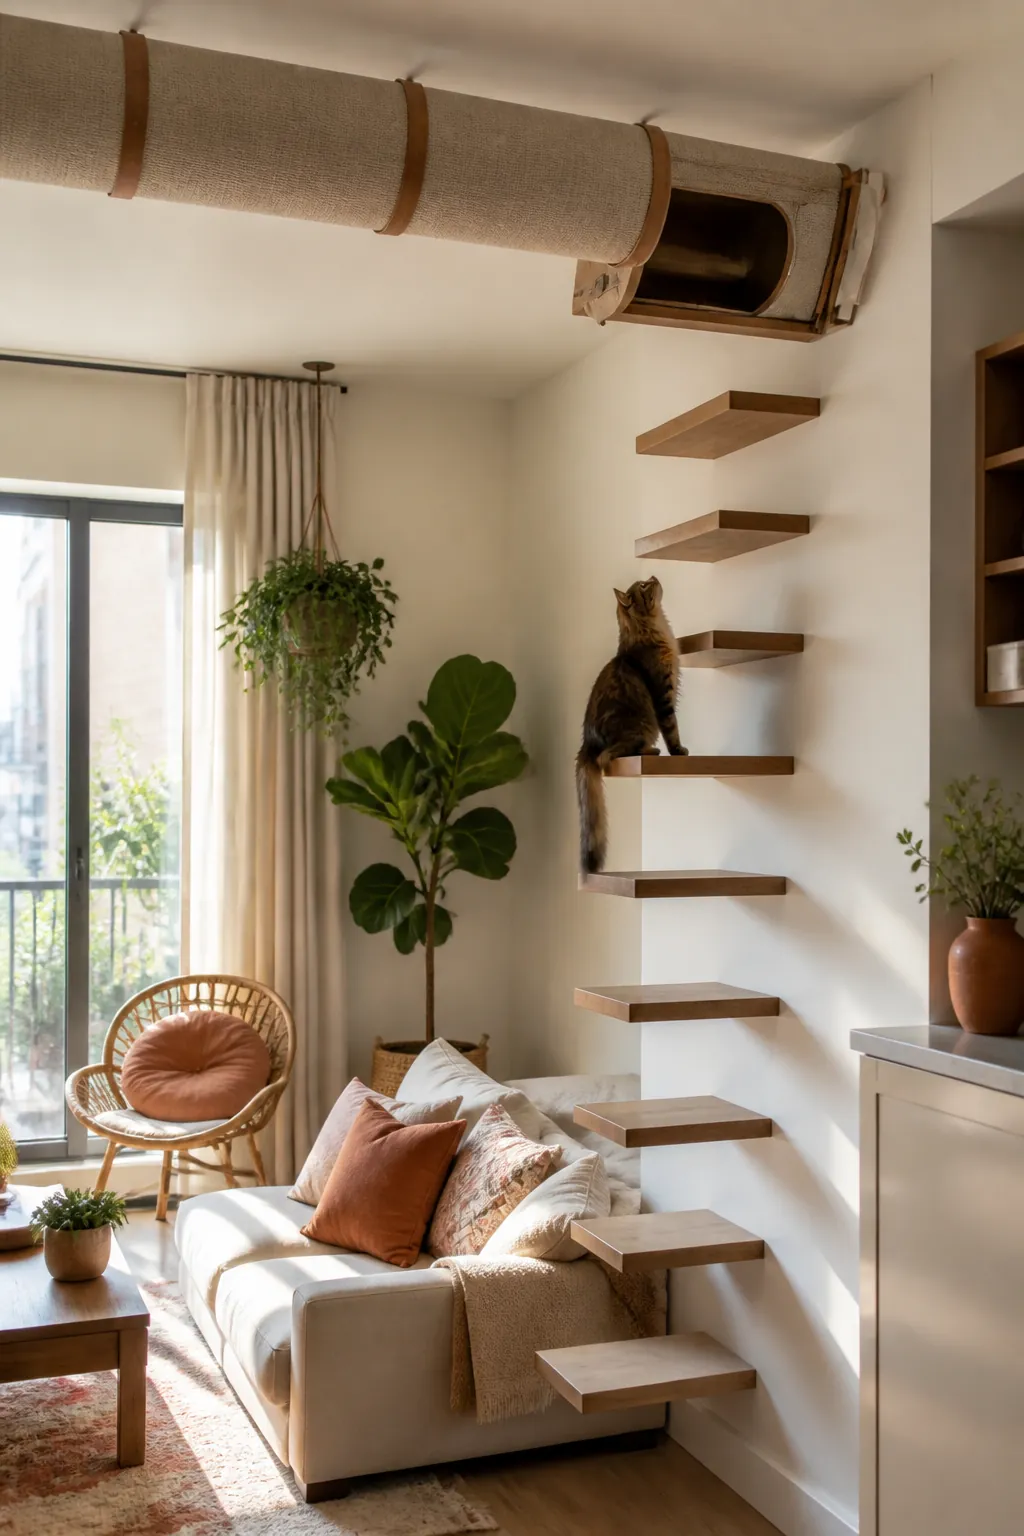
An open shelf sheds fur and dust onto the floor on its own; an enclosed tunnel does not, and everything that lands inside stays there until a hand reaches in and gets it. Build at least one hinged panel or a fully removable end cap into every run longer than about three feet, positioned somewhere you can actually reach from a step stool. A small floating cat step placed below the access point turns an awkward overhead reach into a short climb, which is the difference between a tunnel that gets cleaned monthly and one that gets cleaned never. Skip the access panel to save a weekend’s work and you are buying yourself a dustier, hairier tunnel for the life of the wall.
Where to start
Start with one short tunnel section over a single awkward stretch, like a doorway header or the gap between two shelves that a straight shelf run cannot bridge cleanly, rather than planning an enclosed route across the whole wall. A single section proves out the diameter, the support spacing, and the access panel on a scale you can redo in an afternoon if something is off.
Measure the cat before you measure the wall. The inside diameter is the one dimension that is nearly impossible to fix after the material is cut or ordered, and it is also the one people guess at instead of measuring, because measuring a cat’s rib cage feels unnecessary right up until the tunnel is too narrow.
Build the support brackets in before you close up the tube, not after. A tunnel is much harder to brace once it is a sealed shape than while it is still flat material on a workbench, and the 12 to 16 inch spacing that keeps it rigid is far easier to hit with the material laid out than with a finished tube already up on the wall.
Add the access panel last in the build but first in the plan. It is the detail every tunnel idea online leaves out of the photo, and it is the one that decides whether the finished piece is something you maintain for years or something you take down after one summer of not being able to reach inside it.