A studio apartment has exactly one room, which is great for rent and terrible for anyone trying to give a cat its own territory inside it. There is no spare door to close, no hallway to section off, just one open floor plan that has to do everything at once. A room divider solves that without a renovation, carving out a cat space inside the studio’s single room while leaving the lease exactly as you found it.
Eleven ways to do it, from the simplest freestanding piece to the one that doubles as furniture.
1. Decide what the divider actually needs to stop
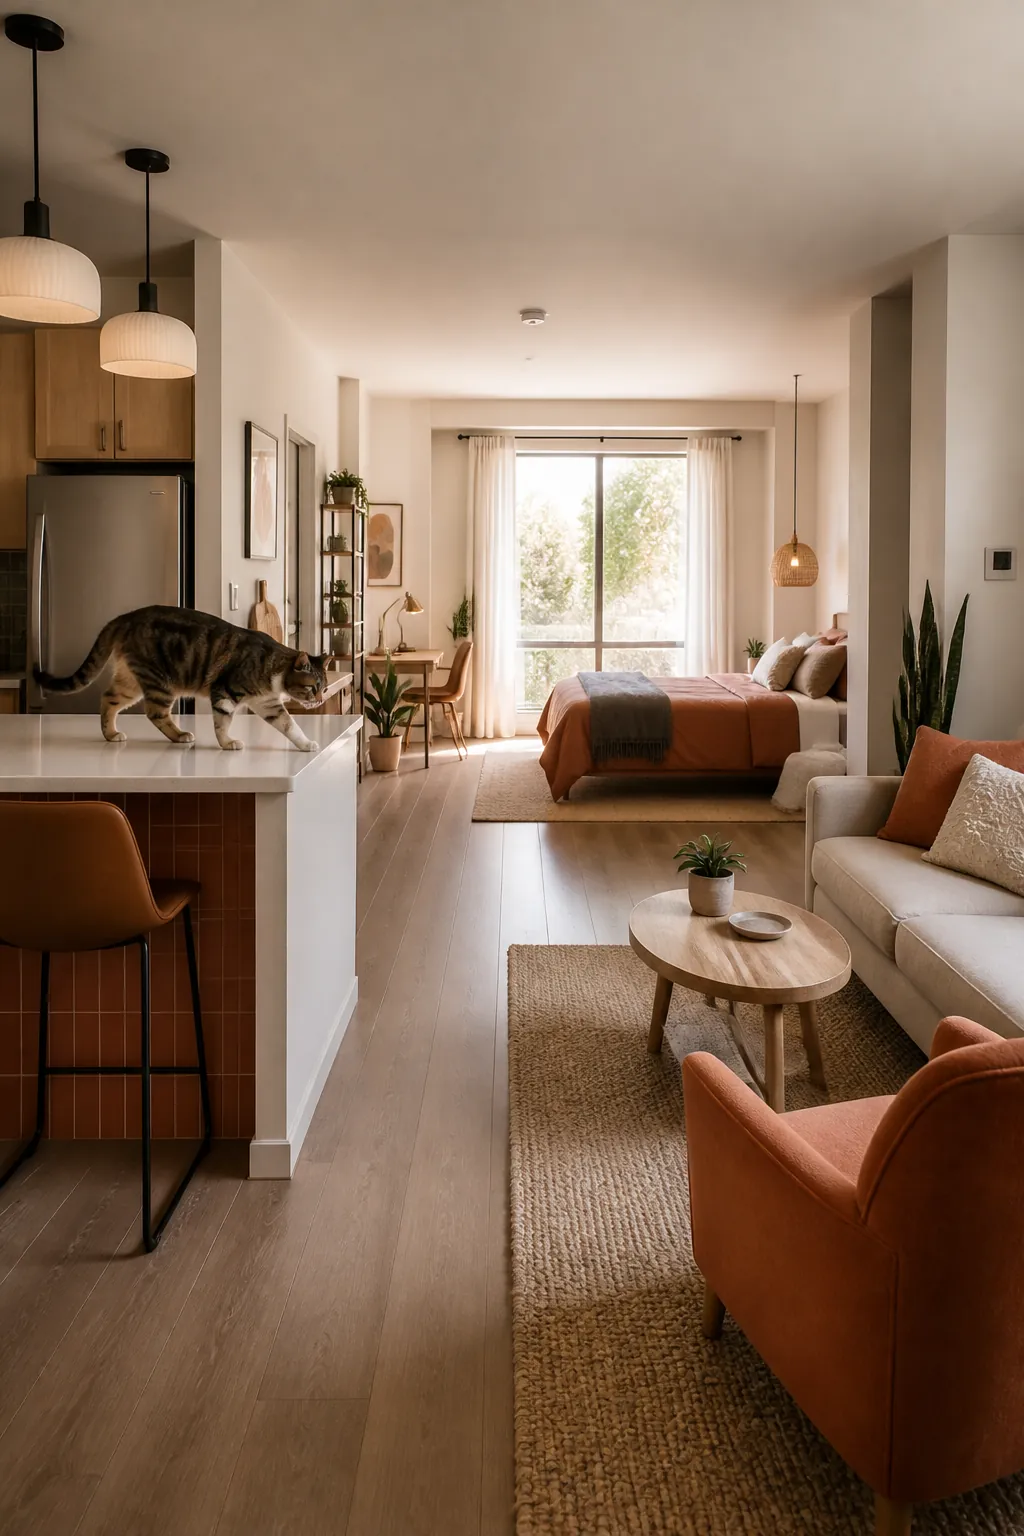
Before buying anything, work out whether you are blocking a cat’s path, a human’s sightline, or both. A litter box needs visual privacy more than a physical barrier, while a cat that keeps wandering onto the kitchen counter needs its route blocked, not just hidden. Conflating the two is the most common reason a studio divider disappoints: a decorative screen that looks like a boundary but leaves a gap wide enough to slip through solves the human’s problem and ignores the cat’s.
Name the actual behavior you are trying to change before shopping. That one sentence decides whether section 3 or section 7 below is the right starting point.
2. Measure the opening, not the room
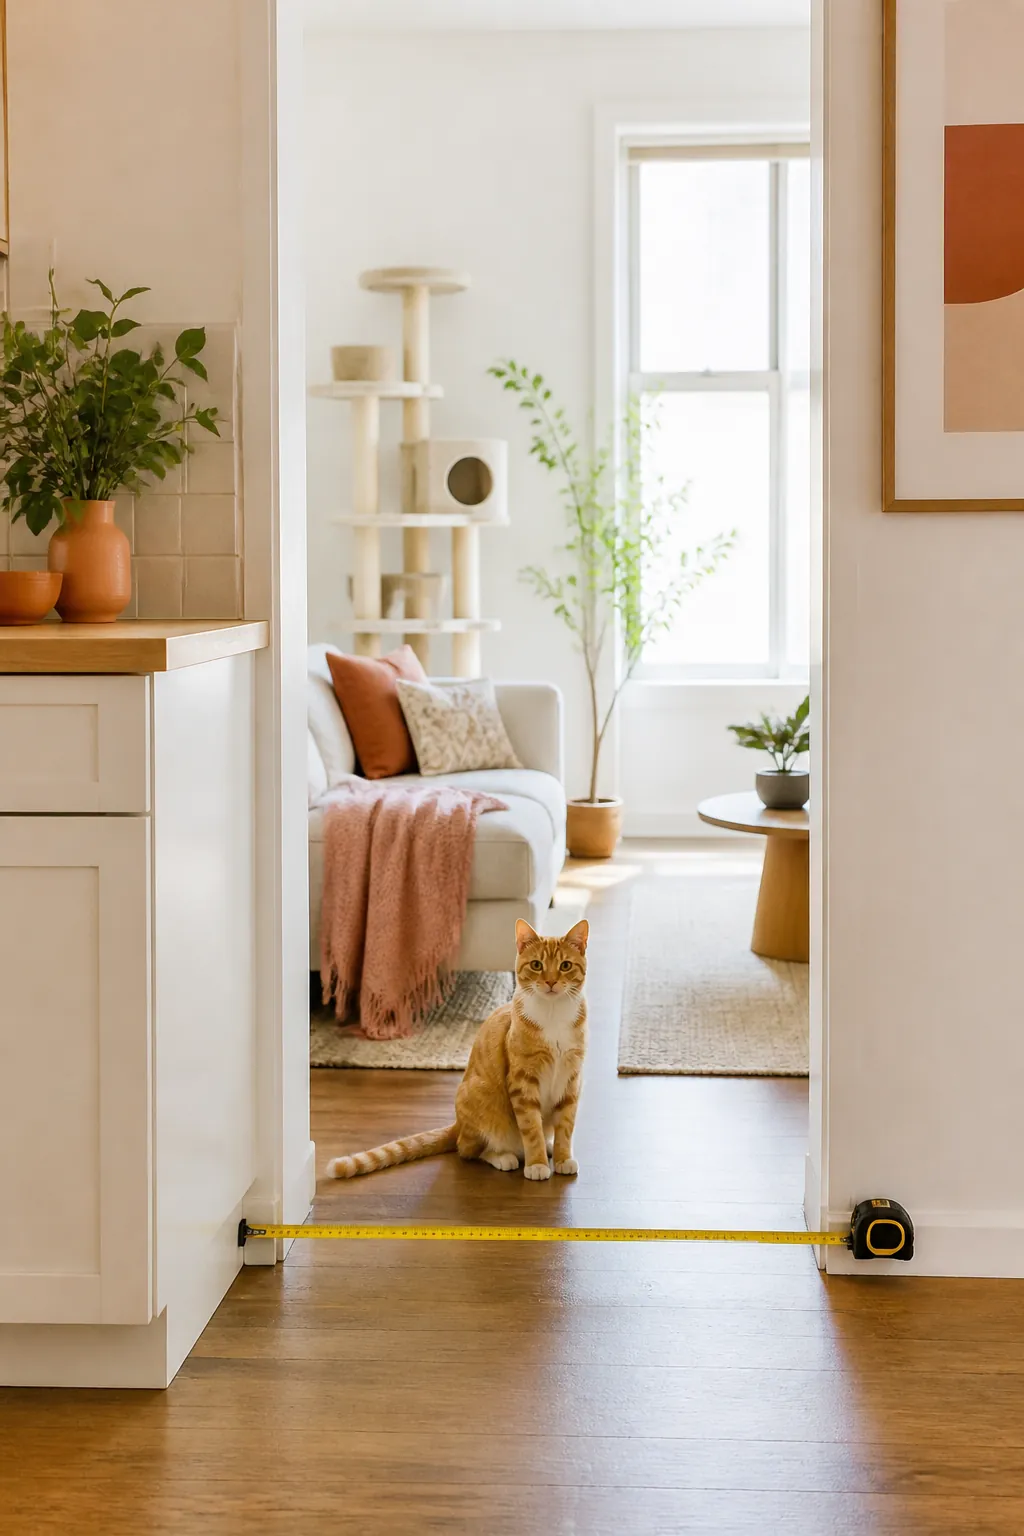
Studio apartments are rarely a clean rectangle. The stretch you want to divide, usually between a kitchen counter and a wall, or across the foot of a sleeping area, is an opening with its own width, and that number is what you shop against, not the apartment’s total square footage. Measure wall to wall at floor level and again at six feet up, since a water heater closet or a kitchen peninsula can narrow the gap partway up a wall that looks clear at the baseboard.
Write both numbers down before comparing products. A divider bought to the wrong opening width is the single most returned item in this category, and most of those returns trace back to measuring the room instead of the gap that actually needs filling.
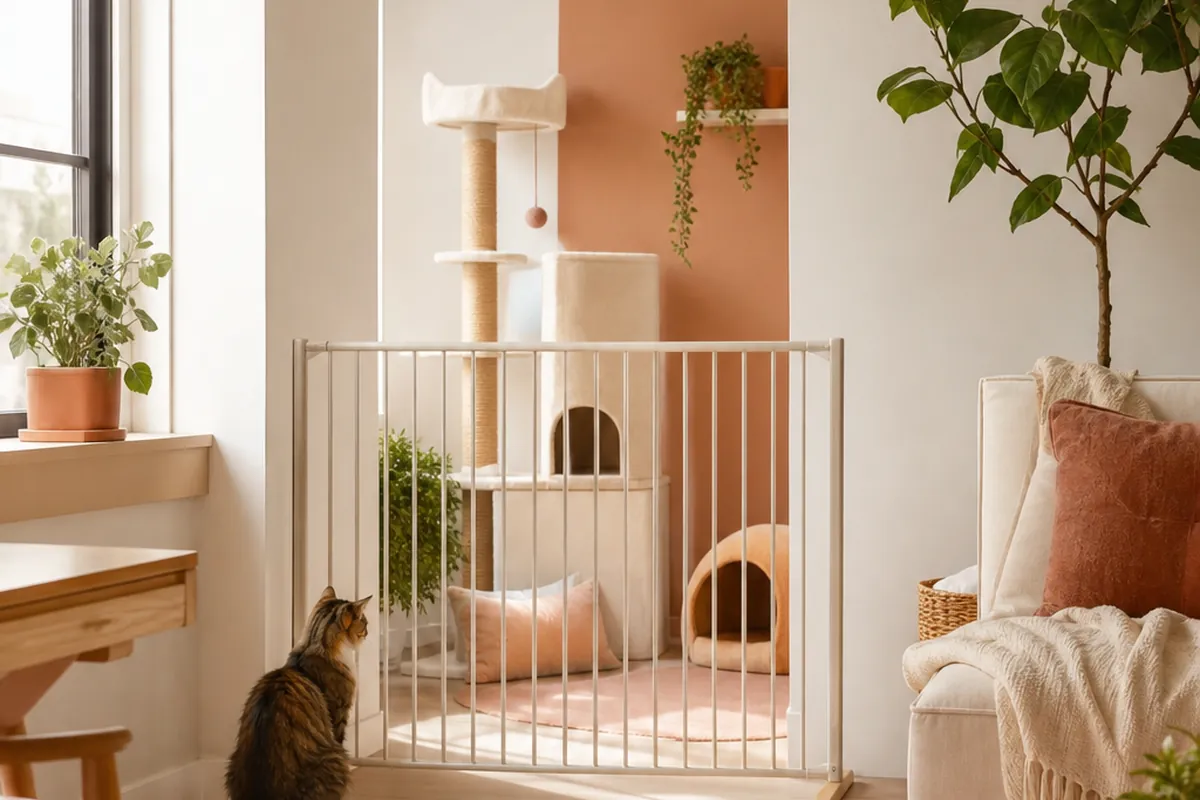
3. A freestanding pet gate divides without touching a wall
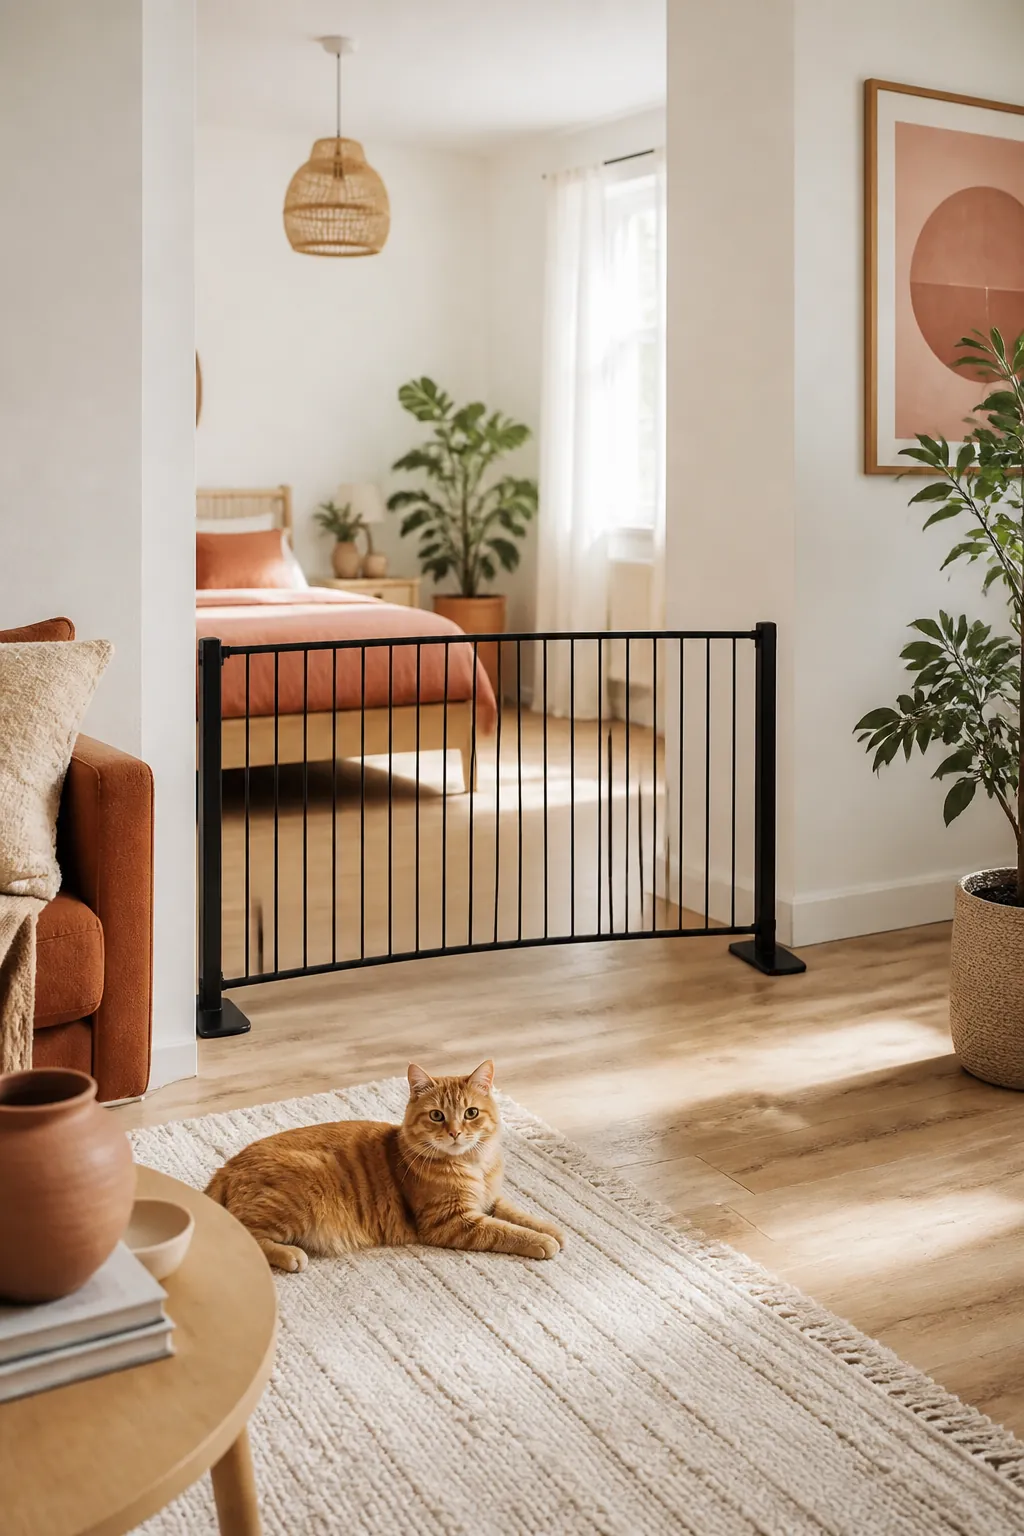
For most studio layouts, a freestanding pet gate is the fastest route to a working divider. It stands on its own feet, bends across an opening that is not perfectly square, and comes down in under a minute for guests. Nothing gets drilled, which matters in a rental where a single wall anchor can turn into a deposit conversation.
The tradeoff is footprint. A freestanding gate needs a few inches of floor on either side to stay stable, so account for that slice of space when you measure the opening in section 2.
4. Match the gate’s height to the cat you have, not the one in the listing photo
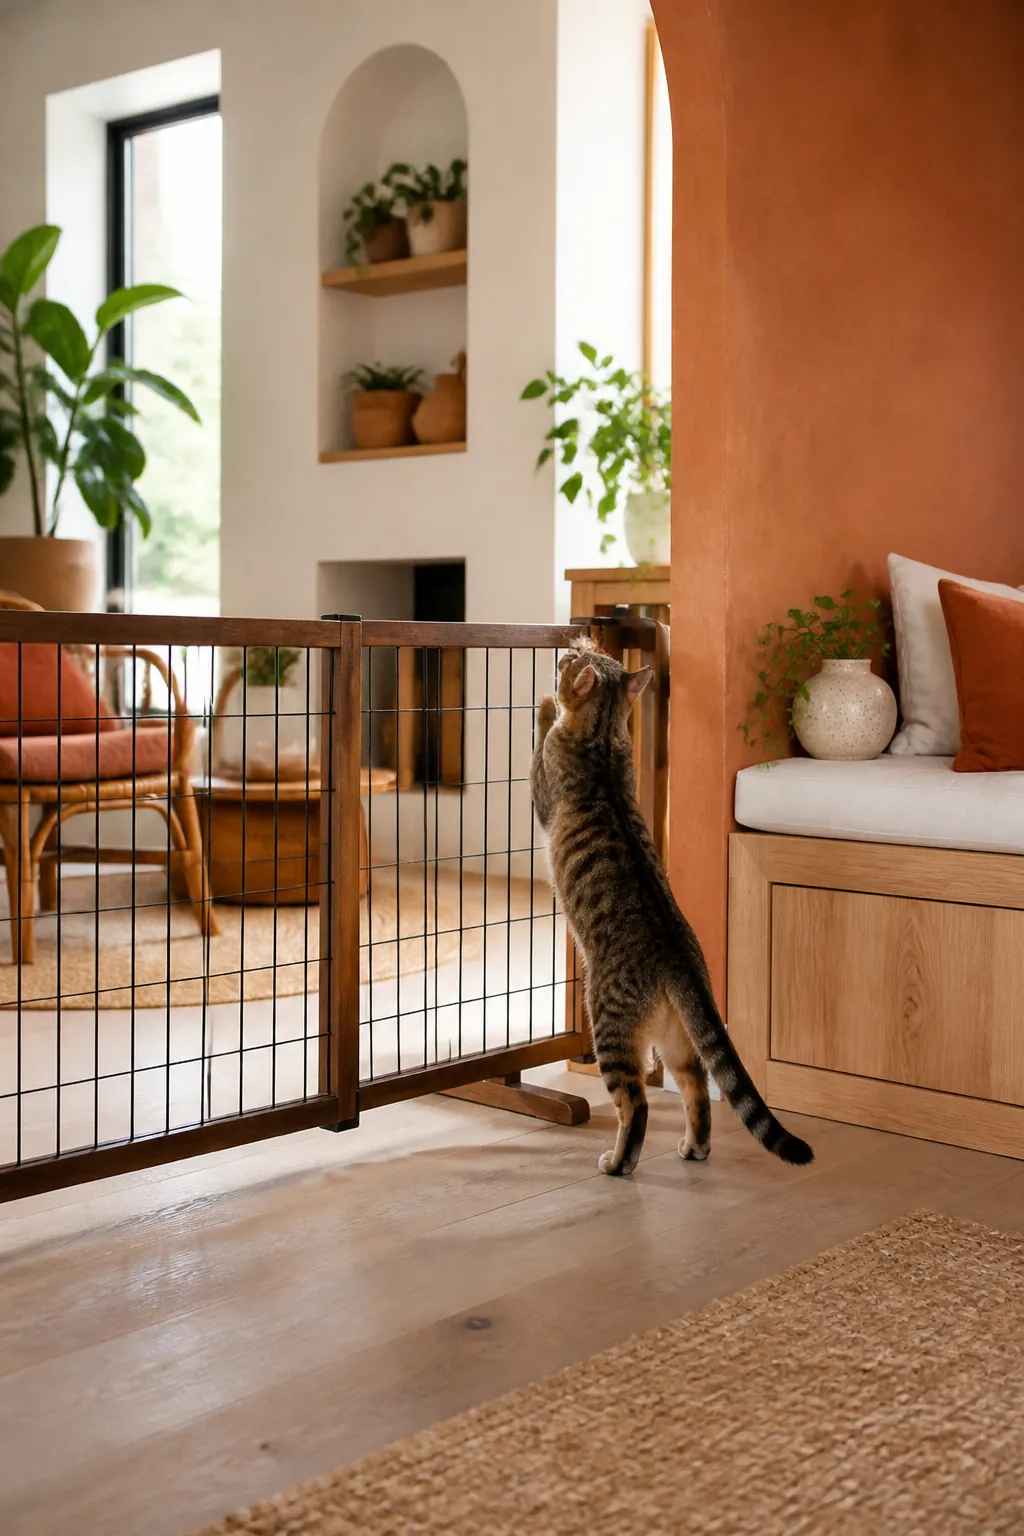
Standard pet gates run from about 24 to 30 inches tall, built with dogs in mind more than cats. A cat that can jump onto a kitchen counter will clear a 24-inch gate without slowing down, so height alone rarely does the containing. What actually works is combining a gate tall enough to block a casual stroll-through with a far side that gives the cat no reason to bother climbing over it, which section 6 below covers.
If jumping the gate is a real problem rather than a hypothetical one, an extra-tall version is worth the few extra inches before you assume the whole approach has failed.
5. Close the gap at the floor
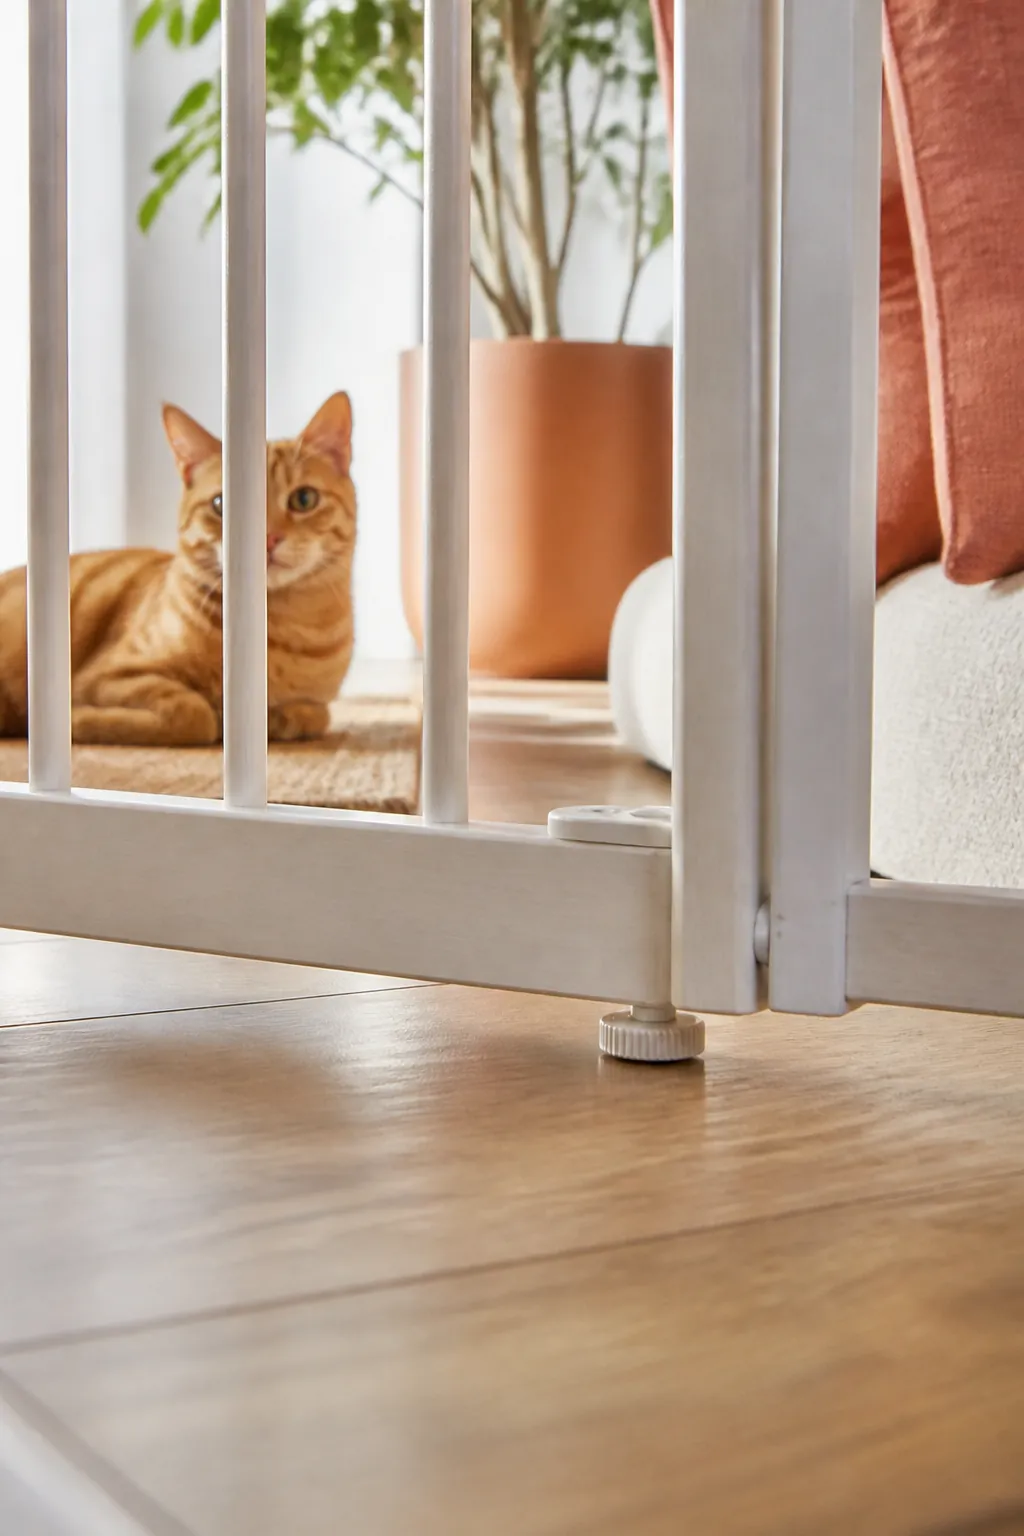
The failure point on most freestanding gates is not the top, it is the bottom. A gate with feet that lift its bottom rail two or three inches off the floor leaves a crawl-through gap that a cat finds within the first hour, long before it tries jumping over the top. Check the gate’s bottom clearance before you buy, and if it ships with adjustable feet, set them as low as the floor allows.
A folded towel or a slim draft stopper along the base closes the last inch on an uneven floor without any tools, and it is the difference between a gate that works and one that is purely decorative.
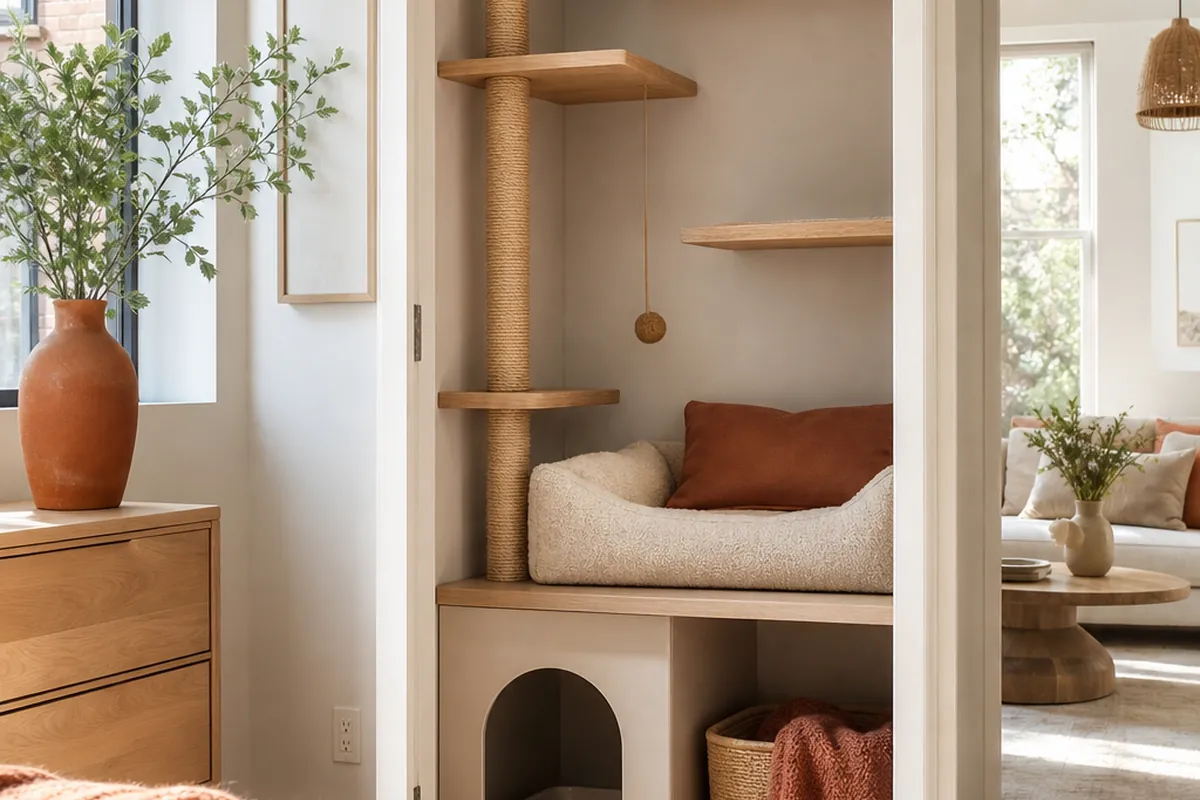
6. Furnish the far side so it reads as a room, not a leftover triangle
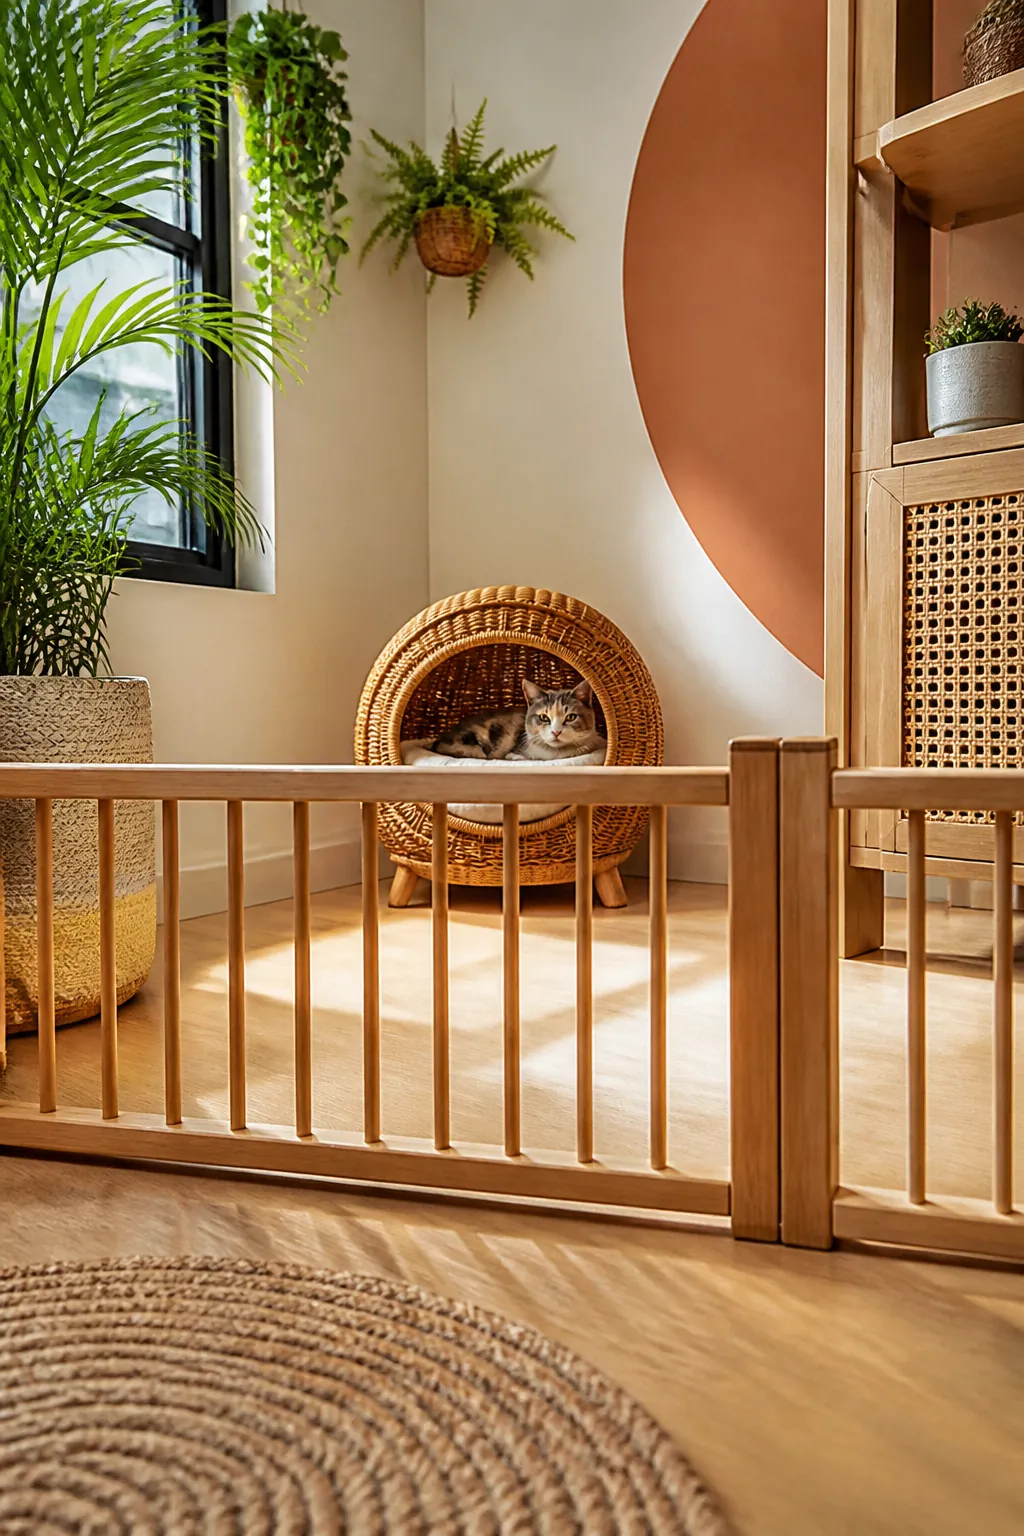
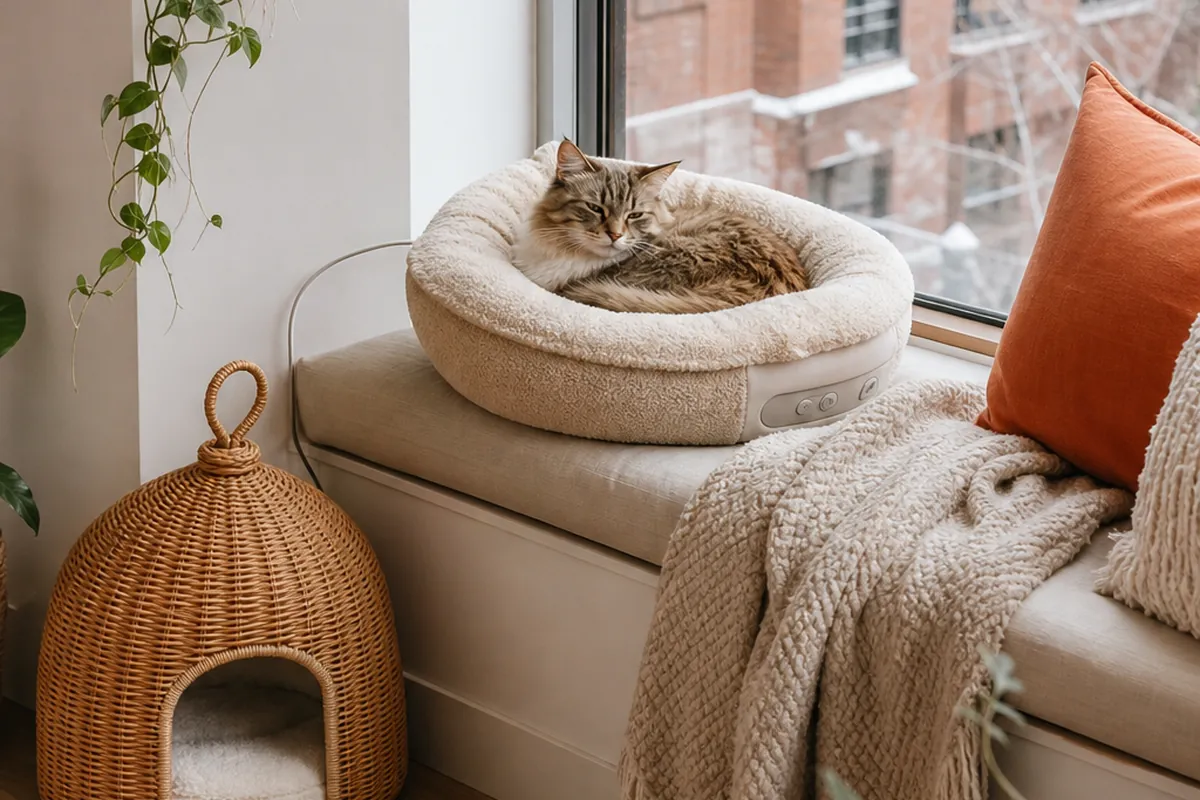
A sectioned-off slice of floor with nothing in it just looks like wasted square footage, and a cat treats it the same way: as somewhere to pass through rather than somewhere to stay. Put a rattan cat bed against the far wall, inside the divided area, so the space has an obvious job the moment the gate goes up. A cat that has somewhere good to be on its own side stops testing the boundary nearly as often as one that is just being kept out of the rest of the apartment.
Skip this step and the divider reads as a fence. Add it and the same square footage reads as a cat’s actual space.
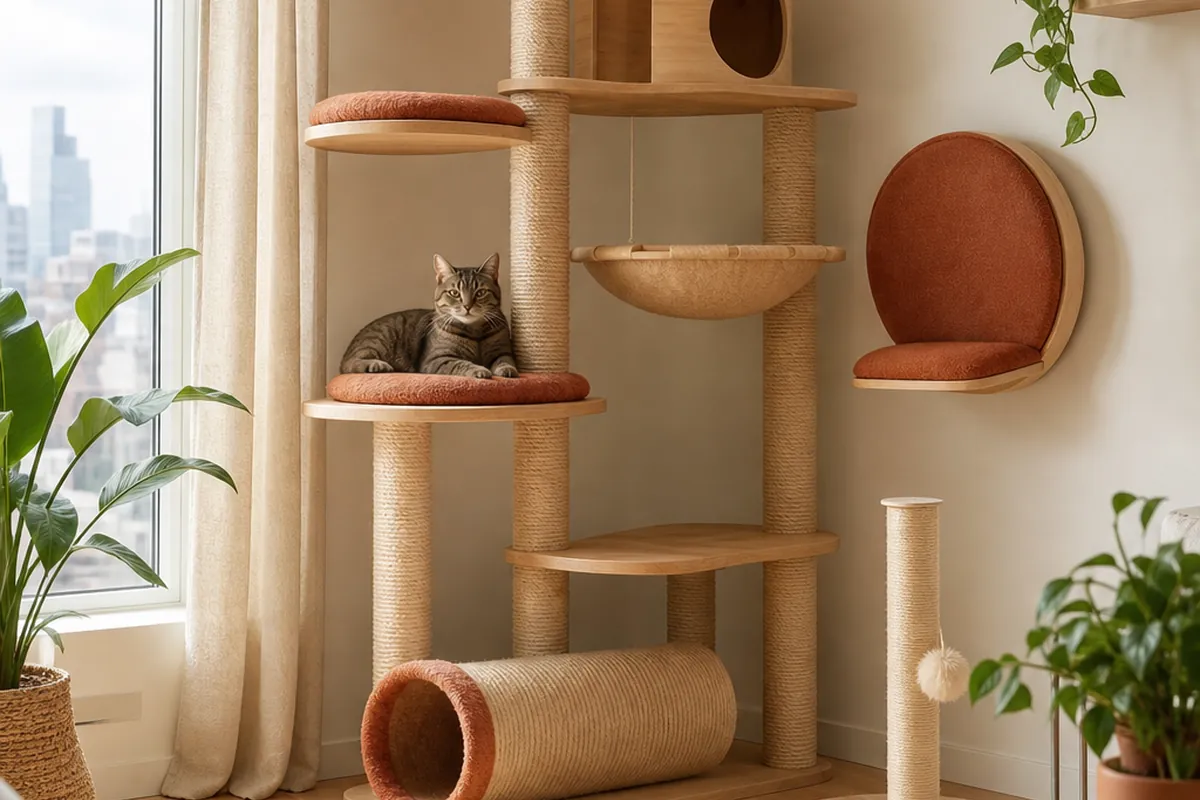
7. Use a floor-to-ceiling tree as the boundary instead of a gate
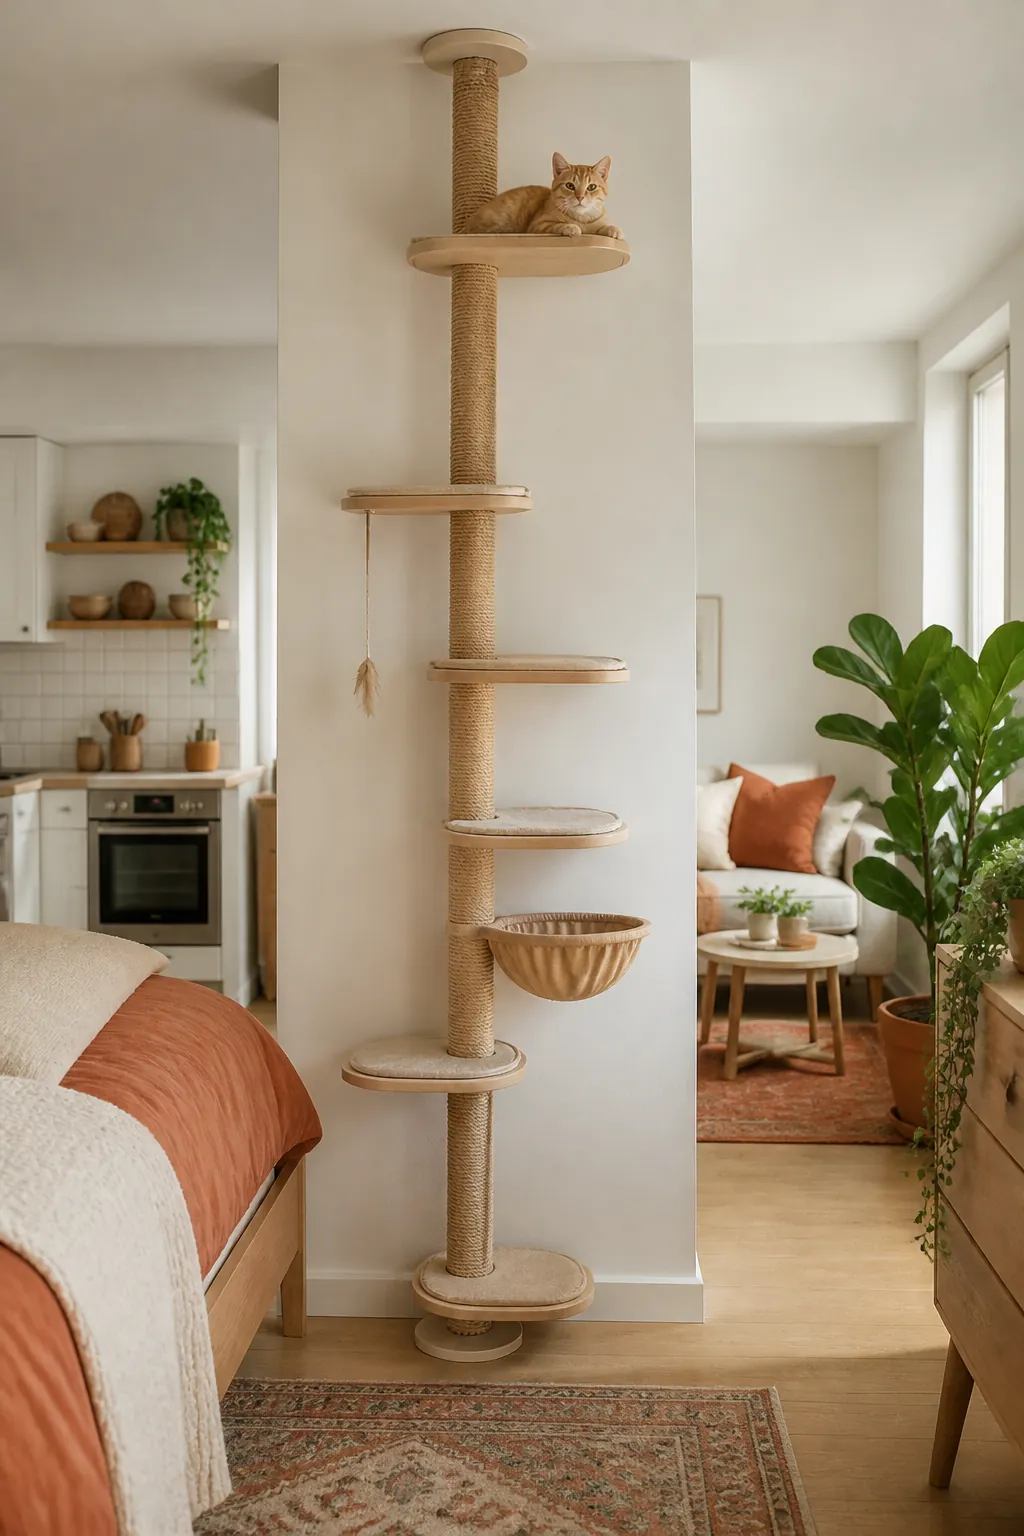
A gate blocks at cat height and leaves the space above it open, which is fine for floor traffic but does nothing about a cat climbing a nearby shelf to get over. A floor-to-ceiling cat tree positioned right at the edge of the divided zone does double duty: it tensions between floor and ceiling with no drilling, and its own platforms give a cat somewhere better to climb than whatever is on the other side of the line. Measure your ceiling height carefully first, since these poles have both a minimum and a maximum reach and a pole that is an inch too short will not tension properly at all.
This works best as a corner piece rather than a straight run across an opening, since a single pole anchors one end of a boundary but cannot span a wide gap on its own the way a gate can.
8. Keep one sightline open so the studio doesn’t feel cut in half
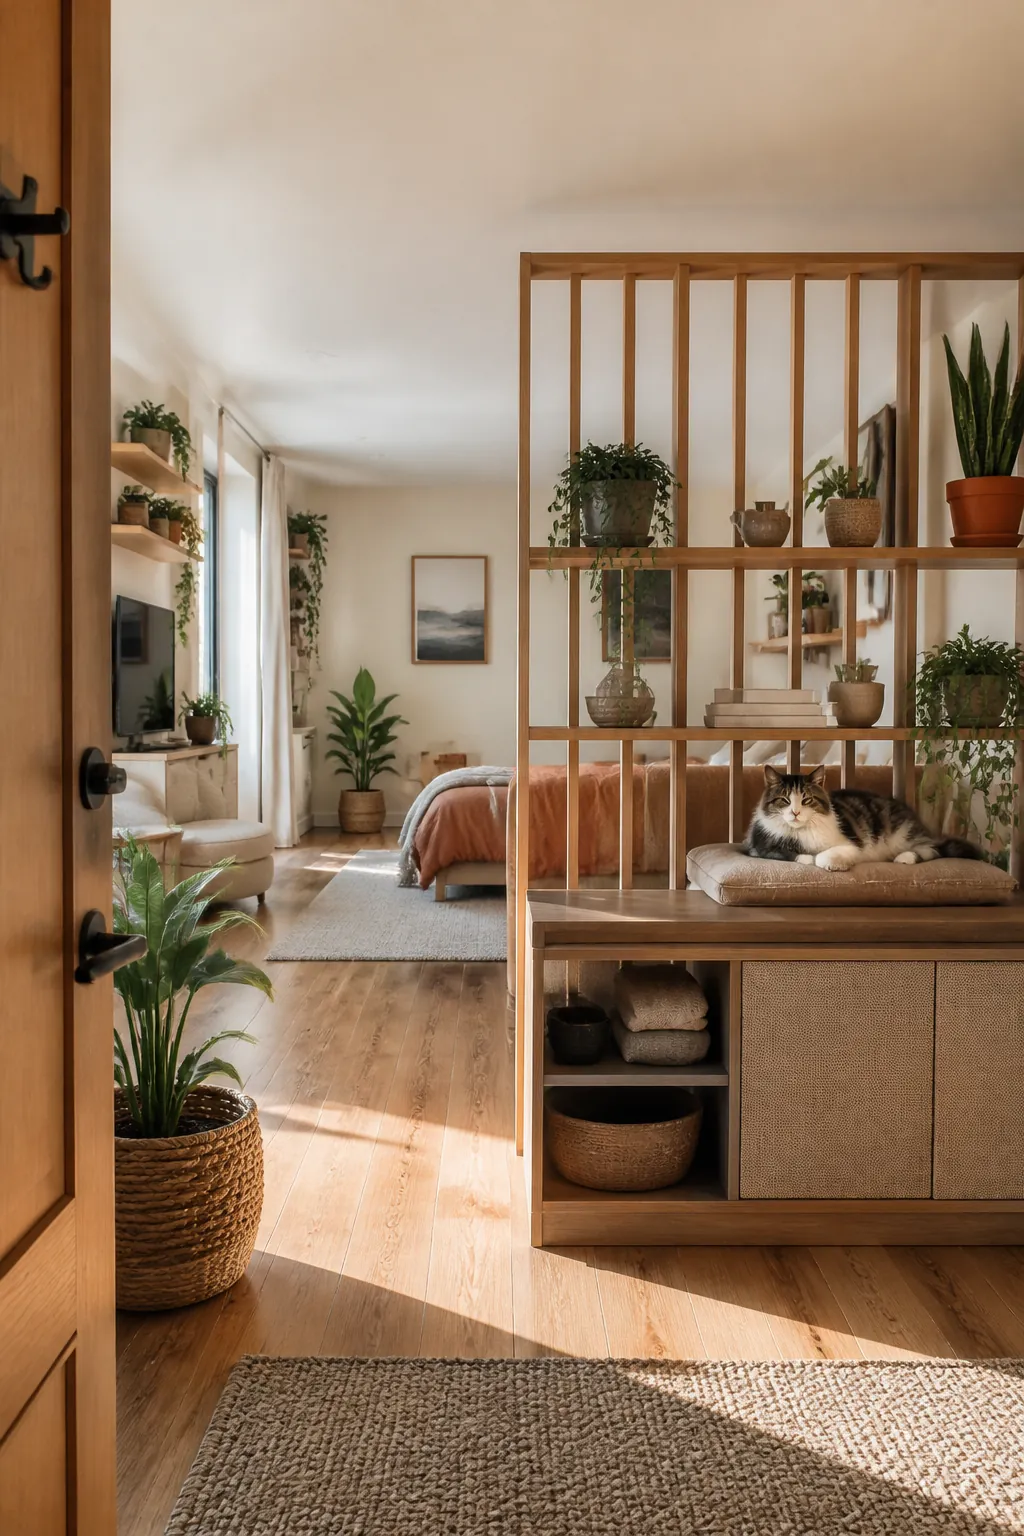
A solid floor-to-ceiling divider turns one open room into two small ones, and in a studio that usually costs more in felt space than it gains in separation. Favor a divider you can see through or over, whether that means a gate with slatted rather than solid panels, open shelving instead of a cabinet, or simply keeping the boundary at cat-gate height rather than running it to the ceiling everywhere. Leaving even a foot of open sightline along the top keeps the apartment reading as one room with a feature in it, not two rooms with a seam.
Stand at the apartment’s main doorway once it is set up and look across the whole space. If the divider is the first thing your eye catches rather than something you see past, it is working against the room.
9. Put the litter box on the far side of the line, never near it
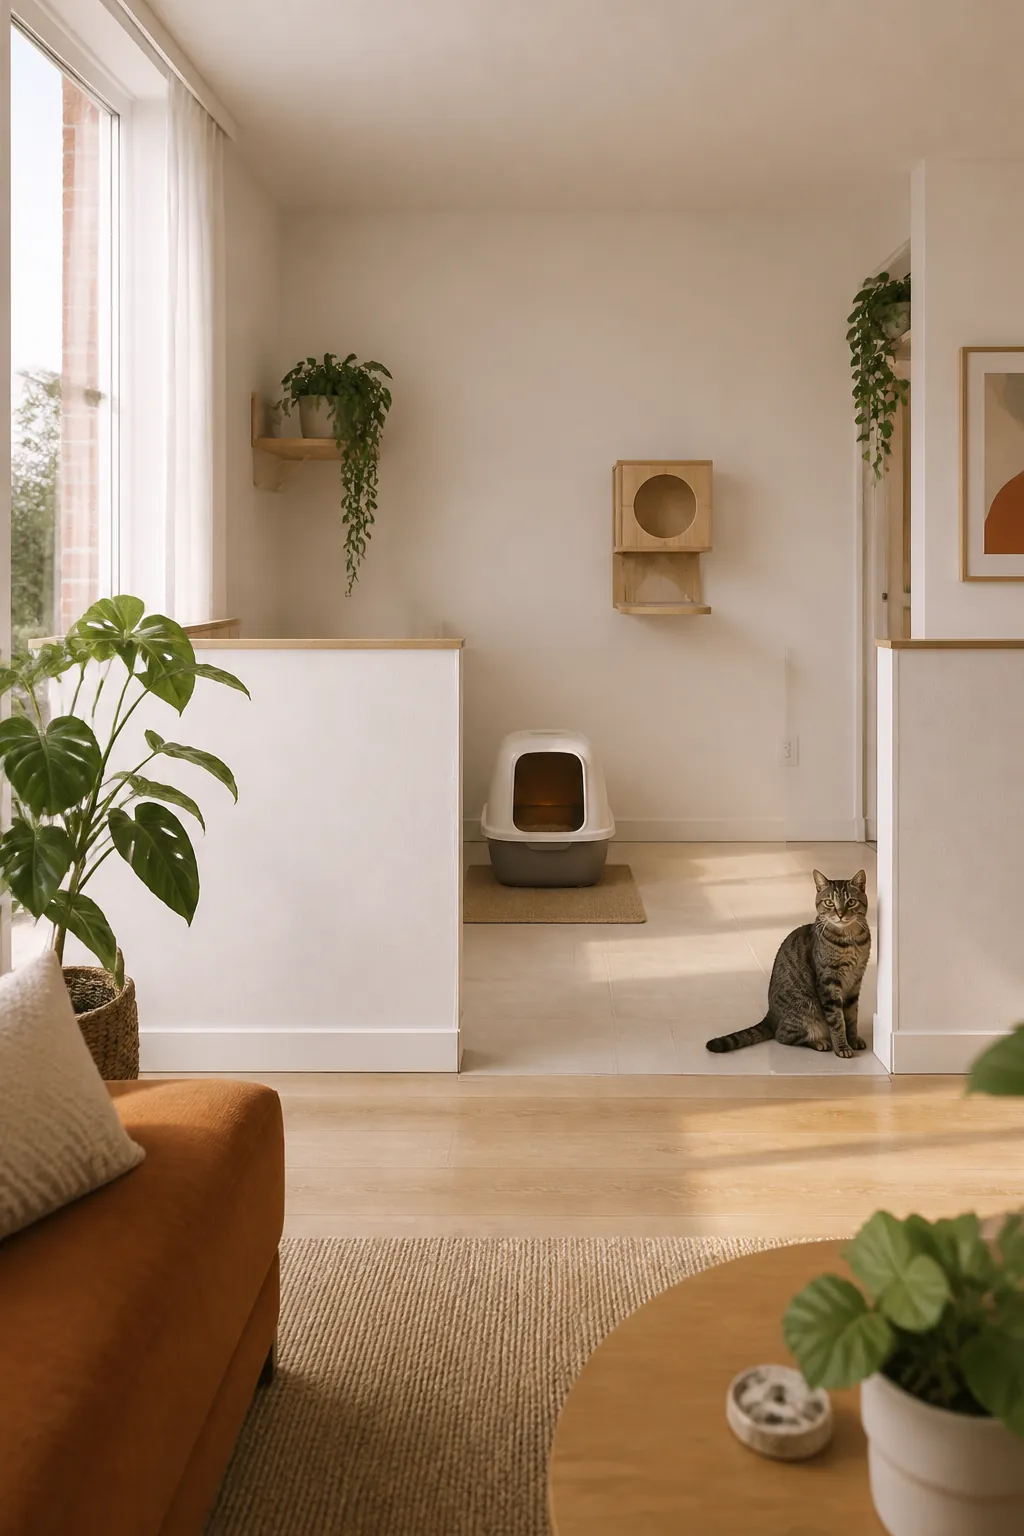
A litter box placed right next to the divider, on either side, gets walked past constantly and smelled from both halves of the apartment. Push it to the back wall of whichever side it lives on, as far from the boundary as the space allows, the same rule that applies to a box in a full room. This matters more in a studio, because there is no second room for odor to dilute into before it reaches wherever you are sitting or sleeping.
If the sectioned-off area is also where the bed from section 6 lives, keep the two a few feet apart rather than letting them share a corner. A cat sleeping right beside its own litter box is not an improvement over no divider at all.
10. Protect your deposit before you commit to anything
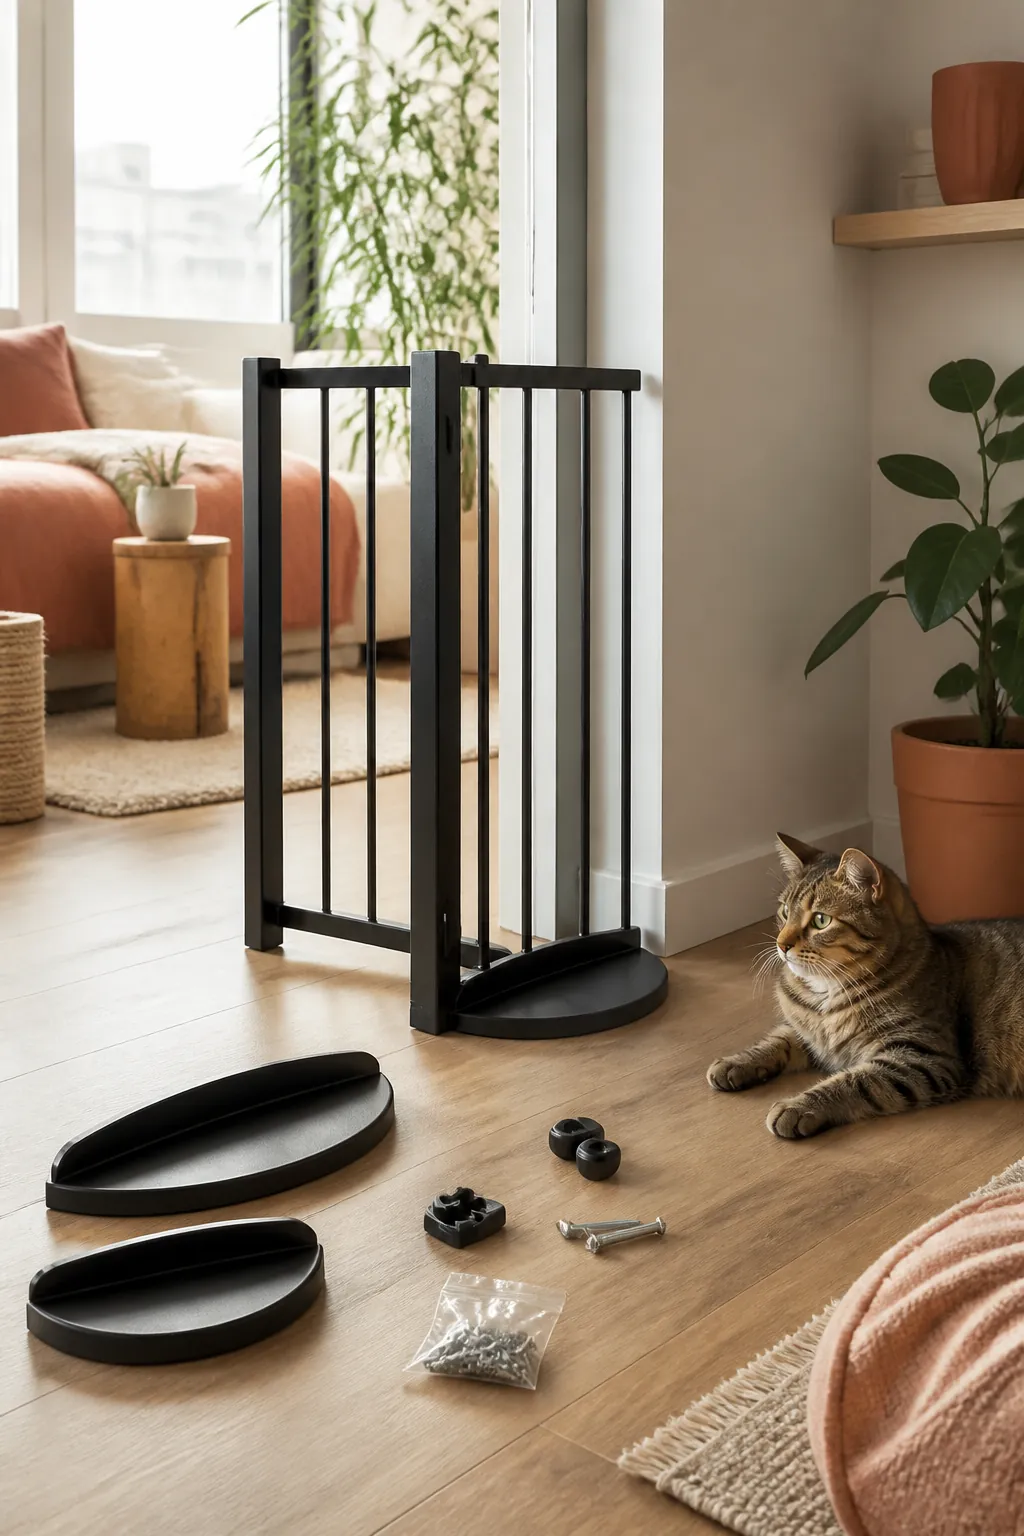
Everything described here should come down clean: a freestanding gate lifts away, a tension pole releases without marks, and even a shelf unit used as a divider can sit unattached to any wall if its base is stable enough. Before buying anything, confirm it does not require wall anchors, permanent adhesive strips, or any hardware you would need to patch at move-out, however good the layout looks in the listing photos.
Keep any hardware that does come with a piece bagged and labeled. A move-out that requires no patching is worth more than a slightly sturdier divider that does.
11. Live with it taped down for a week before you buy a second piece
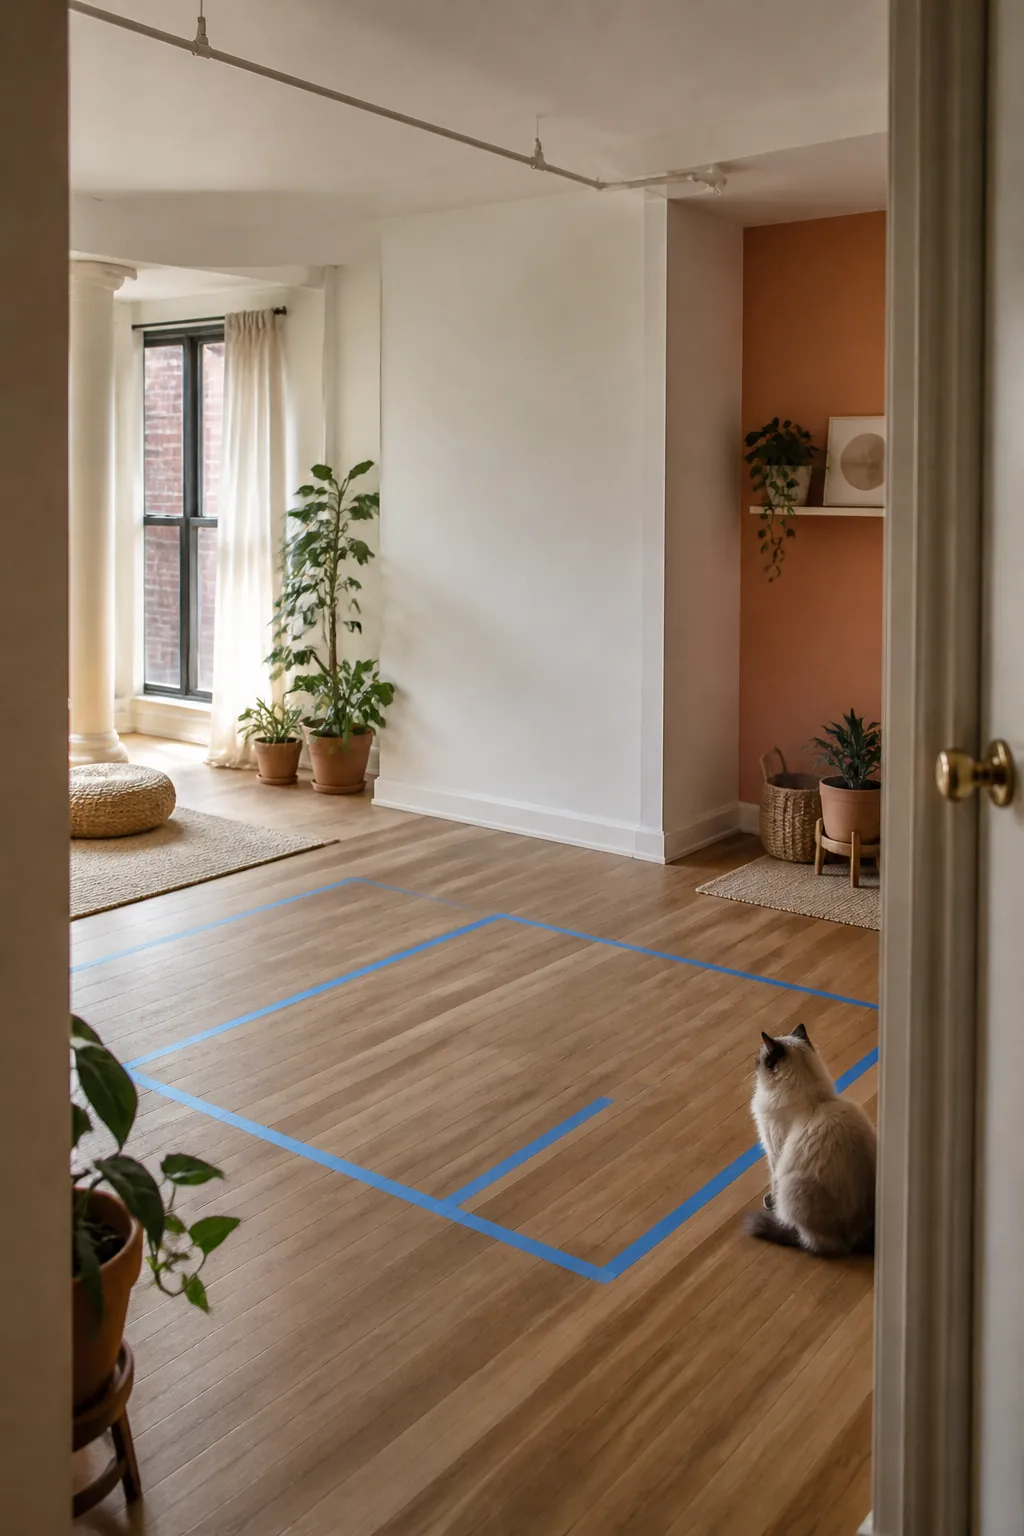
Mark where you think the gate or shelf should stand with painter’s tape, and leave it there for a week before anything is final. Watch whether the cat actually uses the sectioned side the way you planned, whether the gate gets left open more often than closed, and whether the opening you measured is actually the one that needed dividing. Studio apartments get used differently than a floor plan suggests, and the spot that looked right on paper sometimes blocks the one path you walk every day.
A week of tape costs nothing and tells you things a measuring tape cannot, including whether the whole idea needs a different opening entirely.
Where to start
Start with the opening, not the product. Measure the gap you actually want to divide, at floor level and at six feet, and write both numbers down before you look at a single listing.
Then decide what you are blocking. A gate solves floor traffic; a floor-to-ceiling tree solves climbing around the edge; most studios end up needing a little of both at the two ends of one boundary. Furnish whichever side becomes the cat’s with a bed it actually wants to use, and the divider stops being a fence almost immediately.
Tape it out for a week before anything is permanent, and keep every piece reversible. A studio apartment only works with a divider that can disappear completely on the day you move.