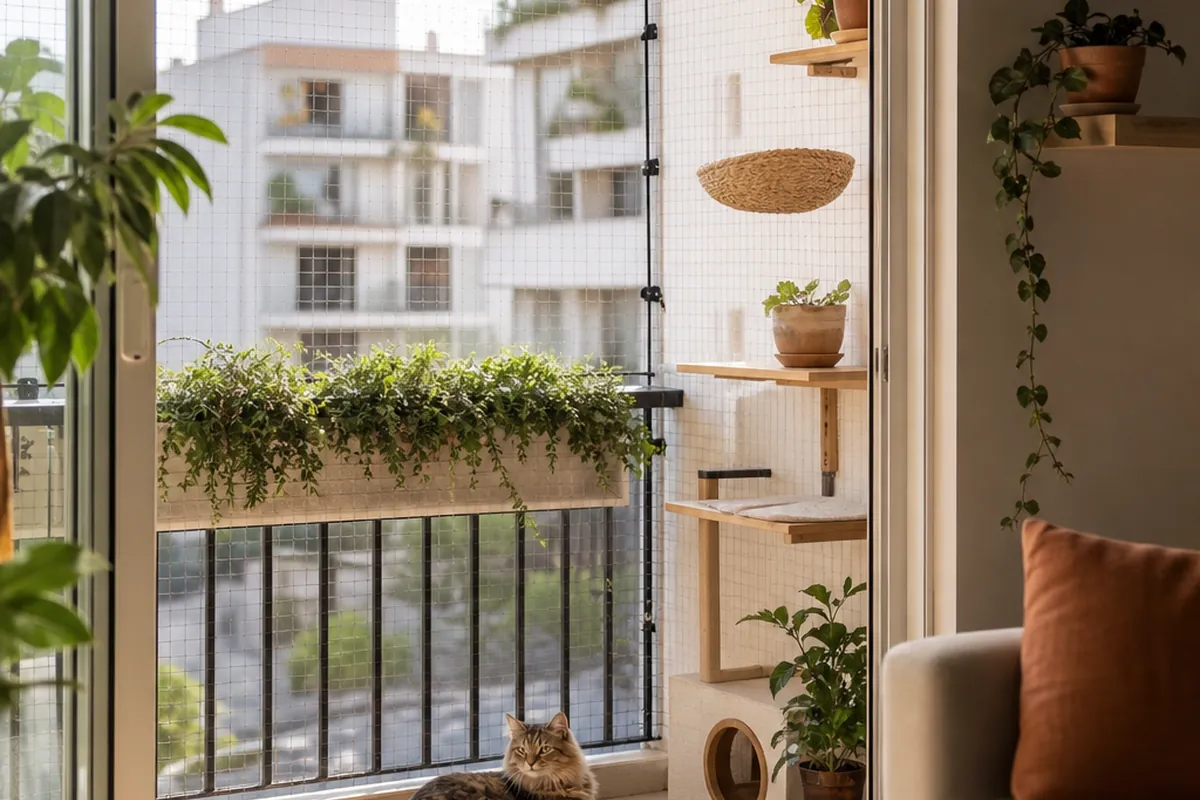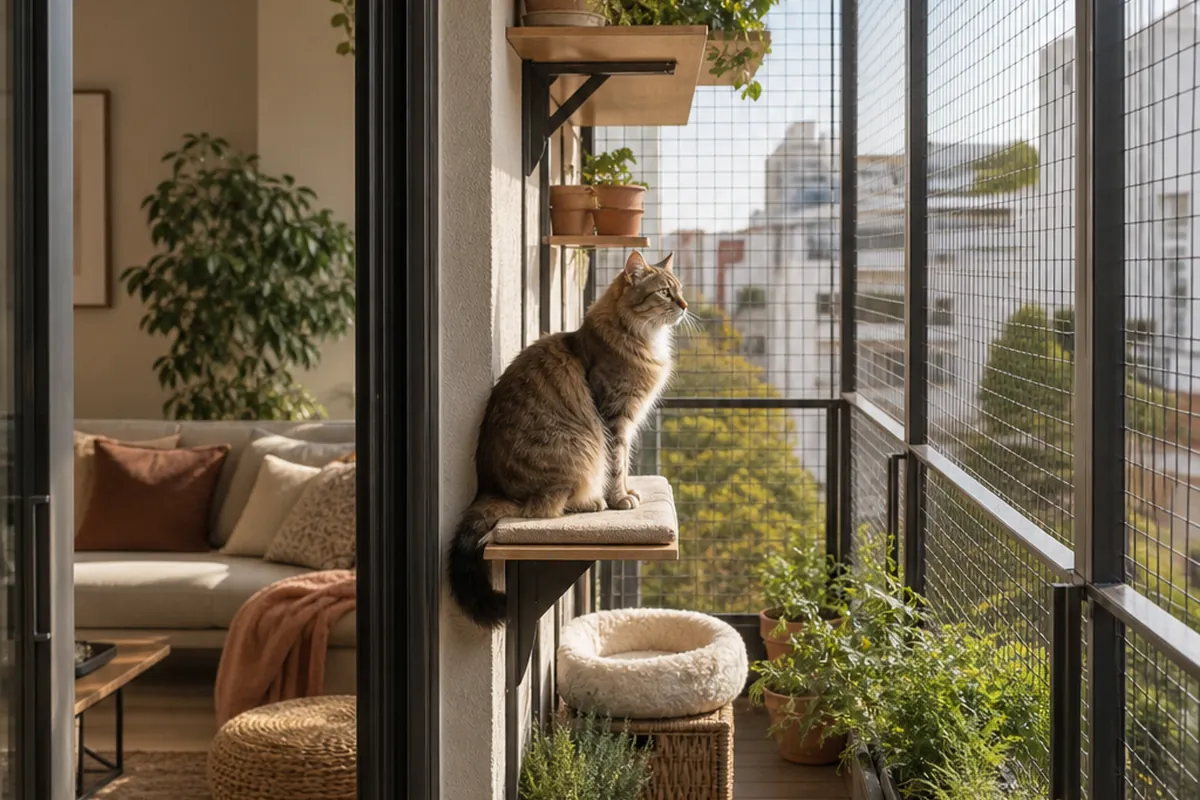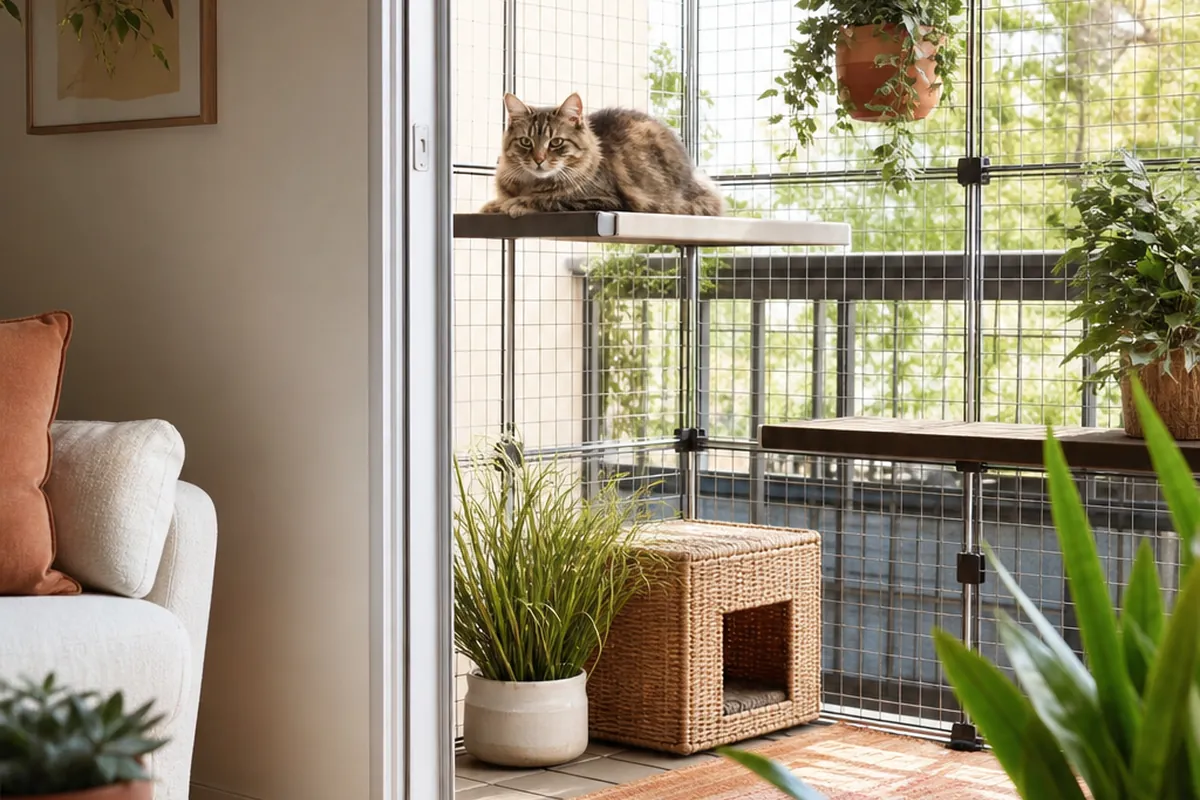
A DIY catio kit is not the same project as netting a balcony. It is a boxed set of panels, poles and mesh that snaps or clips together into a standalone structure, meant to sit on a patio, a strip of yard or a concrete slab rather than attach to a railing at all. That difference matters for renters specifically: a freestanding kit needs no permanent fixing to the building, which means no argument with a lease about drilled holes or altered exteriors.
Nine ways to get one assembled properly and keep it standing, on a budget that does not assume you own the unit.
1. Know what “kit” actually means before you order
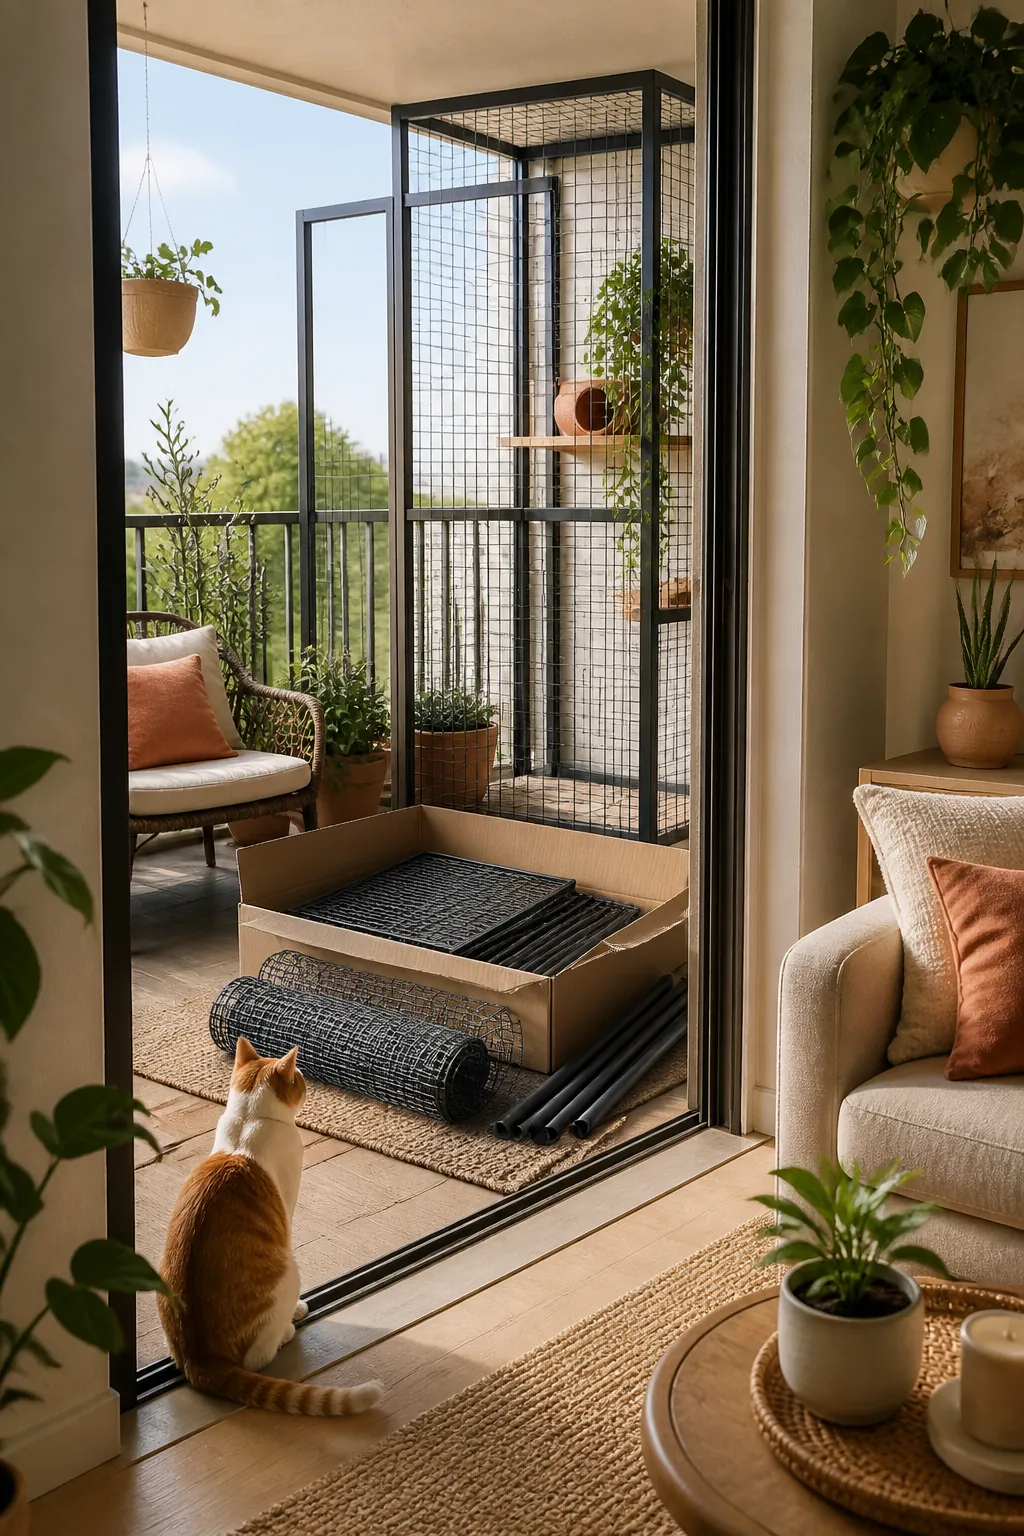
Search results for catio kits mix three very different products: small pop-up mesh tents meant for camping cats, panel-and-connector systems built for repeated outdoor assembly, and bare rolls of netting sold with the word “kit” attached to the listing for search traffic. Only the middle category is worth the money for a patio catio that stays up for more than a weekend. Read the material spec before the price: powder-coated steel or heavy-gauge aluminum poles with a UV-rated mesh outlast a fiberglass-pole tent by years, not months, and the price difference is usually under thirty dollars.
2. Measure your patio before your budget
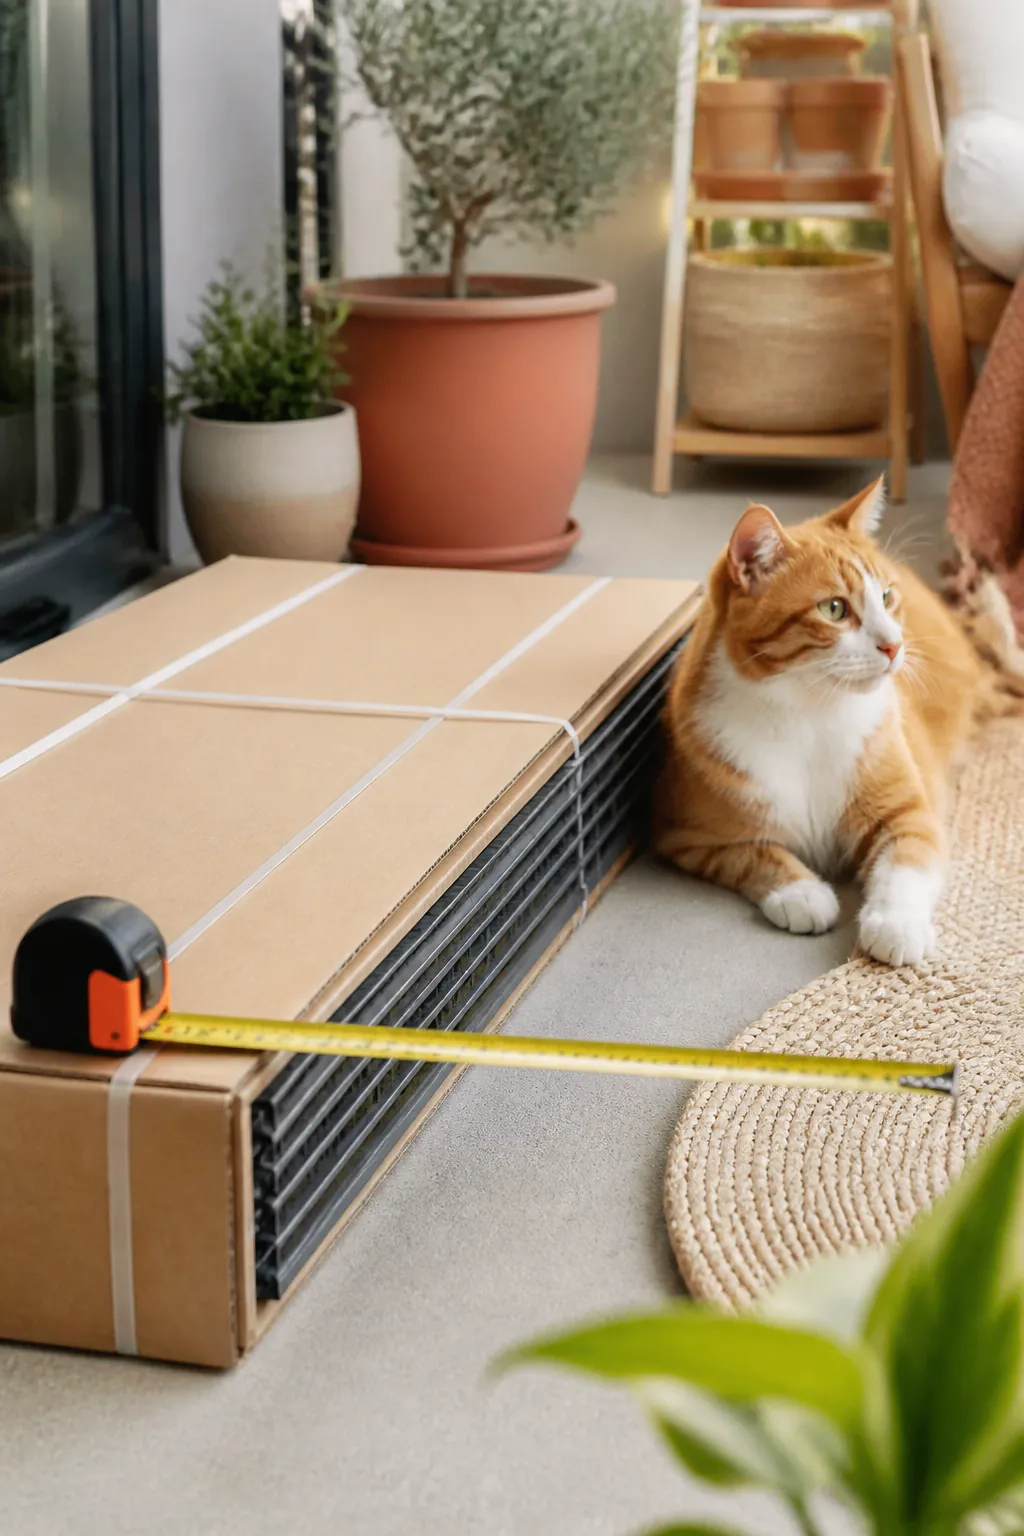
A modular kit’s footprint is fixed by its panel count, and most start around six feet by four feet for the smallest configuration. Measure the actual usable patio or yard strip first, including anything the lease already restricts, such as a shared walkway or a fire-egress path that has to stay clear. A kit bought to fit the picture in the listing rather than the space you have is a common reason these get returned, and a return shipping cost on a bulky mesh structure eats the savings of buying a smaller kit in the first place. If your outdoor space is a balcony only three feet deep, even the smallest kit configuration will not fit, and a catio for a narrow apartment balcony has to be chosen by base footprint against that depth instead.
3. Weight the frame instead of staking it
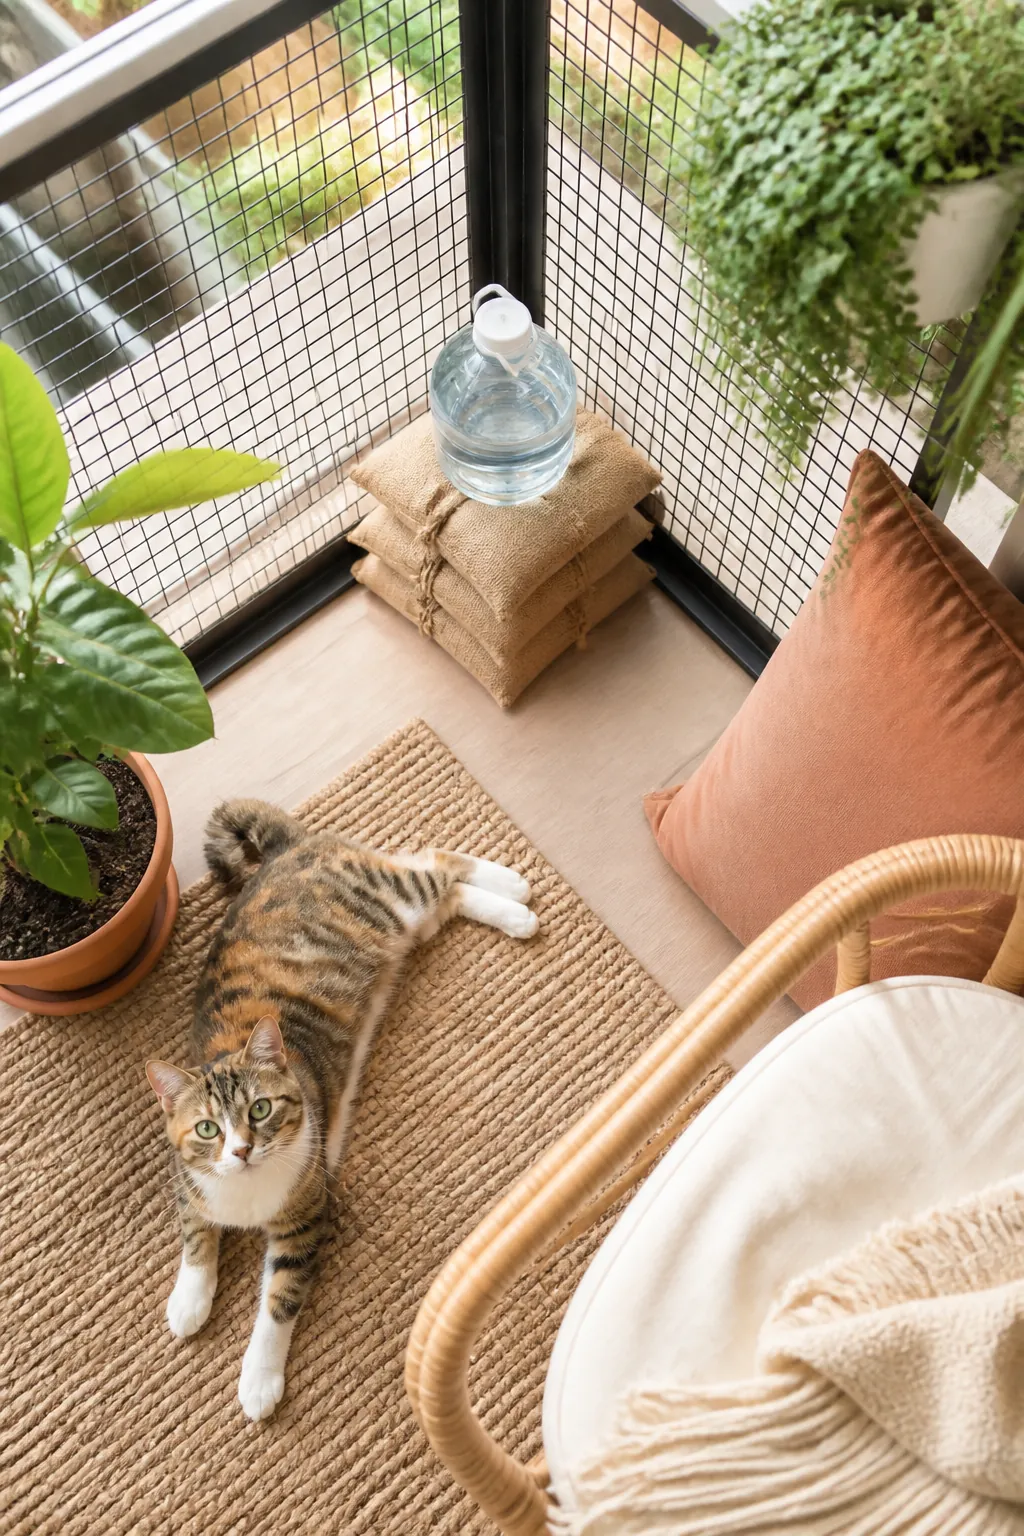
Ground stakes are the default anchoring method in almost every kit’s instructions, and they are the one instruction a renter should ignore. Staking into a lawn you do not own risks a deposit deduction for turf damage, and staking into a concrete patio is not possible without a drill. Replace stakes with weight at each corner and every few feet along the base: sandbags, filled water jugs or a length of paver stone laid over the frame’s foot all work, and the total weight needed is lower than people expect. A typical six-panel kit needs roughly fifteen to twenty-five pounds distributed around its perimeter to resist normal wind, concentrated at the corners where the panels join rather than spread thin along a single edge.
4. Build the enclosure around a freestanding kit, not a wall
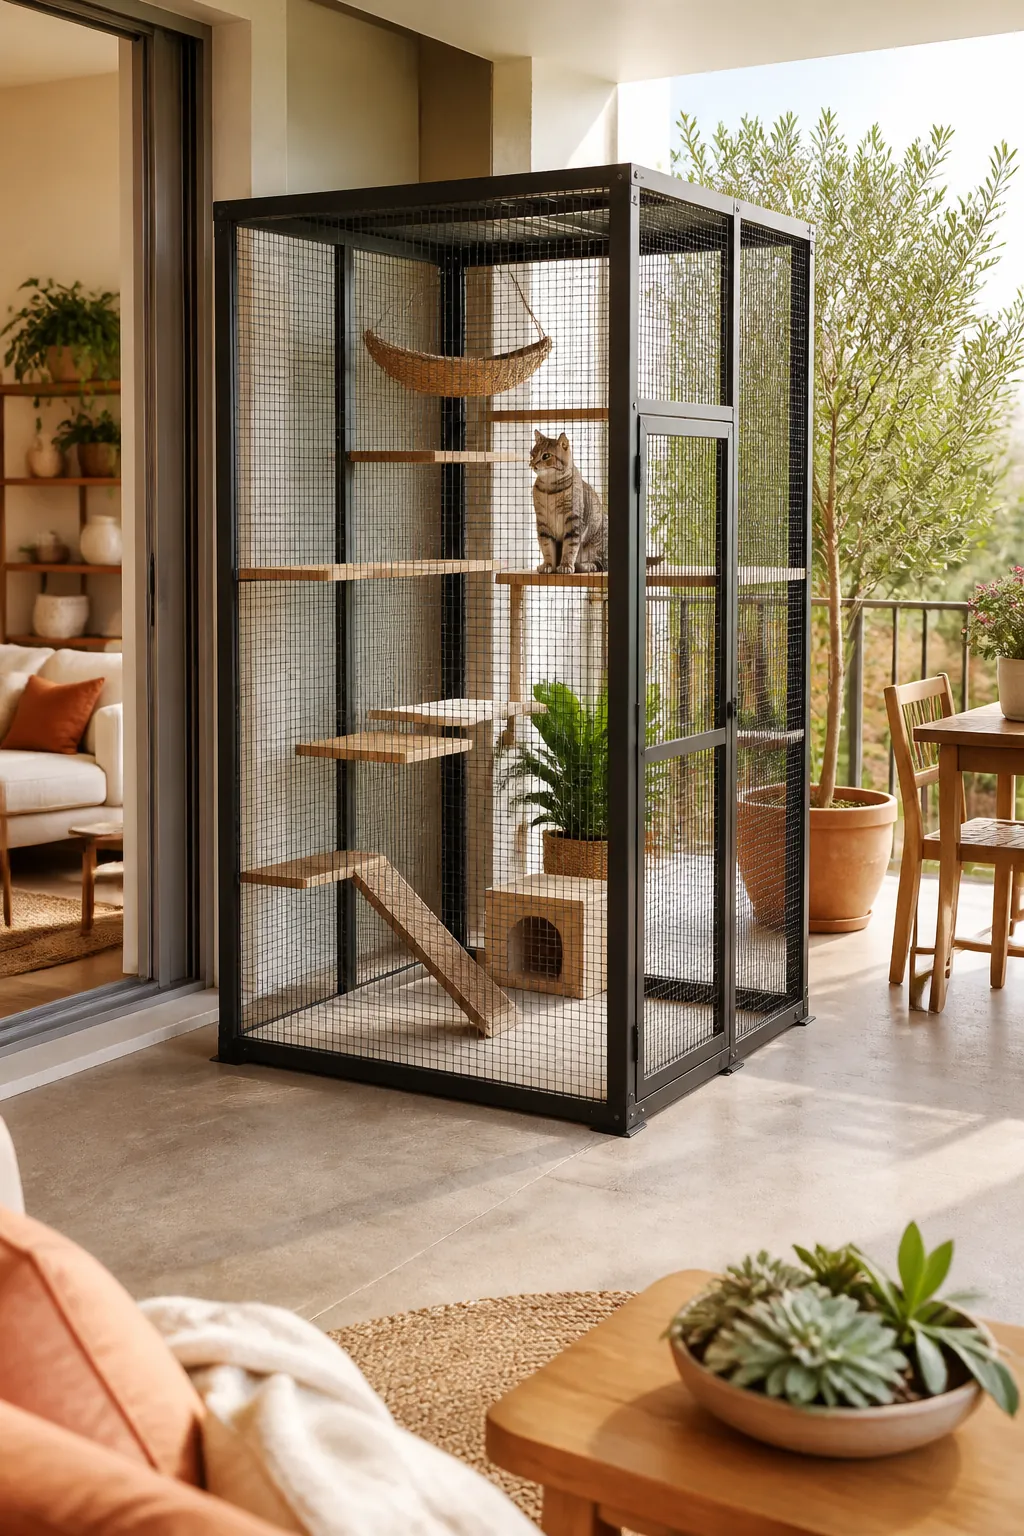
A freestanding catio enclosure built from interlocking panels is the core piece worth spending on, since it is the part of the system that has to hold its shape under wind without any wall or railing to lean on. Set it on the flattest section of patio you have, because a kit assembled over even a half-inch slope puts uneven load on the panel joints and is where a first-week gap usually opens. Check the manufacturer’s height rating against your own ceiling if the patio is covered, since some configurations run over six feet and will not fit under a low overhang.
5. Extend it to the door with a tunnel, not a gap
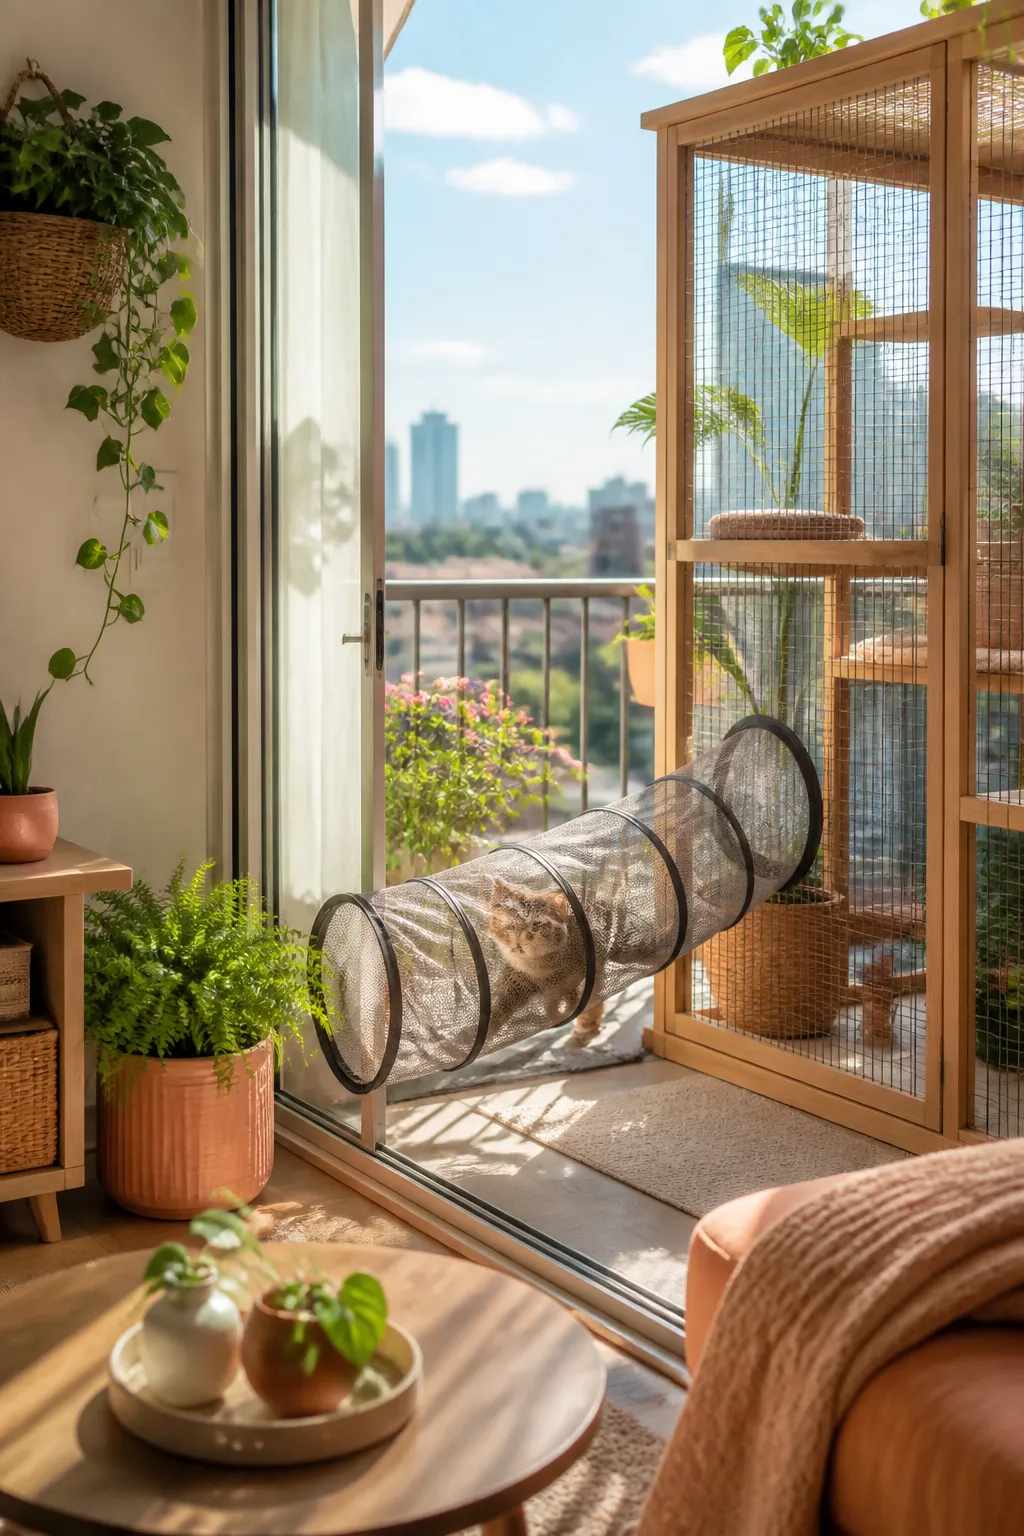
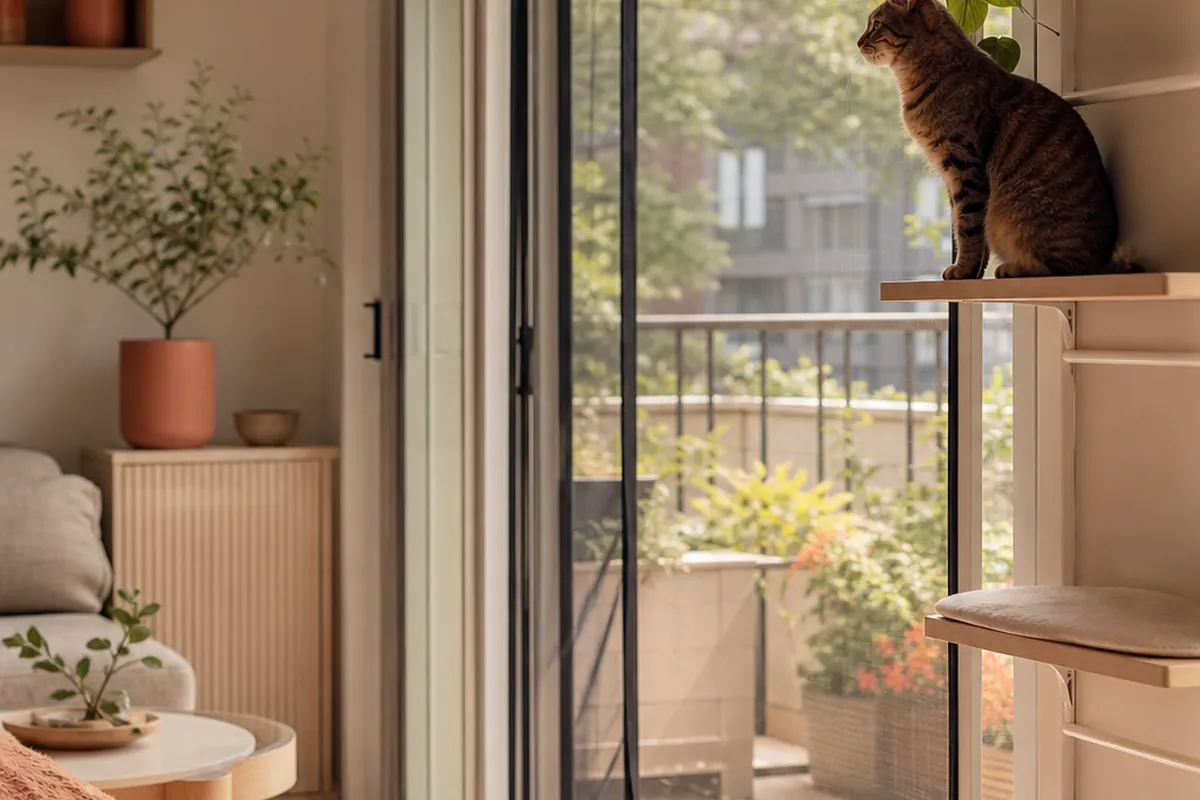
If the enclosure cannot sit flush against the door or window the cat uses, a flexible cat tunnel bridges the distance rather than leaving an open stretch of patio between the two. Most collapsible tunnels extend to somewhere between three and ten feet, which covers the typical gap between a sliding door and an enclosure placed clear of a shared walkway. Fit the tunnel’s cuff tightly at both ends with the zip ties or drawstring it ships with, since a loose cuff at the door end is the gap a cat finds first, usually within the first day. If the patio cannot take an enclosure at all, a catio screen fitted to a sliding glass door gives the cat outside air and a view from the doorway itself, with nothing standing on the patio.
6. Protect the ground before the panels go up, not after
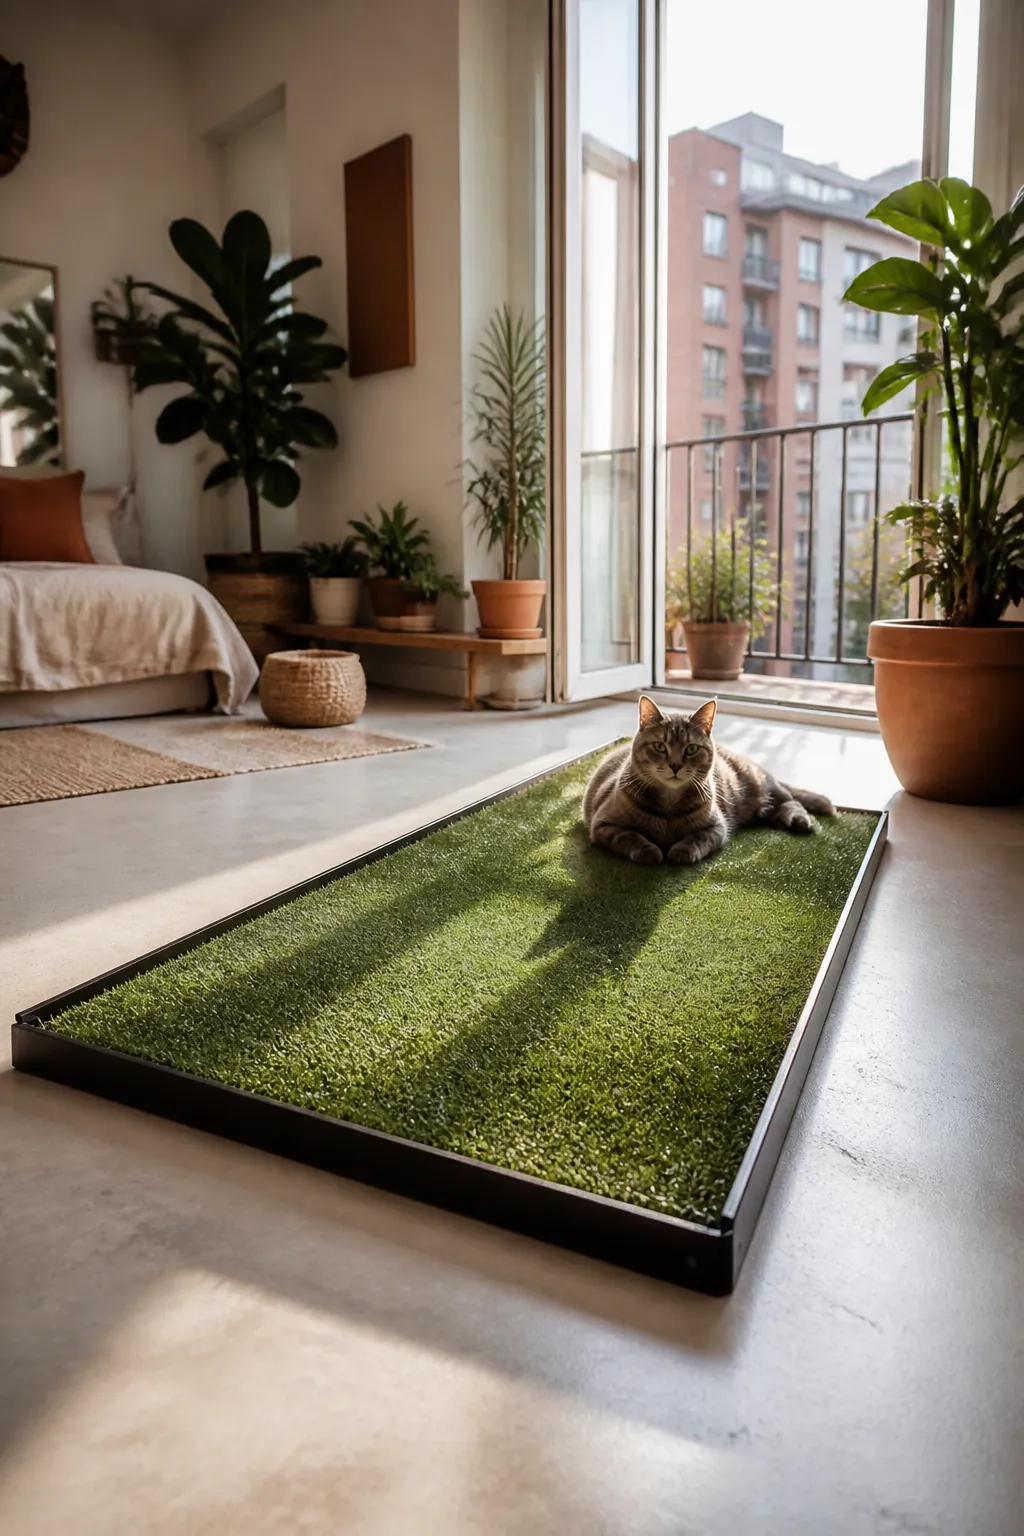
Bare concrete or gravel under a kit’s footprint holds rainwater at the base of every panel foot, and the standing water is what corrodes cheap connectors and rots any wood trim first. Lay an artificial turf tray across the whole footprint before assembly rather than after, since it is far easier to square up on bare ground than to slide underneath a structure that is already standing. A tray also gives the cat somewhere softer to lie down than concrete, which matters more in a patio catio than a balcony one because there is no raised bed built into most kits.
7. Cover it against sun and rain without a single screw
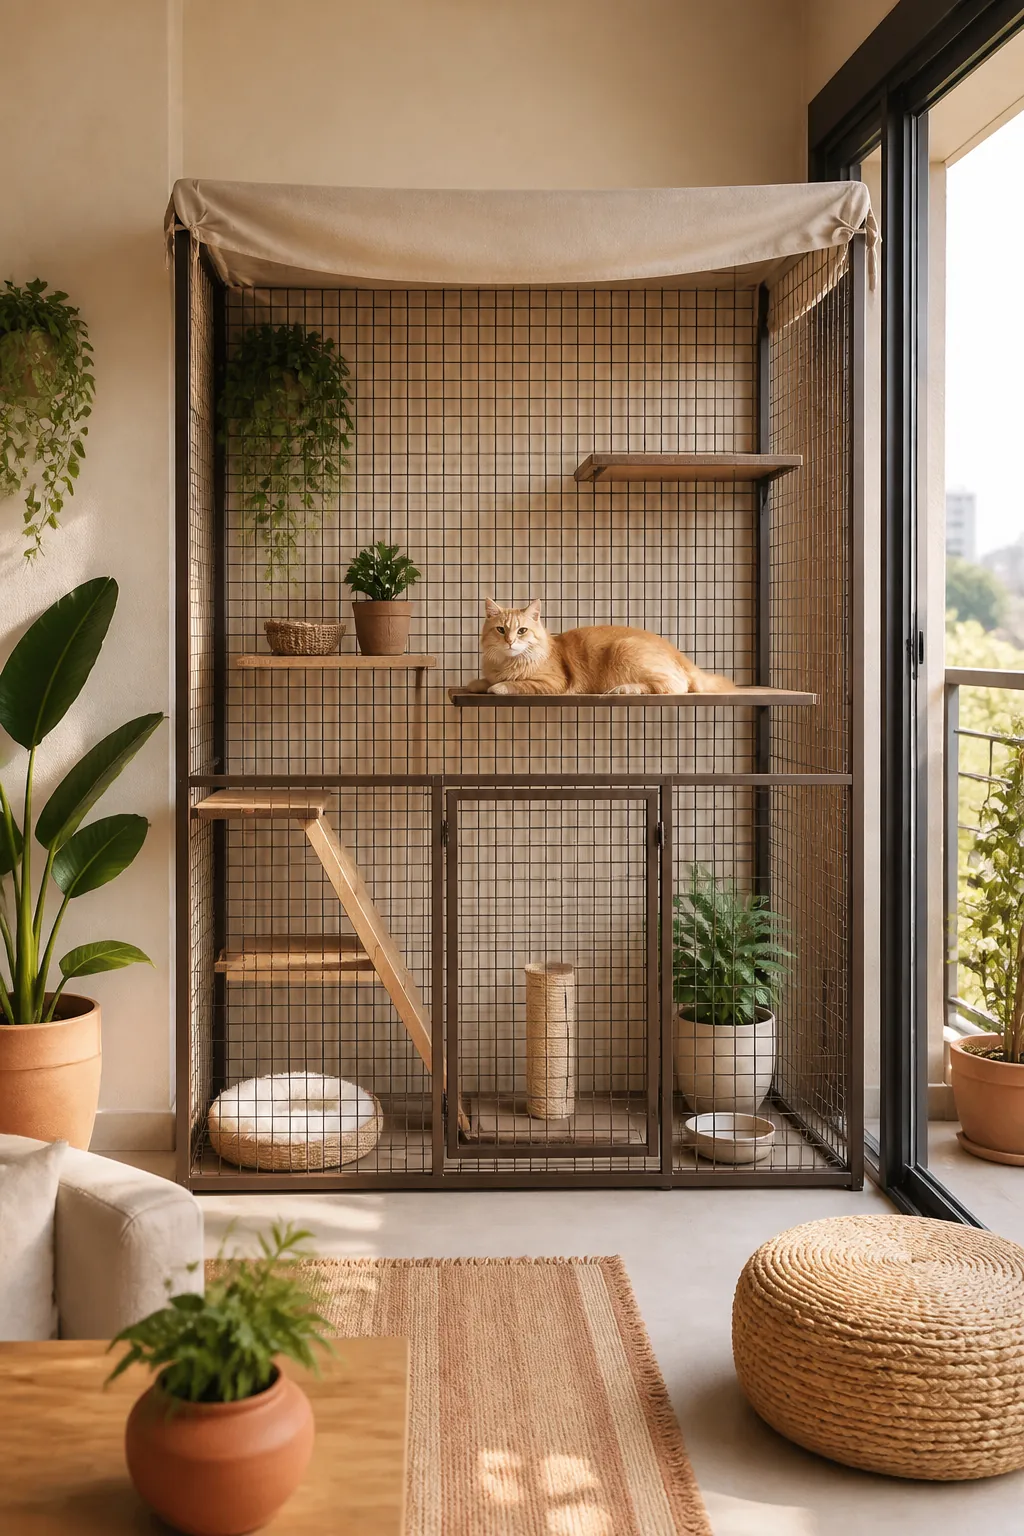
A kit’s own mesh roof panel handles insects and casual weather, but it is not shade, and an uncovered patio catio in full sun is unusable by early afternoon in most climates. A separate weatherproof cover, sized to drape over the top panel and tie off at the corner poles rather than fasten to anything permanent, solves both problems at once. Buy this loose enough to remove in a storm rather than tensioned flat, since a tight cover under high wind acts like a sail and puts far more load on the frame than the mesh alone would.
8. Check every connector after the first storm, then on a schedule
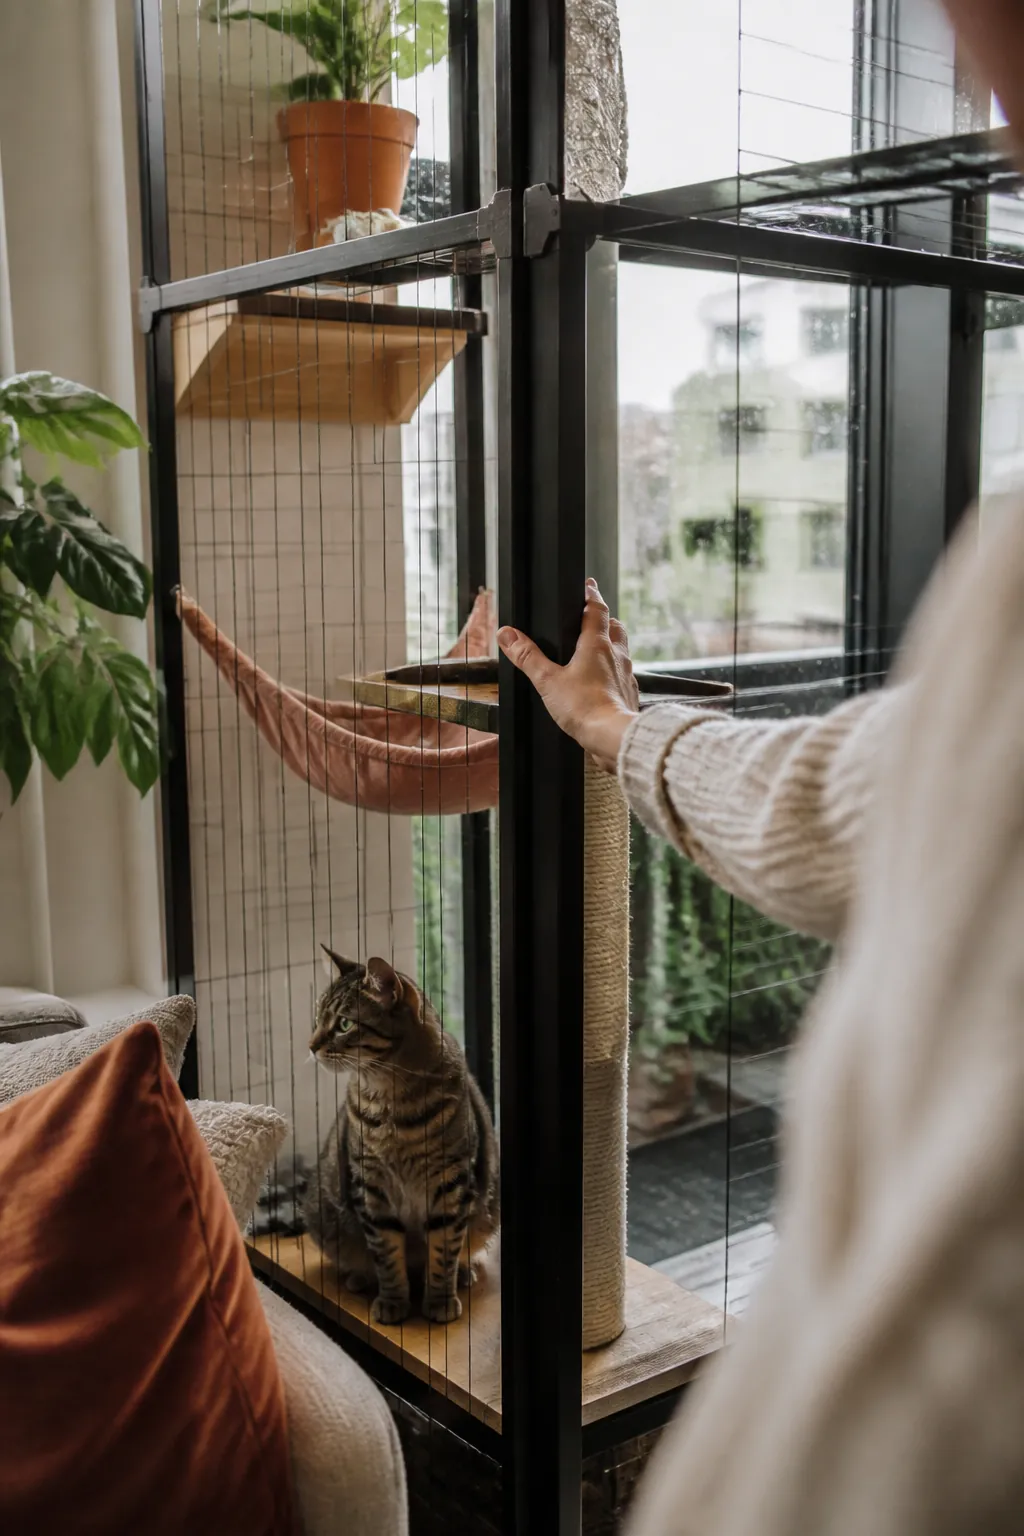
Modular kits fail at the joints between panels, almost never in the mesh itself. A connector that seats with a firm push on assembly day can work loose after a week of wind flexing the frame, and the failure is usually silent until a panel simply leans away from its neighbor. Walk the perimeter after the first real weather event the catio sees, pressing on each joint by hand, then repeat that check monthly rather than assuming a kit that survived one storm will survive all of them. Keep the extra connectors most kits ship with in a labeled bag rather than the original box, since the original box rarely survives the season and a spare part with no home gets lost.
9. Buy in this order if the budget is tight
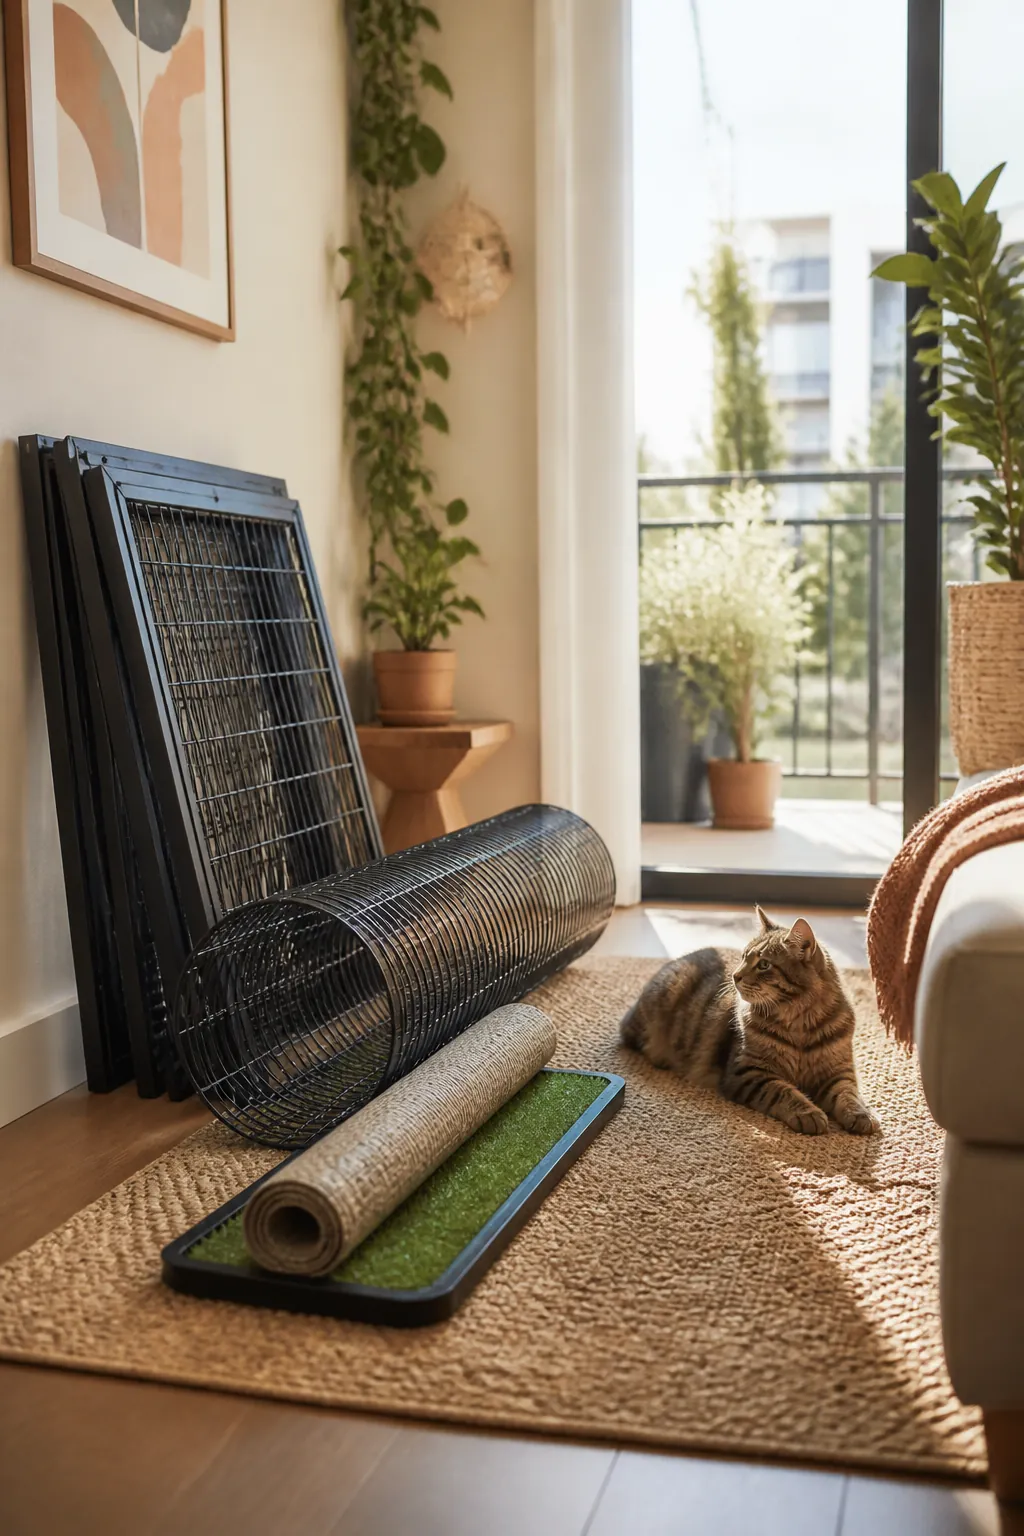
Spend on the enclosure panels first, since they are the part that has to hold shape under load and the part cheap tents get wrong. The tunnel is next if the gap to the door demands it, and skip it entirely if the enclosure can sit flush against the opening instead. Ground protection and a cover are both worth adding, but either can wait a season if the budget runs out after the frame, since a bare-concrete catio with no roof still functions while an unweighted frame with a fancy cover does not.
Where to start
Measure the patio and check the lease for anything about exterior structures before ordering anything, since a kit bought to a guessed size is the expense that undoes the budget framing of the whole project. Buy the panel enclosure first and the weighting materials at the same time, because a kit that arrives and sits unassembled for two weeks while you source sandbags is a kit a cat has already learned to ignore.
Assemble on the flattest ground available, weight every corner before the first night outside, and walk the joints again after the first weather the structure sees. A modular kit earns the word “durable” only after that first check confirms nothing worked loose, and skipping it is how a budget project turns into two budget projects.