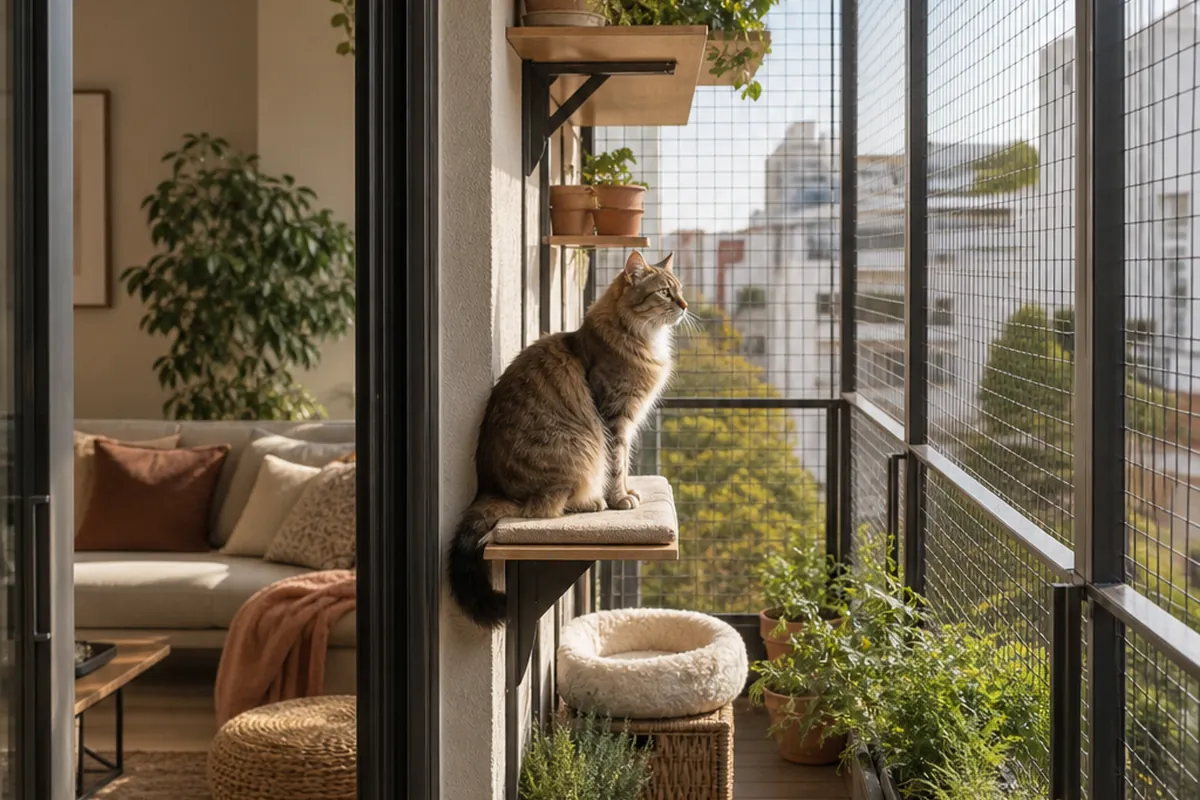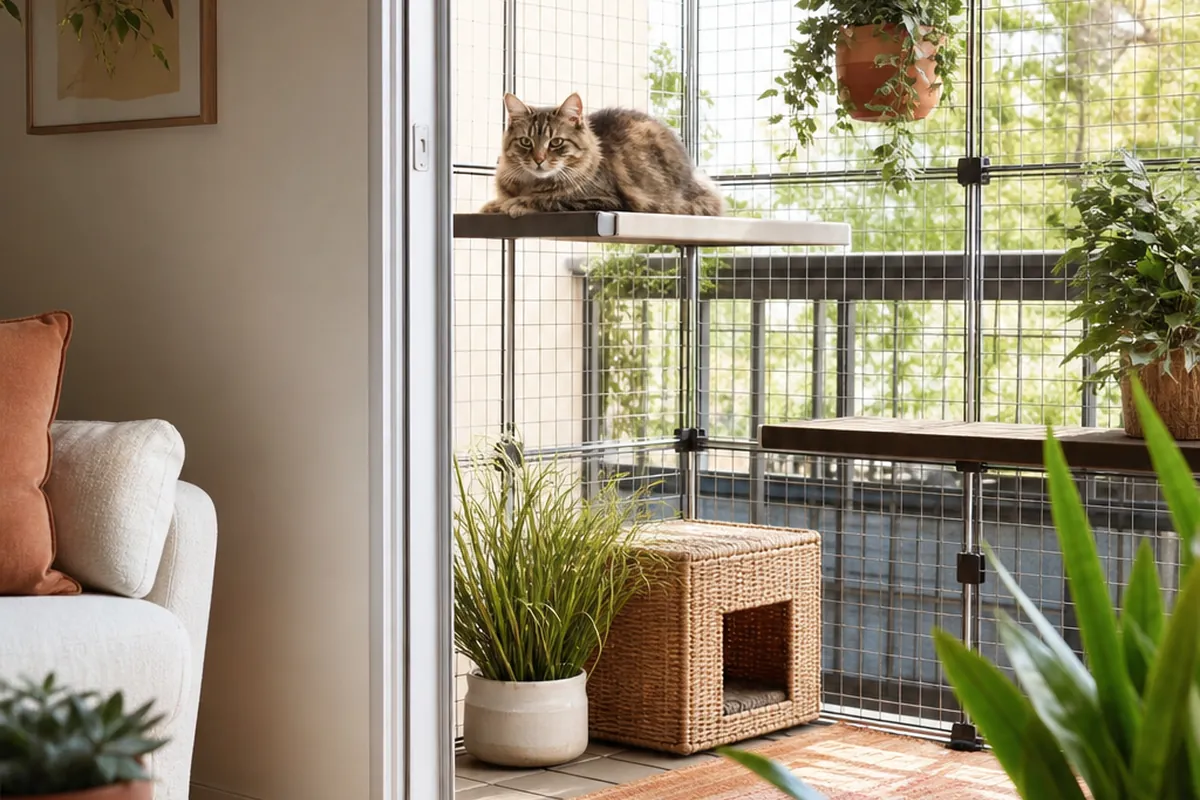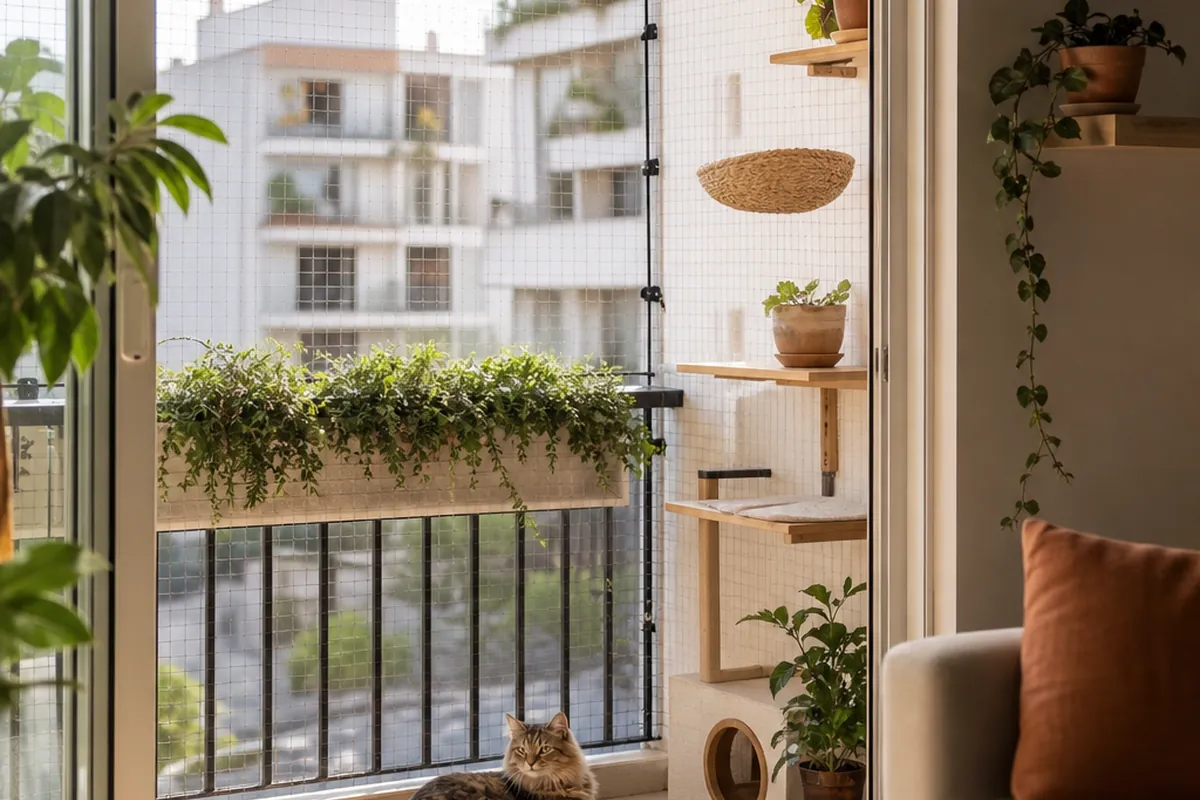
A balcony is the only outside space most apartment cats will ever have, and it is also the part of a rental most closely governed by rules you did not write. The trick is building something that gives the cat the balcony without giving the building anything to object to, and that comes apart on the day you leave.
Nine ideas that leave the concrete exactly as you found it.
1. Read both sets of rules before you buy anything
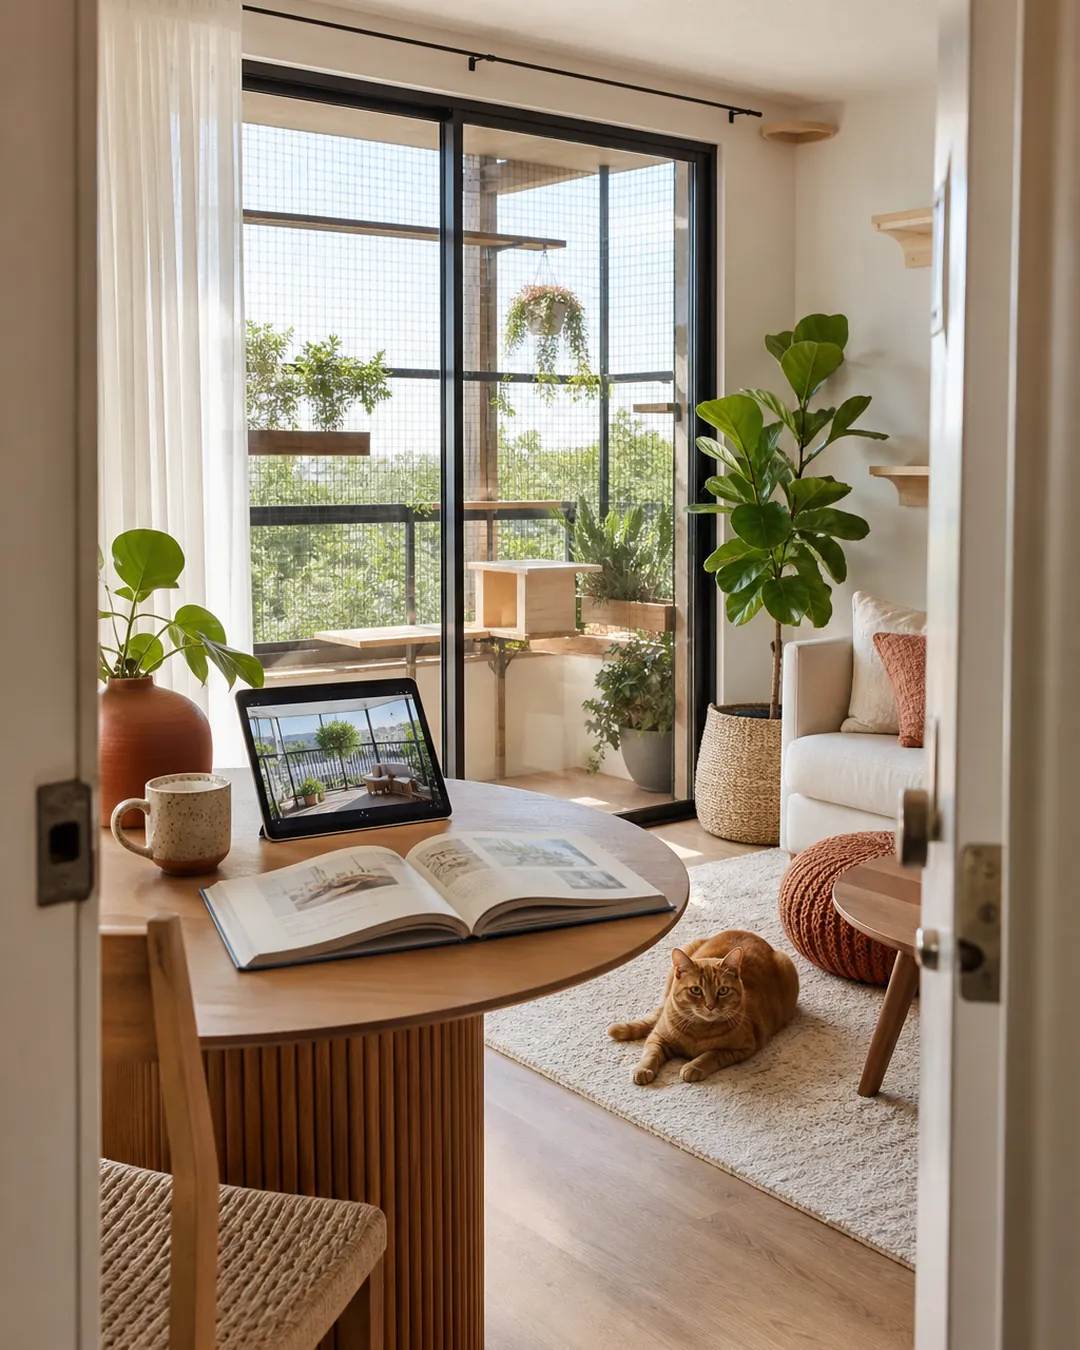
The lease covers attachments and alterations. The building or association rules frequently cover what the balcony looks like from outside, and those are separate documents that people forget to check. Between them they usually rule out anything drilled and anything visible above the railing line, which narrows the field considerably and saves you buying the wrong thing first. Ask in writing if the wording is ambiguous, because a permission you can produce later is worth far more than a conversation with a building manager who may not be there next year.
2. Prefer a freestanding enclosure over a fixed one
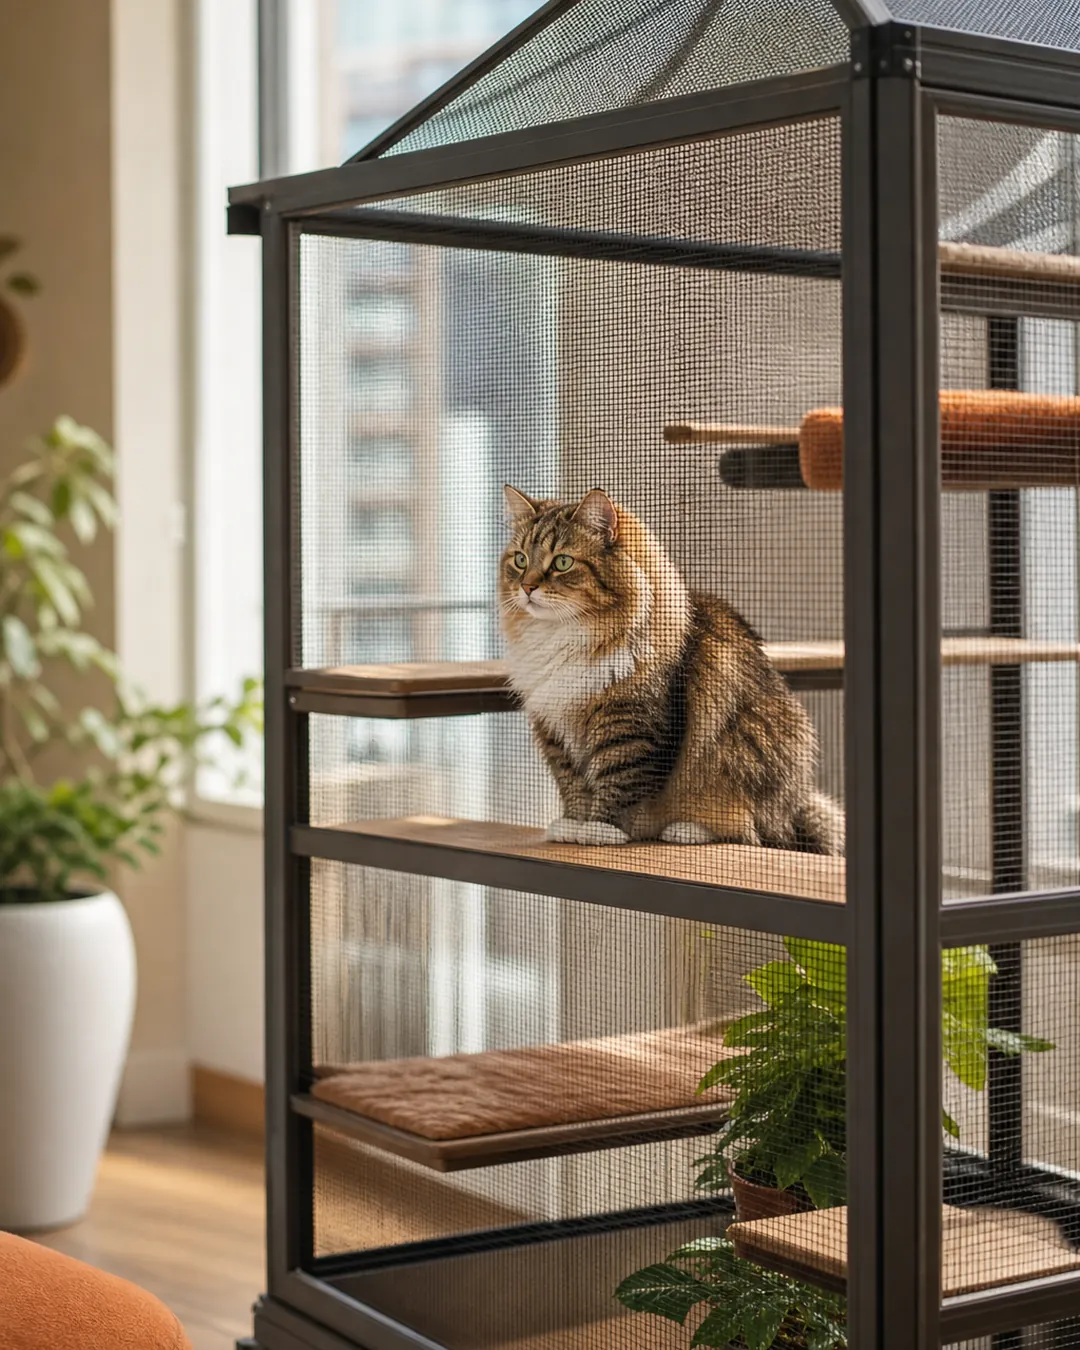
The cleanest answer to a rented balcony is a structure that stands on the floor and touches nothing. A movable outdoor cat enclosure is independent of the railing, the walls and the ceiling, which means there is nothing to remove and nothing to restore. It also moves with you to the next apartment, where a netting kit cut to fit this balcony will not. The trade is size, since a freestanding unit gives the cat a defined enclosure rather than the run of the whole balcony, so measure how much of the floor you are willing to hand over before choosing one.
That same measurement matters even more on a balcony too narrow to spare floor on both sides of the box, where fitting a narrow balcony catio comes down to the enclosure’s footprint against the balcony’s own depth rather than its photographed height.
3. Use the railing as the frame, not the wall
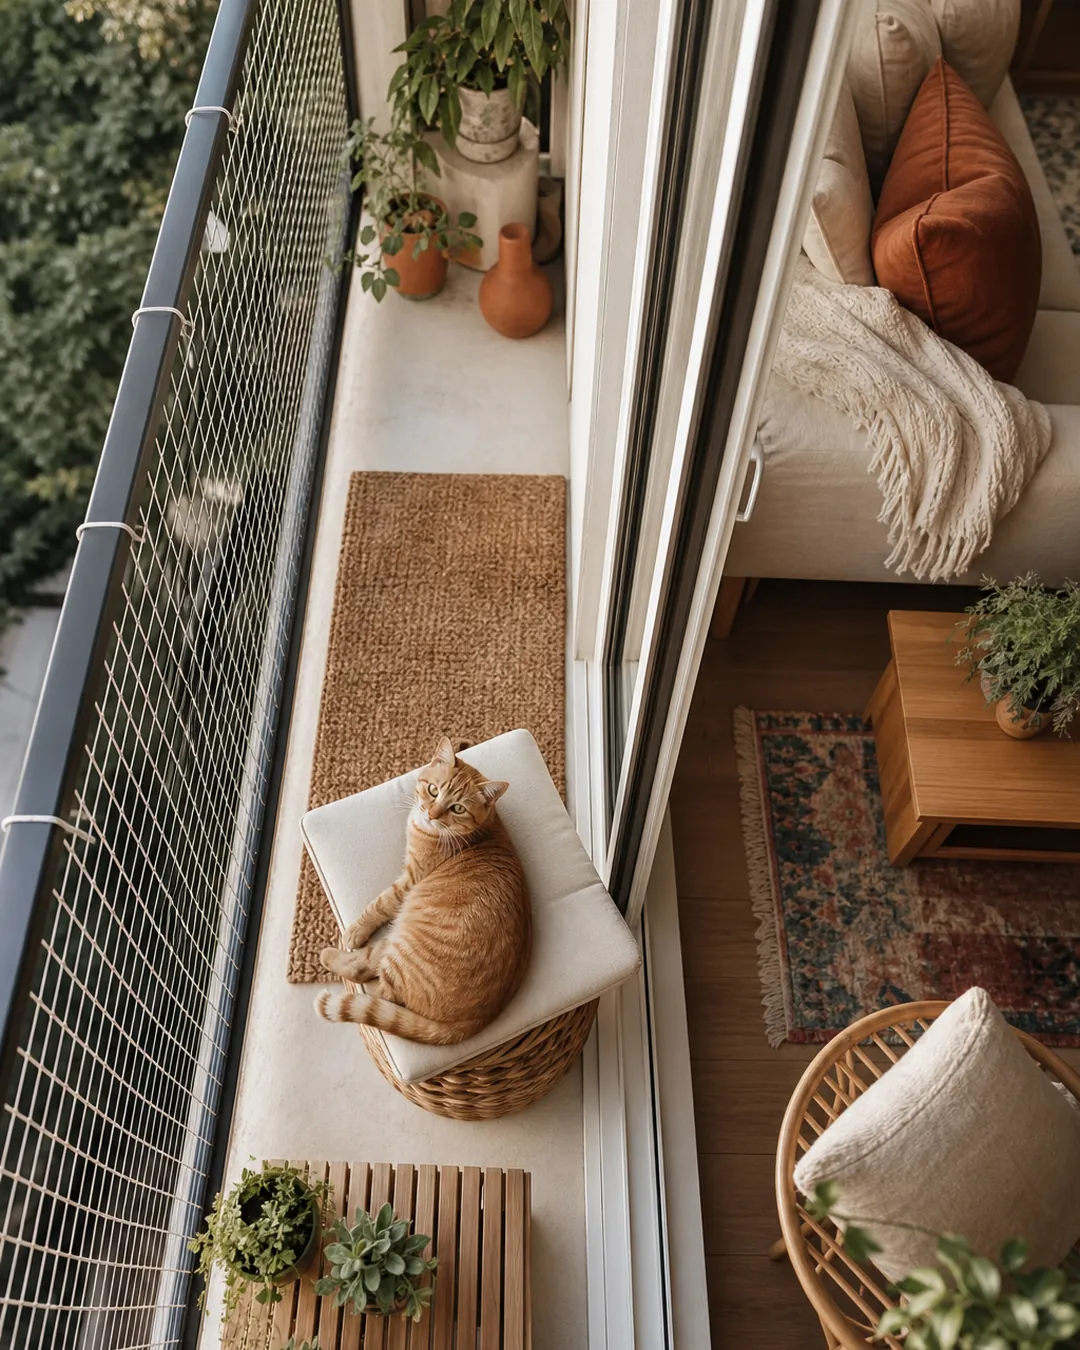
Where you do want to enclose the whole balcony, work from the railing that is already there. Cable ties at close intervals along the existing structure hold netting or mesh panels firmly and cut off in minutes with a pair of scissors. Nothing goes into masonry, nothing needs filling, and the whole installation is reversible in an afternoon. Use ties rated for outdoor use rather than the cheapest ones in the pack, because ultraviolet light makes ordinary nylon brittle within a season and brittle ties fail quietly rather than visibly.
4. Fill the awkward gaps with cheap mesh panels
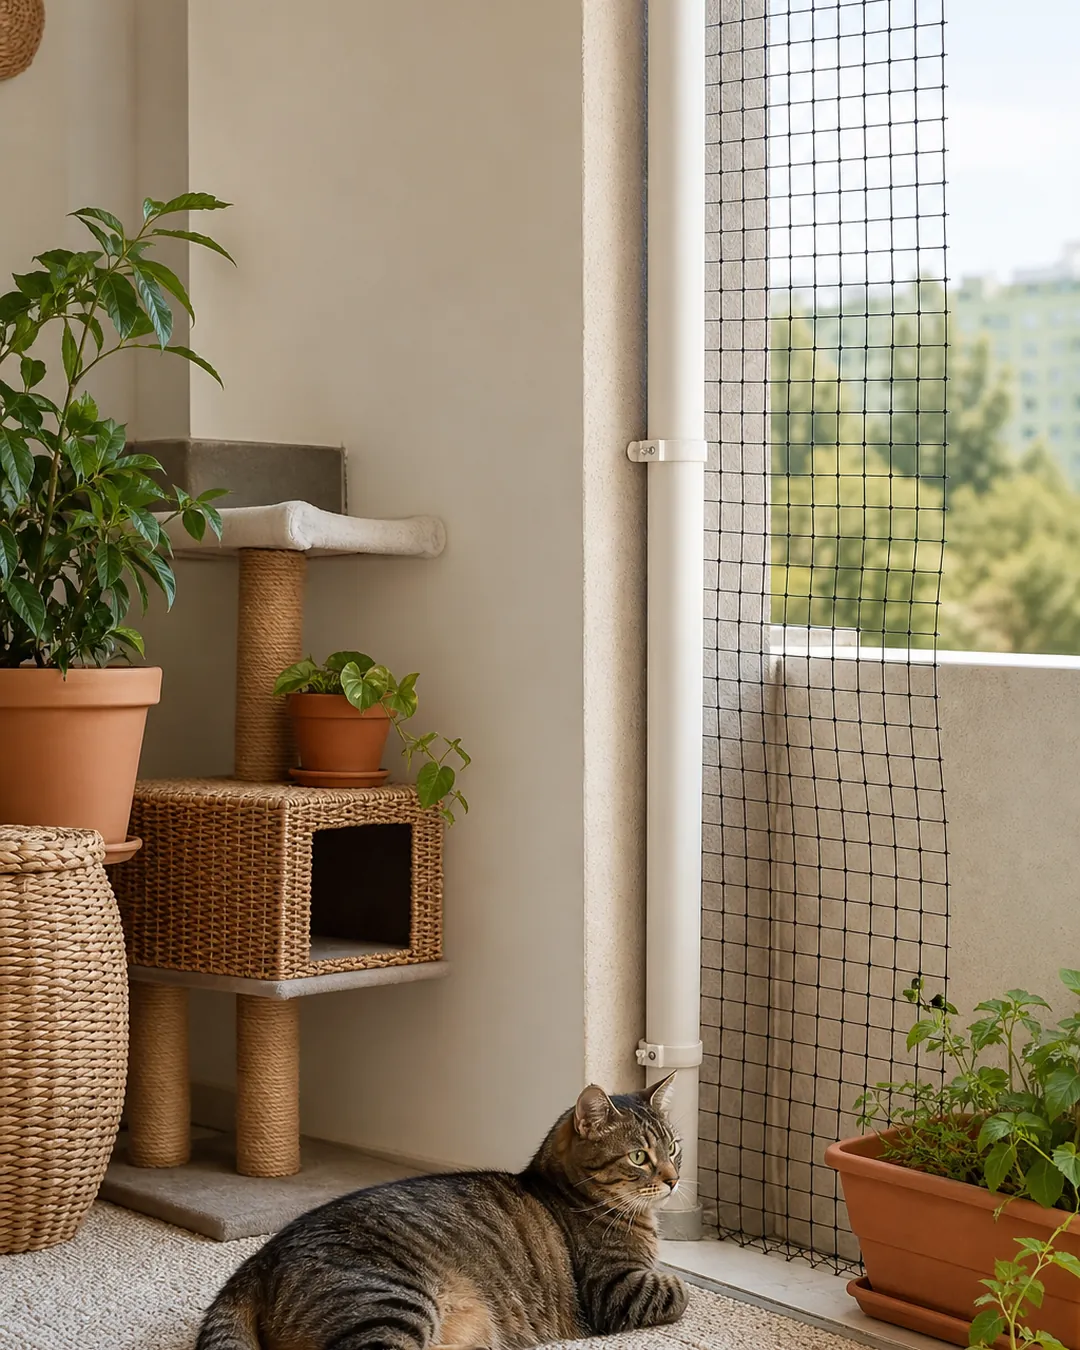
Balconies have odd geometry: a gap beside a drainpipe, a triangle where the railing meets the wall, a wider space under the bottom rail. A roll of plastic garden mesh cuts to shape with household scissors and ties into place, which is the practical way to close those without custom parts. Cut generously and overlap rather than fitting exactly, because the edges are where gaps reappear.
5. Keep it below the railing line
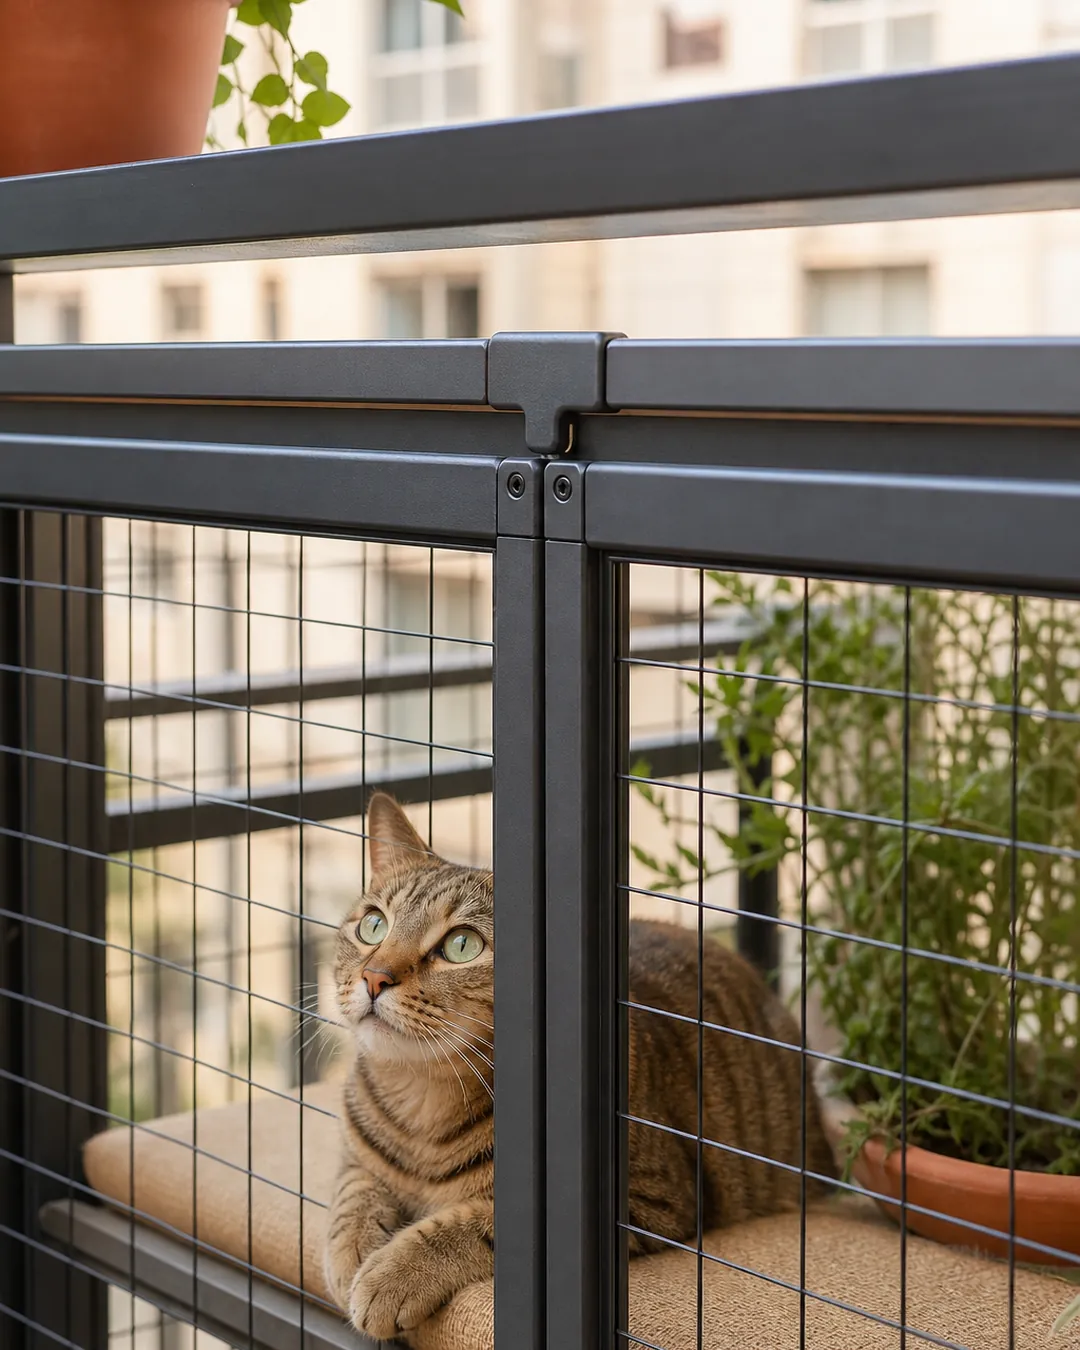
This is the single change that removes most objections before anyone makes them. An enclosure that sits below the top of the railing is invisible from the street and from the balconies opposite, and a neutral color that matches the railing disappears further still. Anything that breaks the line of the building is what gets noticed and what gets a letter. Look at your building from the street before you decide, since balconies read differently from below than they do from inside, and a panel that seems discreet at eye level can be the only thing visible on that facade. The opposite holds for anything hung off a window, since window catios for apartments without balconies project from the wall in full view of the street and need the written permission a below-rail enclosure often does not.
6. Weight it, because balconies are windy
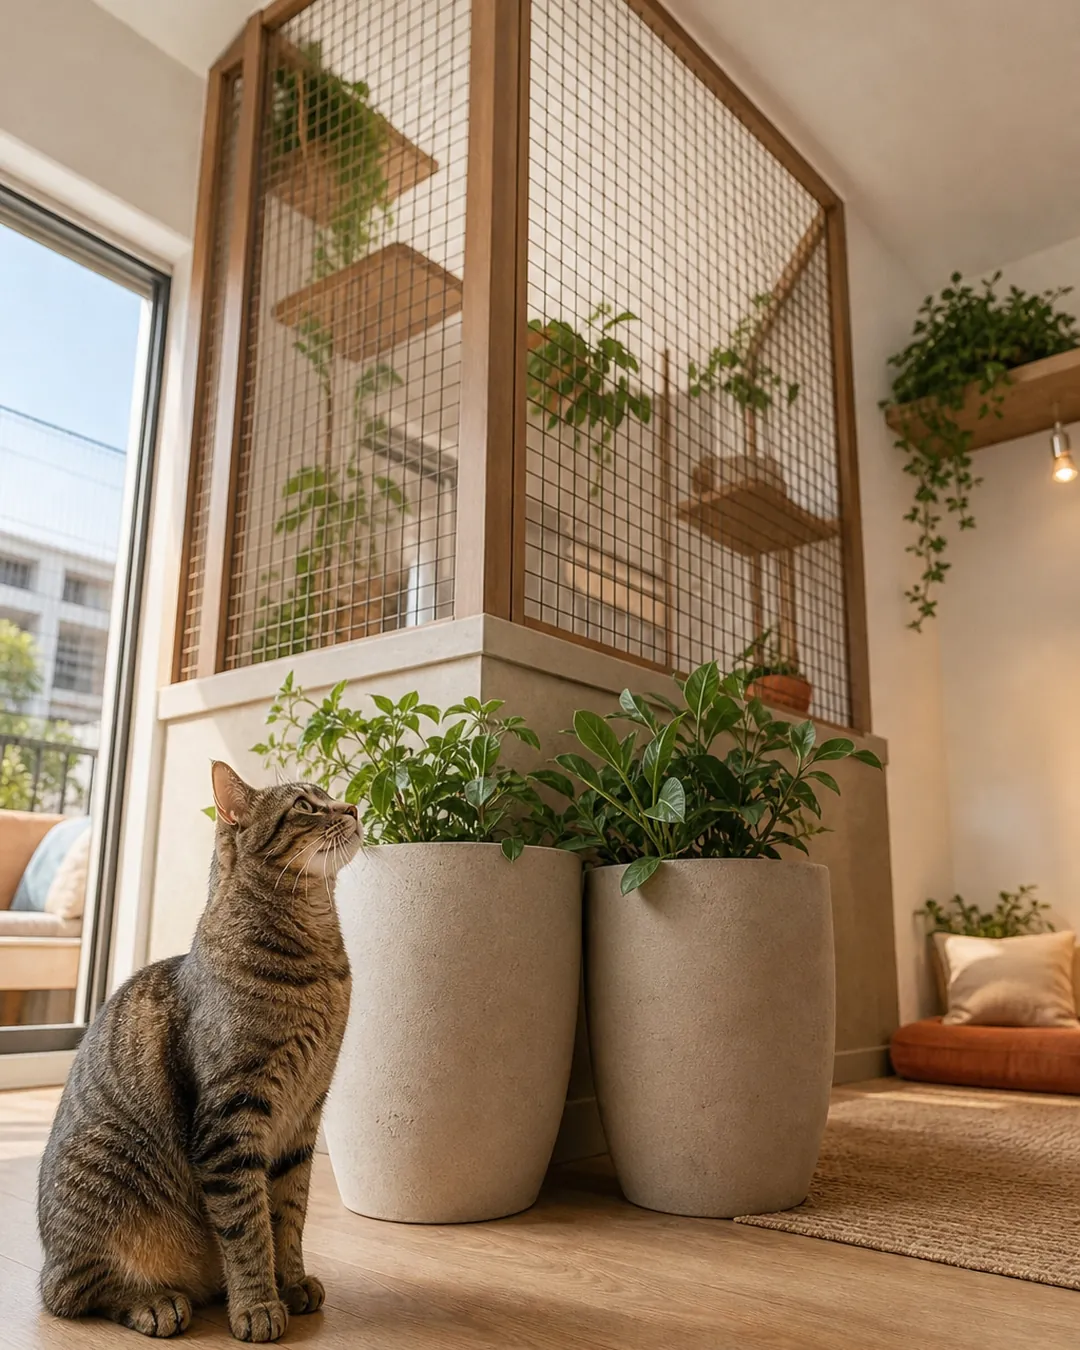
Wind is stronger three floors up than it is at ground level, and a light enclosure with any kind of roof panel behaves like a sail. Put weight at the base, whether that is planters, paving slabs or purpose-made ballast, and check it after the first real storm. This is a safety point rather than a tidiness one, both for the cat and for whatever is below the balcony. Anything light enough to move in a gust needs to be secured or brought in, and that includes the shade you add later, which is usually the first thing to take off in a storm. On a ground-floor patio the same logic applies to a DIY catio kit for renters on a budget, where sandbags or filled water jugs at each corner replace the ground stakes the instructions call for.
7. Lay removable flooring over the concrete
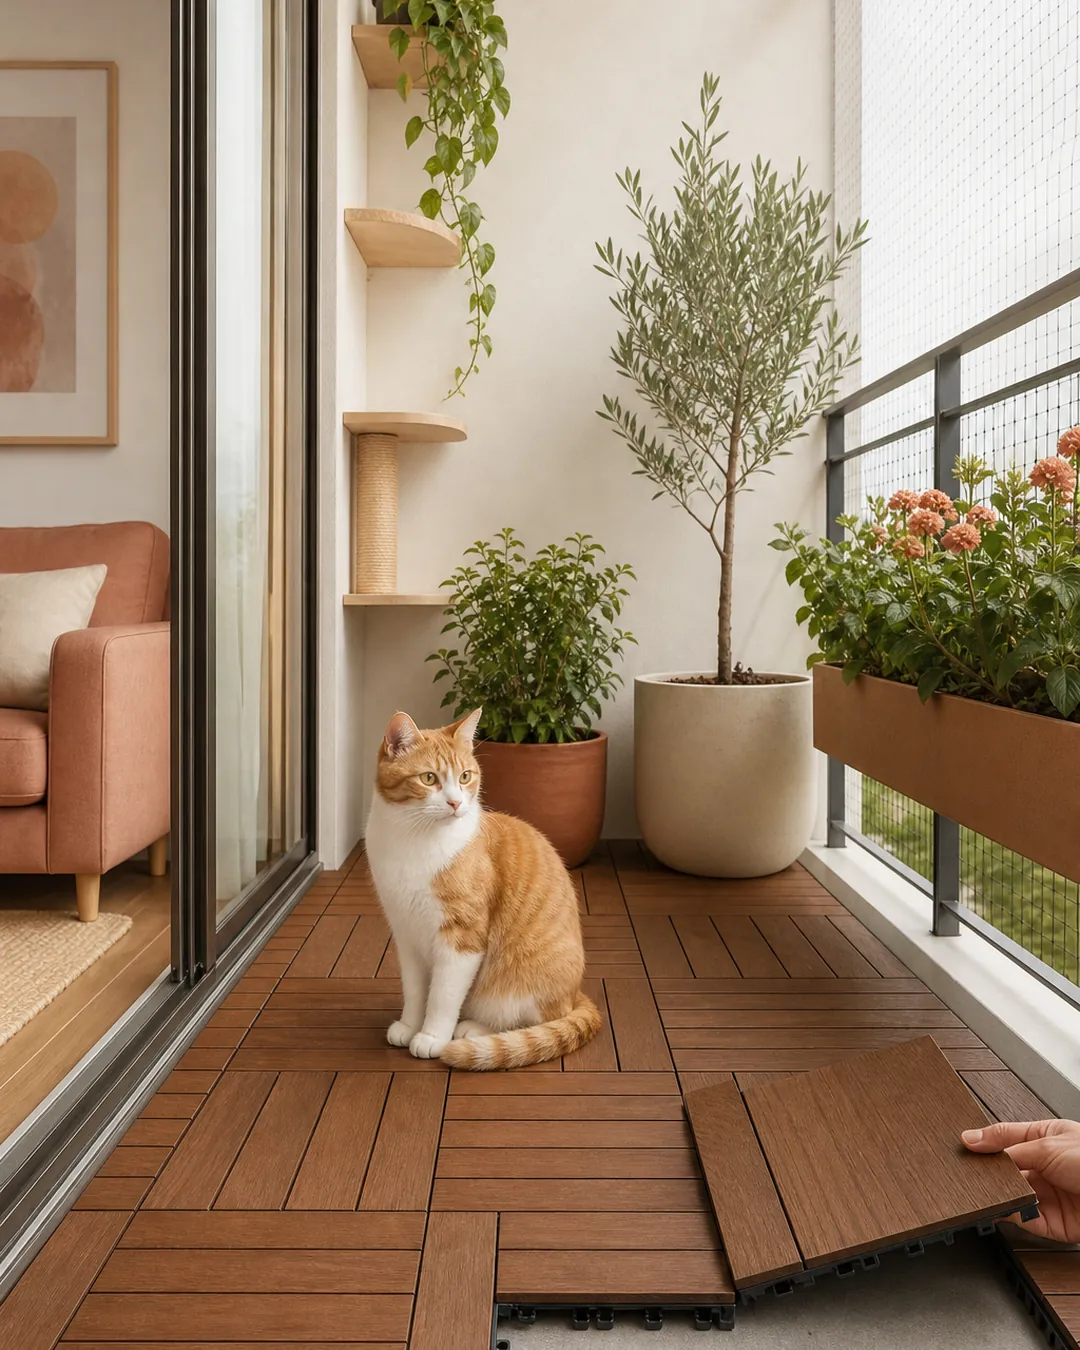
Interlocking tiles improve the surface enormously and lift out in minutes at the end of the tenancy. They also trap the bottom edge of netting neatly, which solves the gap cats push under. Choose something that drains rather than something that holds water against the concrete, since a permanently damp patch under a mat is the kind of mark a landlord does notice. Lift a corner every few weeks in the first season to check what is happening underneath, and keep the tiles clear of the balcony drain if there is one.
8. Bring the scratching outside, but keep it portable
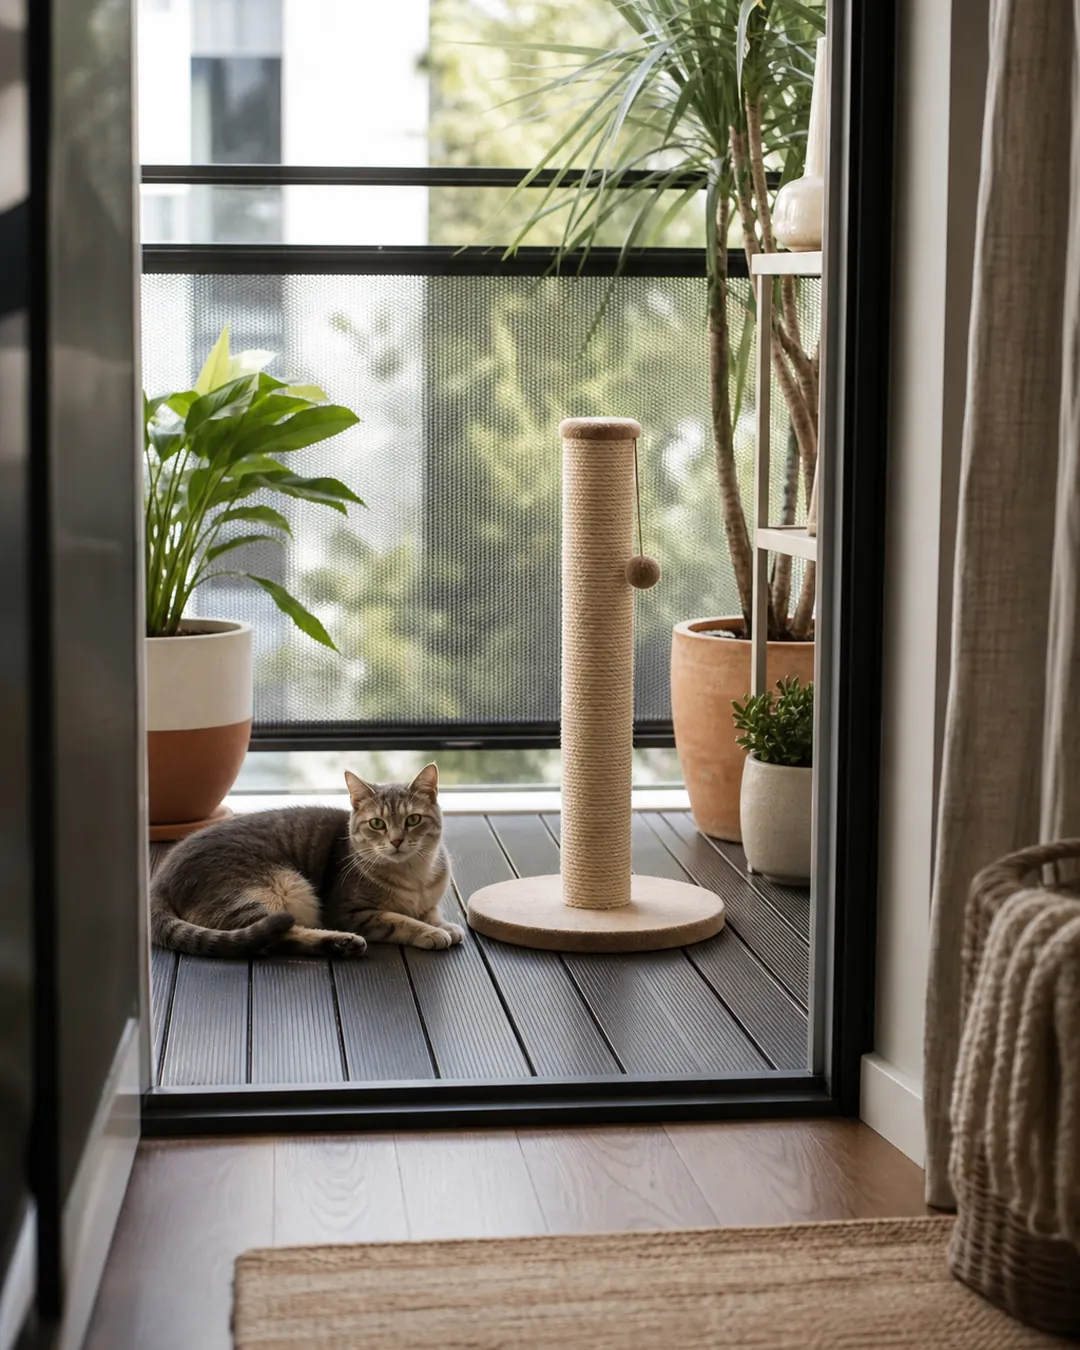
Cats stretch and scratch when they arrive somewhere, and outside is no different. A freestanding sisal post at 35.4 inches gives that behavior a target that is not the railing, the door frame or the netting itself. Bring it in over winter, since weather shortens the life of sisal considerably and a soaked scratching surface is one the cat ignores. A post that lives outside year round will need replacing annually, which makes a cheap one with a replaceable sleeve the sensible purchase rather than a heavy piece of furniture.
9. Plan the removal while you are building it
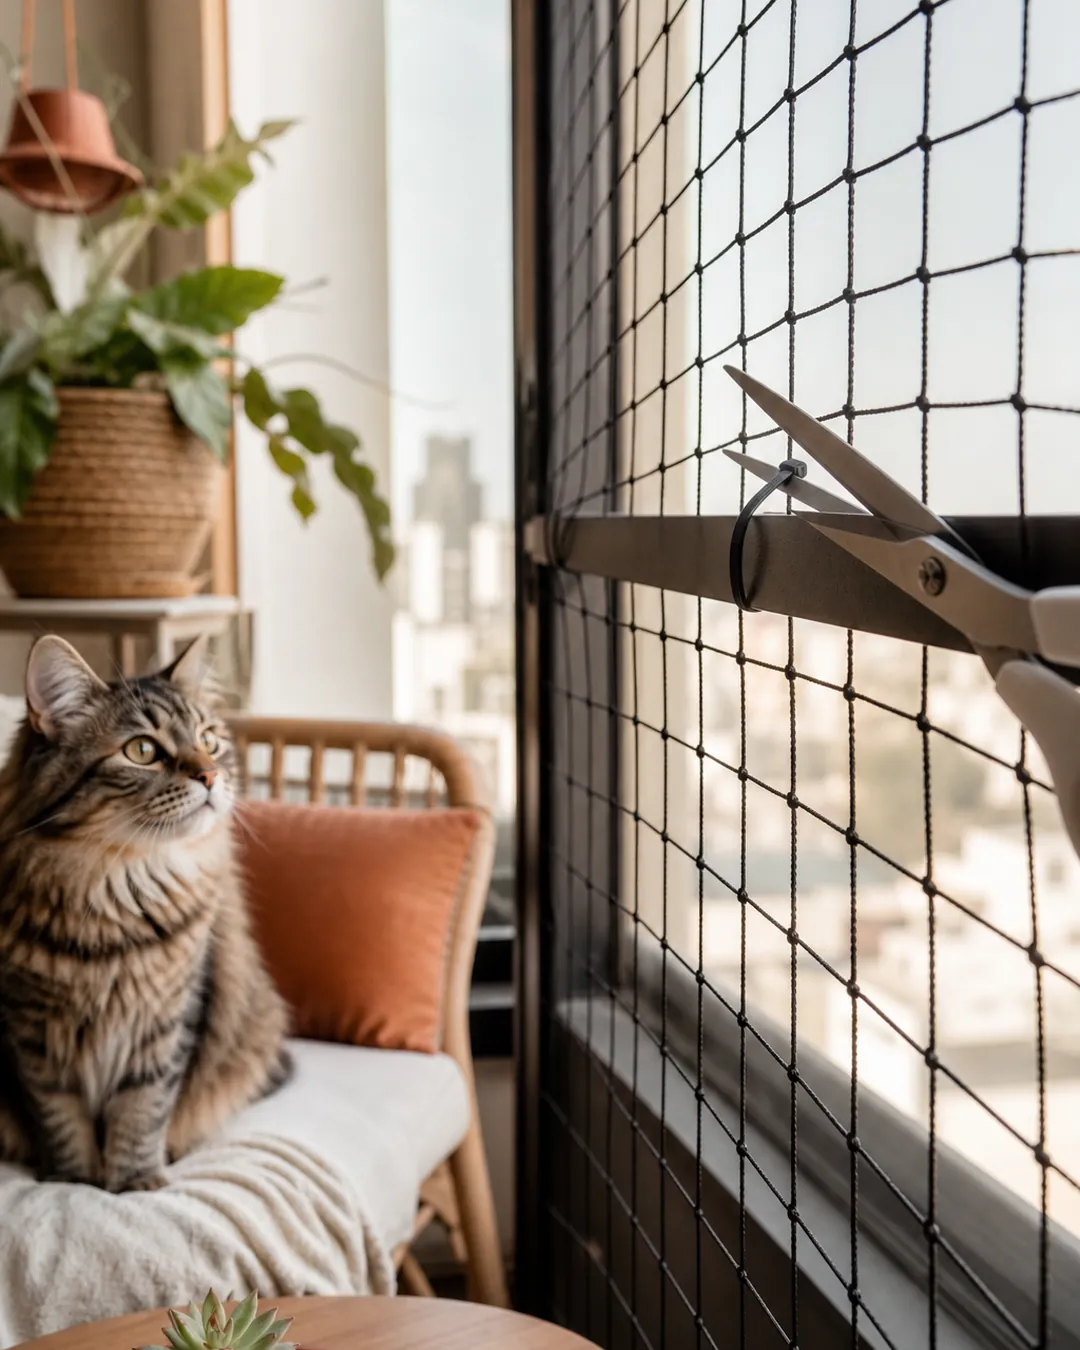
Every fixing should have an answer to the question of how it comes off. Cable ties get cut, clamps unscrew, tiles lift, netting rolls. If any part of your plan involves adhesive on masonry or a screw into a wall, replace it now rather than discovering the problem during a move-out inspection. Take photos of the balcony before you start, and again once everything is out, so the two sets sit side by side.
Where to start
Check the rules first. It costs an evening and it decides whether you are buying a freestanding enclosure or a netting kit, which are different budgets and different projects. If the building has any rule about balcony appearance, assume the freestanding low-profile version is the one that will survive a complaint.
Then measure the balcony properly, including the height of the railing and the size of every gap around its perimeter. The gaps are what the project is really about, and they are always more numerous than a first look suggests. Write the measurements down rather than trusting them to memory, because ordering mesh a foot short is the delay that leaves a half-finished enclosure on the balcony for a week.
Build the enclosure or fit the netting, then walk the whole perimeter at cat height looking for anything a head fits through. Do that before the cat ever goes out, and again after the first windy week.
Add the flooring, then somewhere raised to sit, then the scratching post. Let the cat find the space with the door propped rather than carrying it out, and expect the first few days to be spent at the threshold. That hesitation is normal, and a space discovered rather than introduced tends to get used far more.