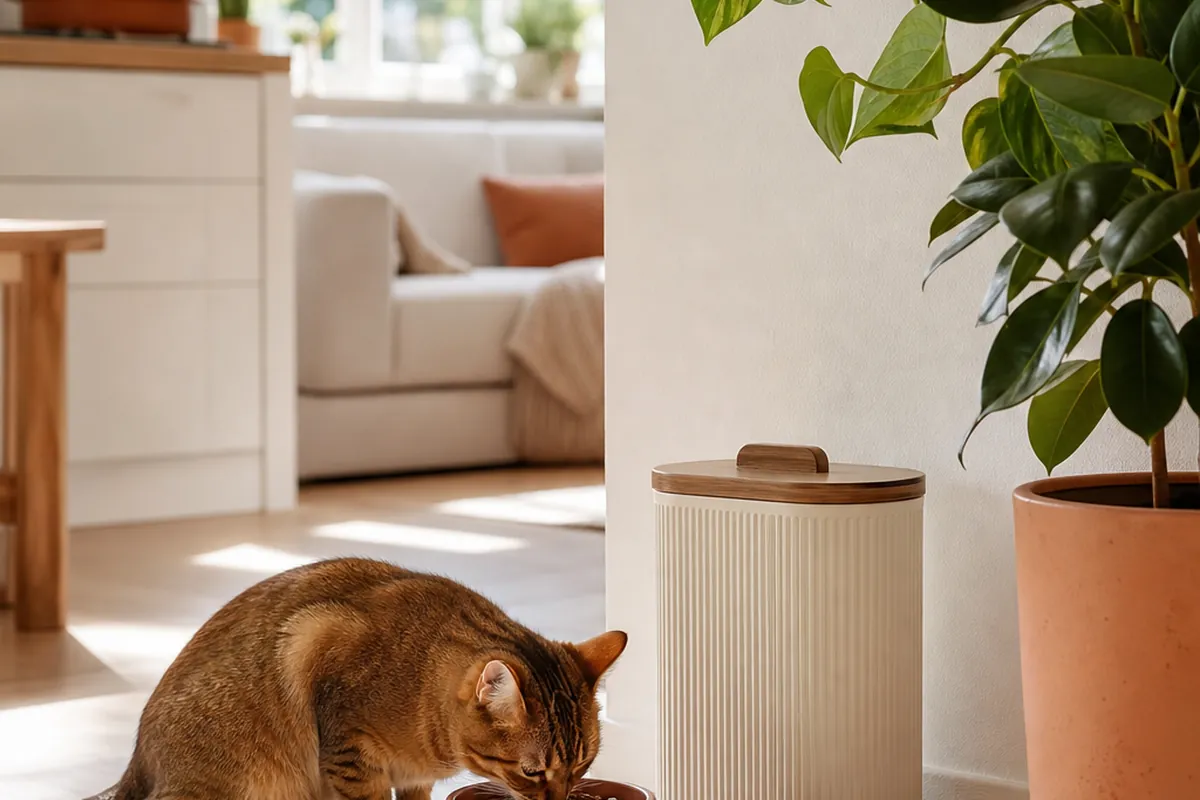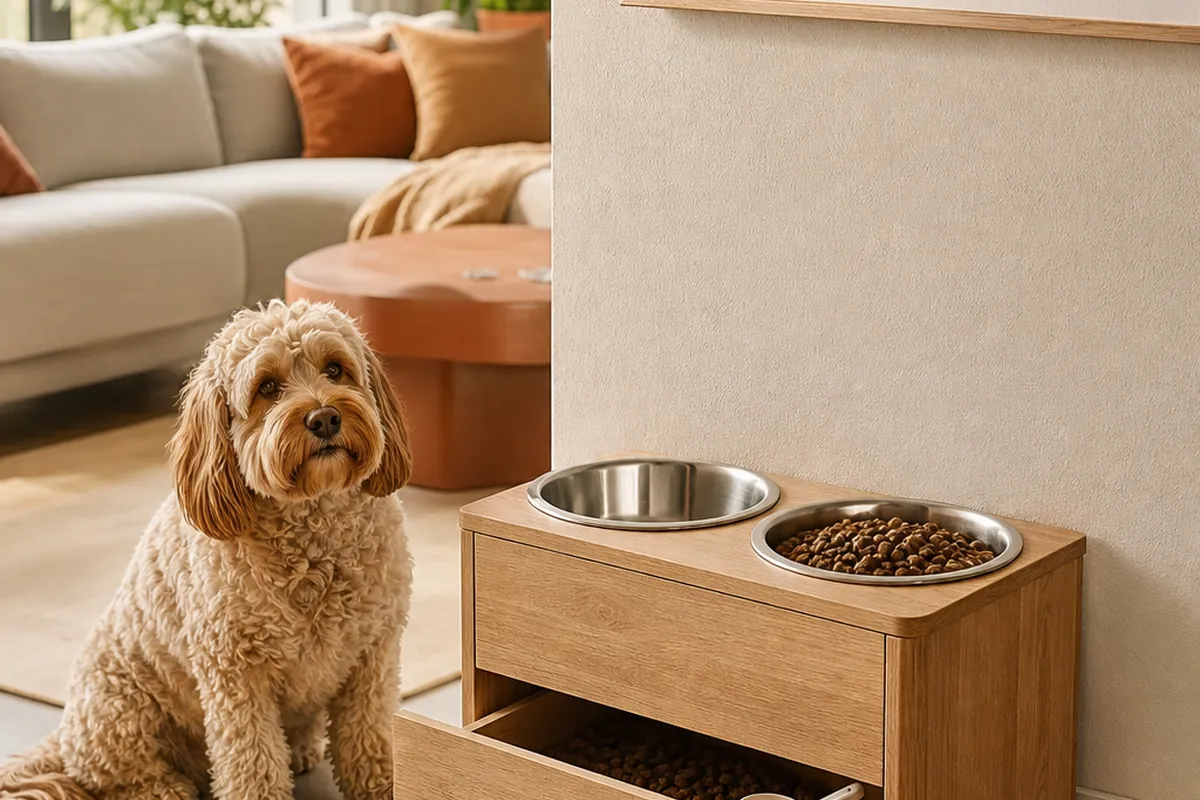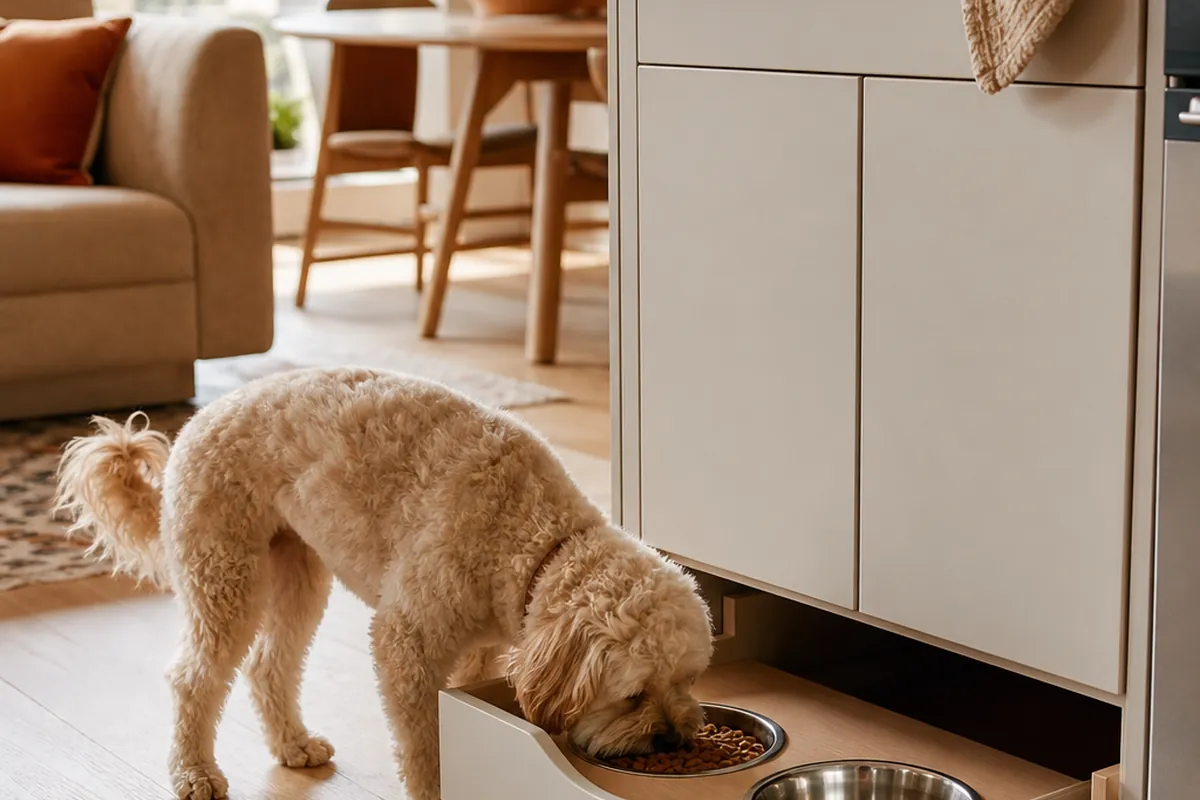
A base cabinet’s toe-kick, the recessed strip at floor level where your feet fit while you stand at the counter, sits empty for all but a few seconds a day. A pet feeding station on the open floor sits there for the other twenty-three and a half hours. Building the station into that recess instead solves both problems at once: the bowls are on hand at mealtime and gone from the floor the rest of the day, which matters in a kitchen too small to spare a permanent spot.
This is a different project from a stand placed next to the cabinets. It means measuring a recess, choosing hardware rated for the load, and deciding whether you can screw anything to the cabinet at all. Eight things to get right, in the order they actually matter.
1. Measure the toe-kick before you buy anything
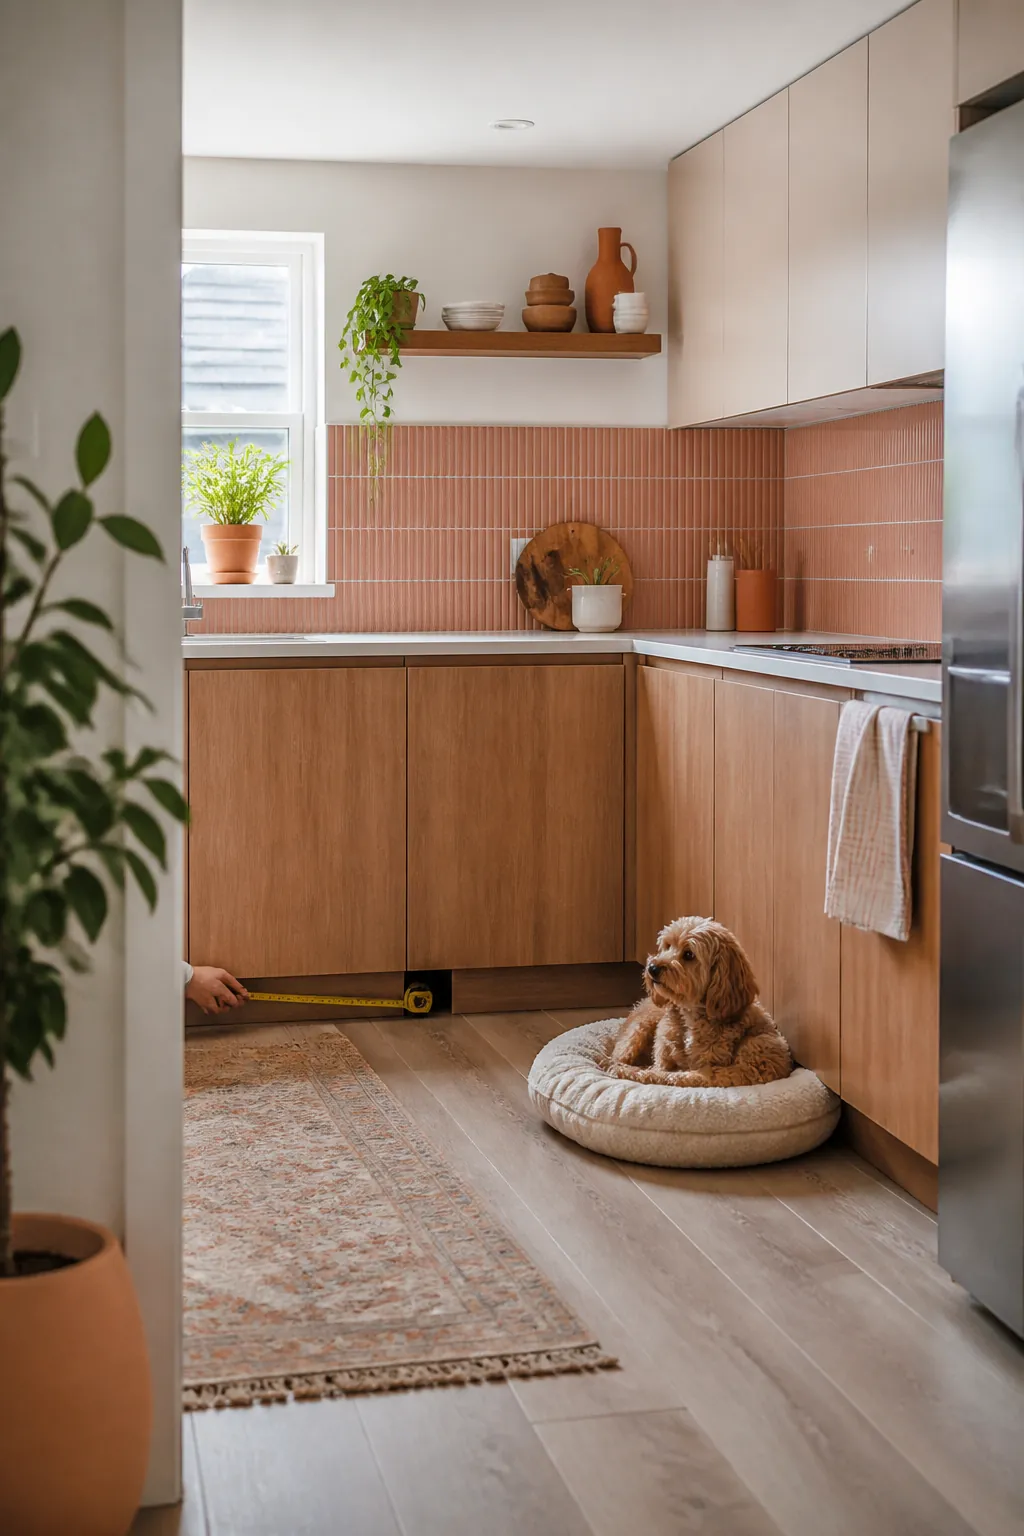
Most base cabinets leave a toe-kick recess about 3.5 to 4 inches tall and 3 inches deep, open at the front where the kickplate would otherwise sit. That is enough for a shallow tray holding two low bowls, but not enough for anything raised or for an automatic feeder with a hopper. Measure your own cabinets before ordering hardware, because some runs have a solid kickplate rather than an open recess, and a few older builds skip the recess entirely. A bowl about 1.5 to 2 inches tall clears the height easily; a bowl taller than about 3 inches will not close flush.
2. Pick a drawer slide rated for more than the bowls weigh
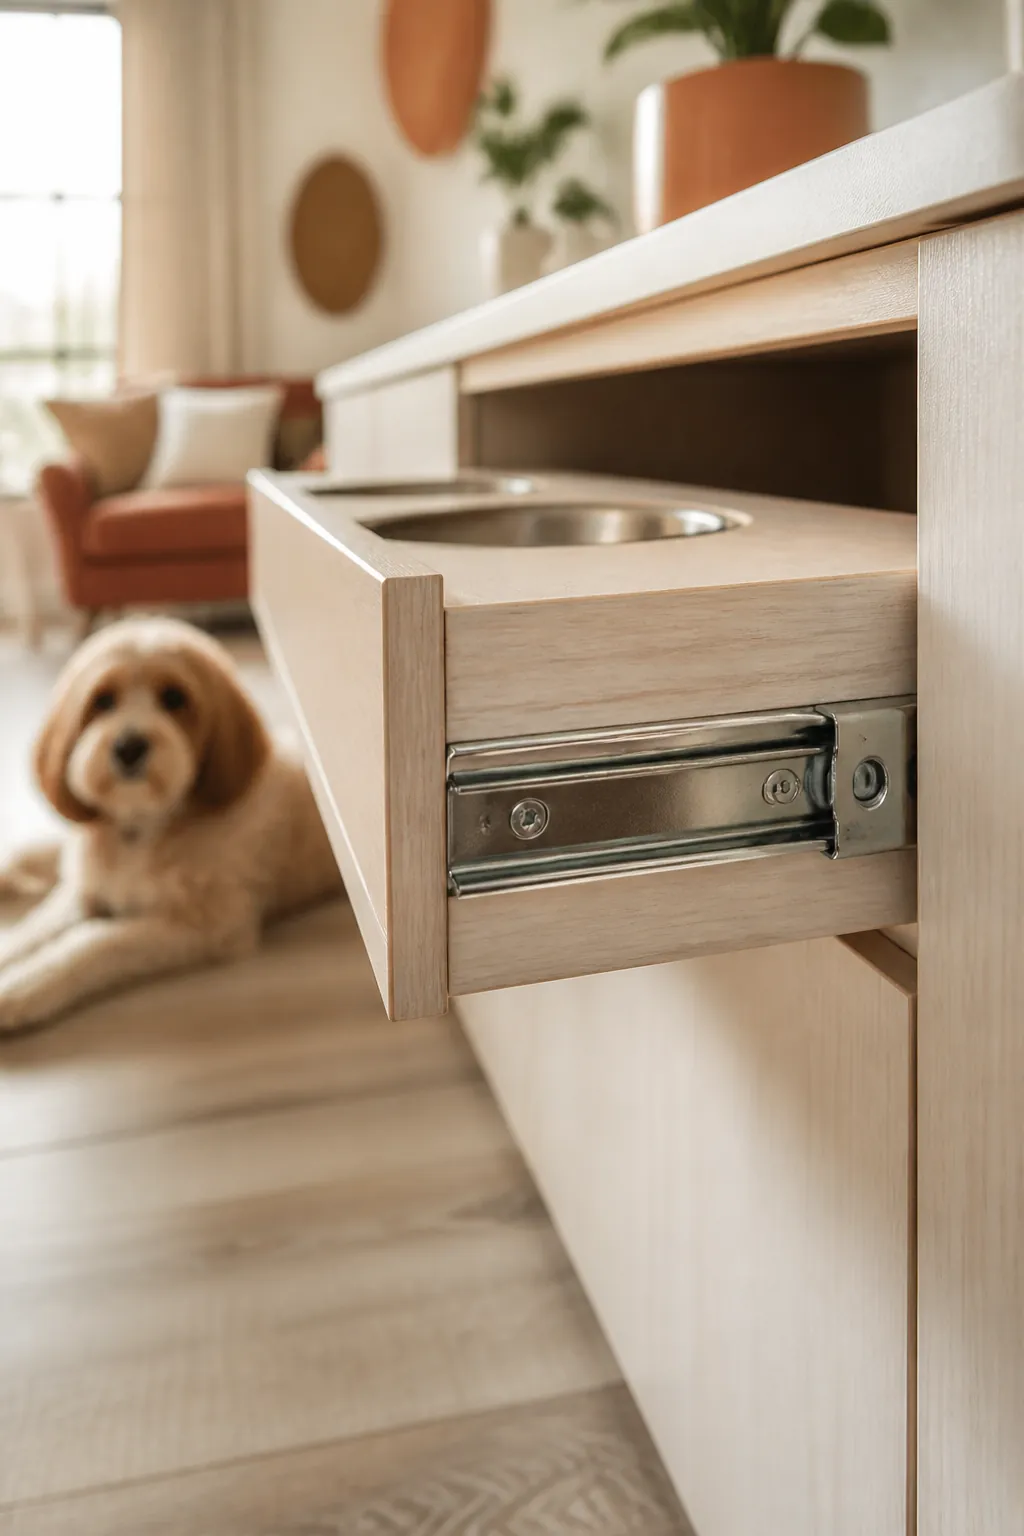
Drawer slides are sold by weight rating, and 35 pounds comfortably covers a tray with two bowls and whatever water gets spilled during a meal. Go to 75 or 100 pounds only if two pets share the station, since the rating covers the whole pulled-out load rather than just the bowls sitting still. Buy full-extension slides rather than partial-extension: a partial slide leaves the back third of the tray still inside the cabinet, which is exactly where the far bowl ends up.
3. Keep the drawer for bowls only
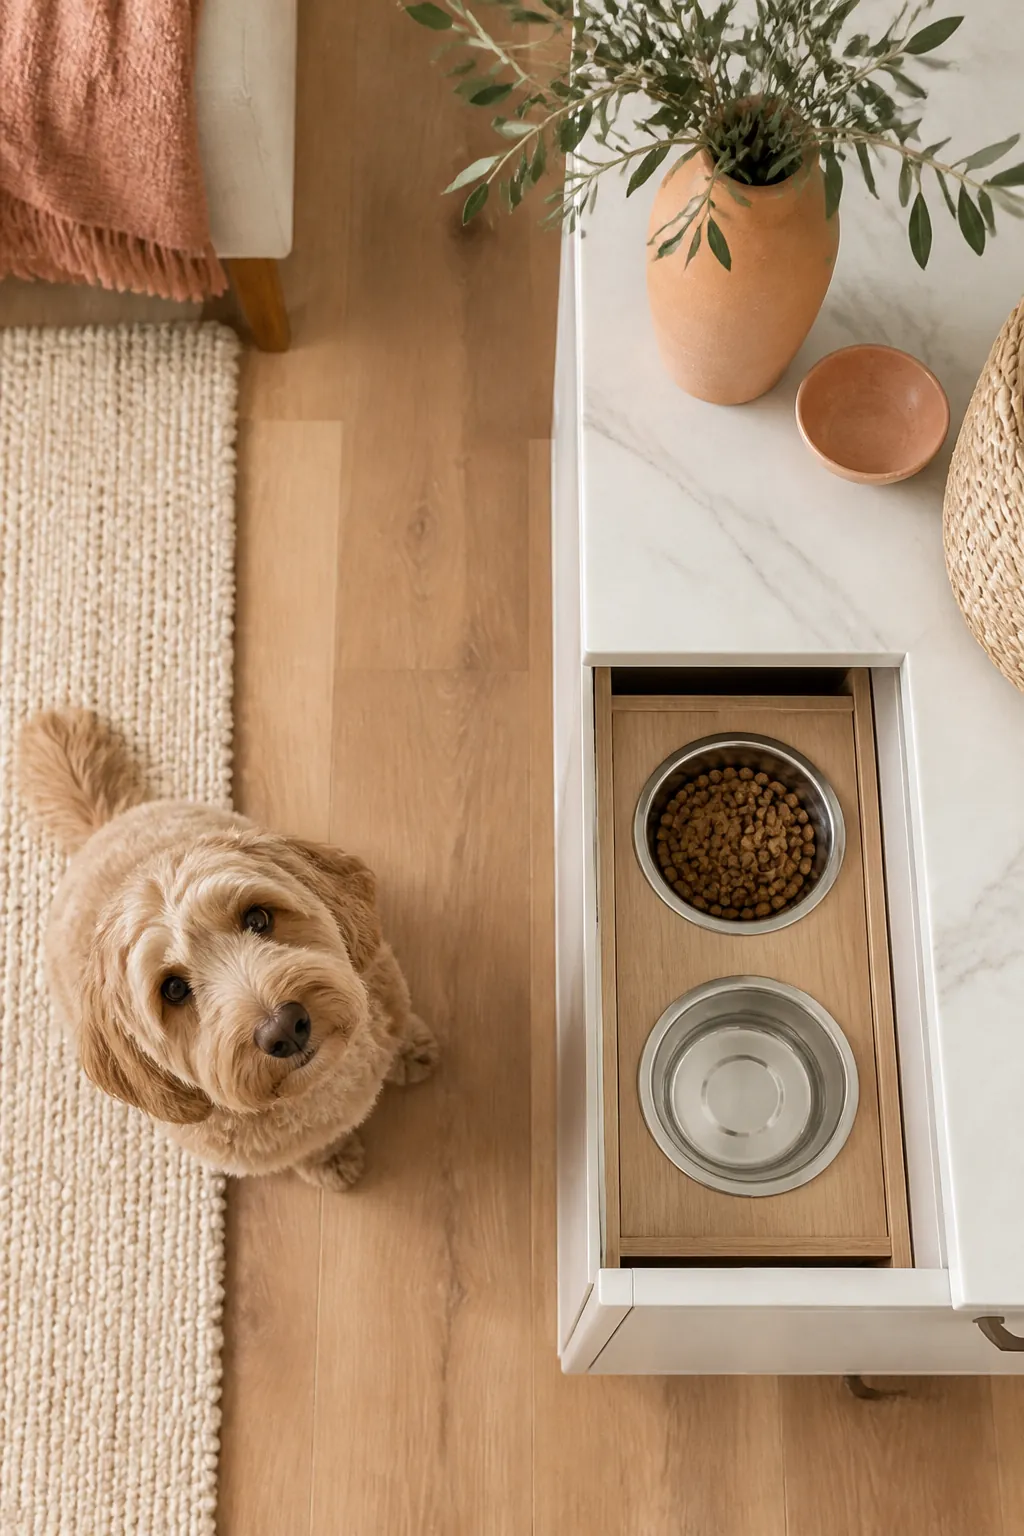
It is tempting to slide the food bag into the same recess, but that adds weight the slides were not sized for and puts kibble directly under the splash zone. A drawer built for bowls alone stays light, extends smoothly for years instead of sagging, and is short enough front-to-back that it clears the cabinet door swing above it. Anything else the station needs, the bag, the scoop, the spare bowl, belongs somewhere the drawer never has to carry.
4. Store the food in the cabinet above it, sealed
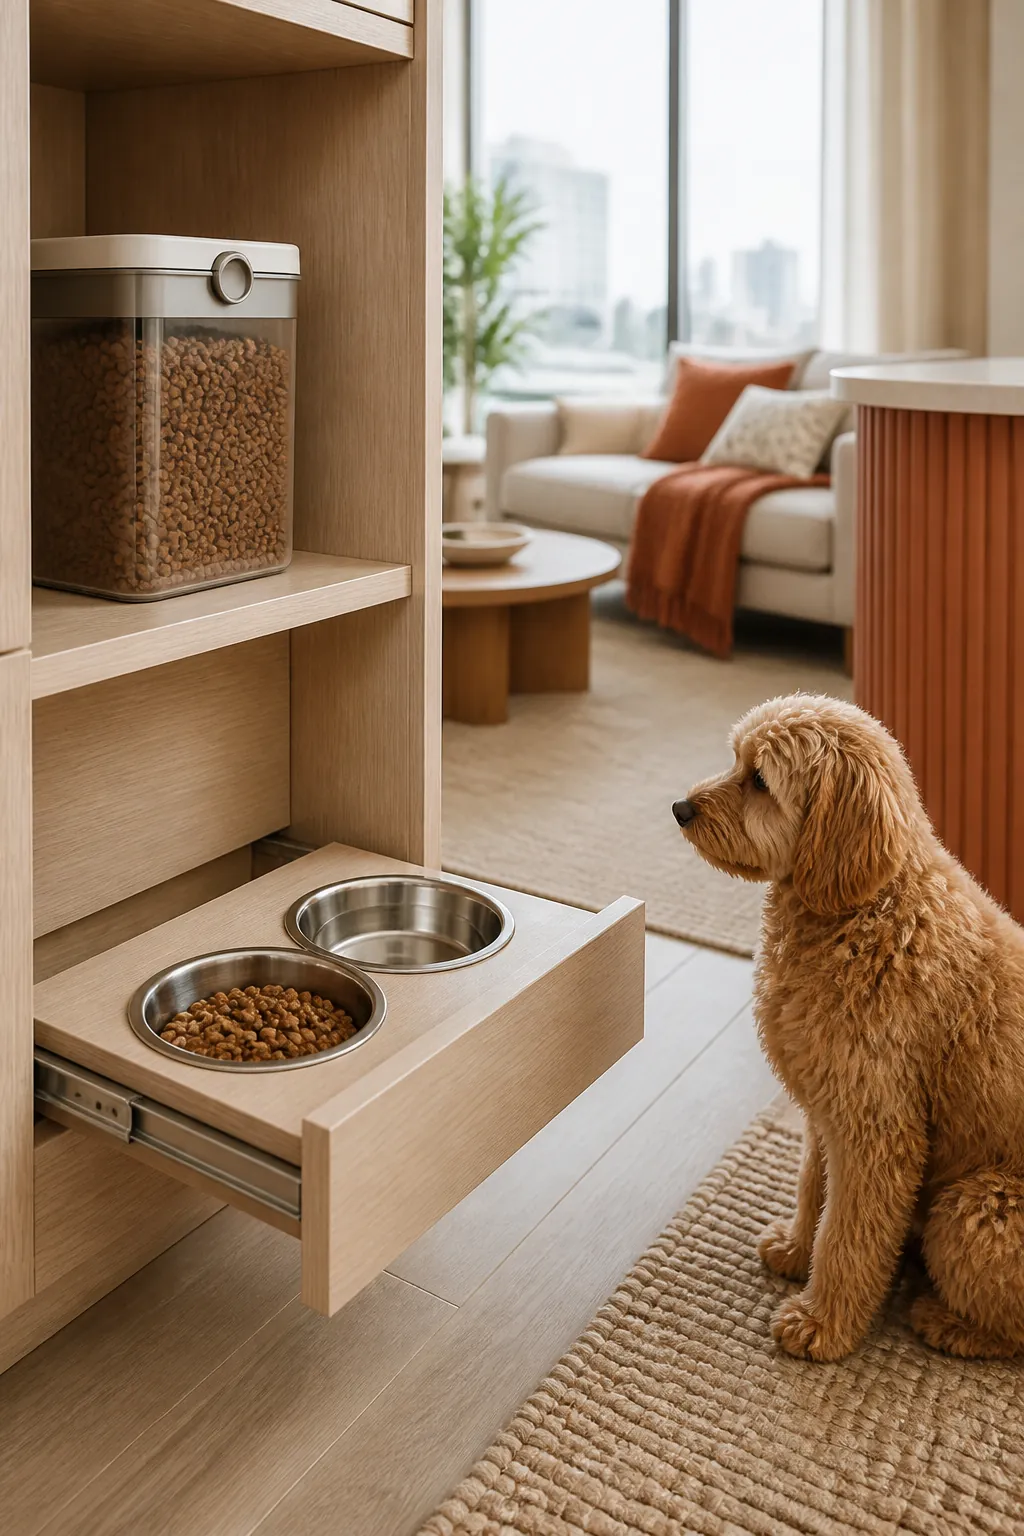
The cabinet directly above the drawer is the shortest reach for a refill and keeps the bag away from any moisture that reaches the tray below. An airtight container holding up to 54 pounds takes a full bag, seals against the humidity a kitchen generates, and lifts straight out for refilling rather than needing to be pulled past the open drawer. Buy to the size of the bag you actually purchase, since a container sized for a bag twice as large is cabinet space spent on air. Keep the bag itself inside the container instead of tipping the kibble in loose, so the batch code is still there if a recall ever matters.
5. Mat the tray to keep spills off the slides
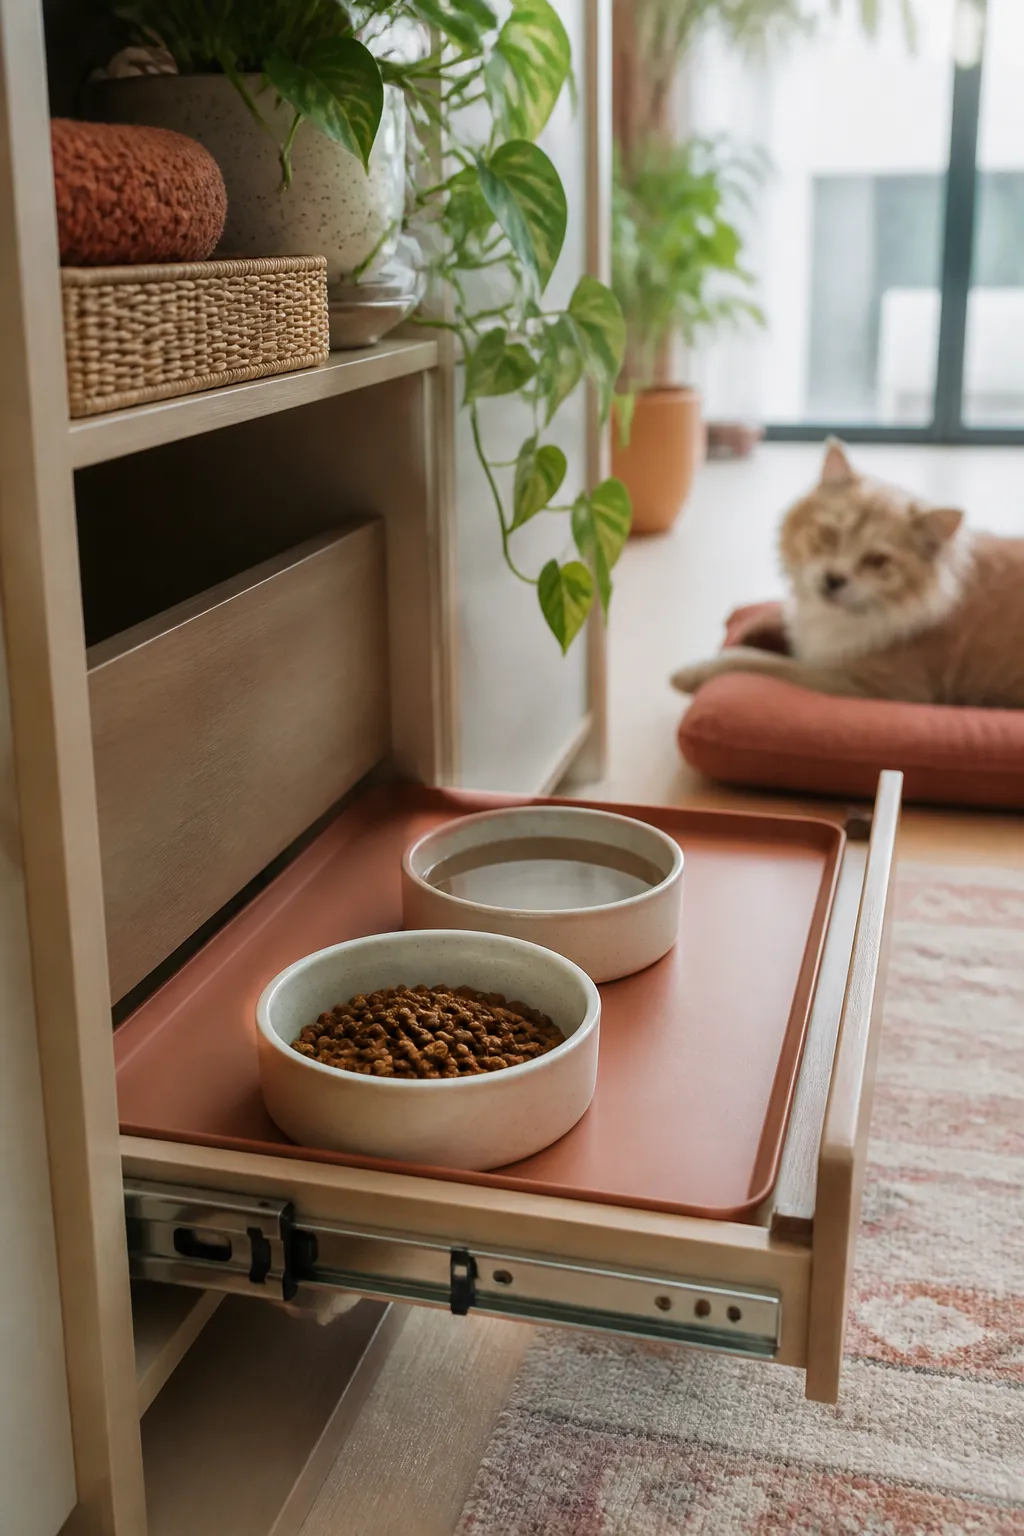
Water that misses the bowl on an open shelf just sits on the floor and dries. Water that misses the bowl on a slide-out tray runs toward the drawer slides, and standing water on a metal track is what makes it stick after a few months rather than glide. A heavy silicone feeding mat with a raised lip catches the splash before it reaches the edge of the tray. Size it to the tray rather than the bowls, so the lip has somewhere to stop the water short of the mechanism, and wipe the rails dry with a cloth if you ever do see moisture on them.
6. Weight the bowls so they do not slide with the drawer
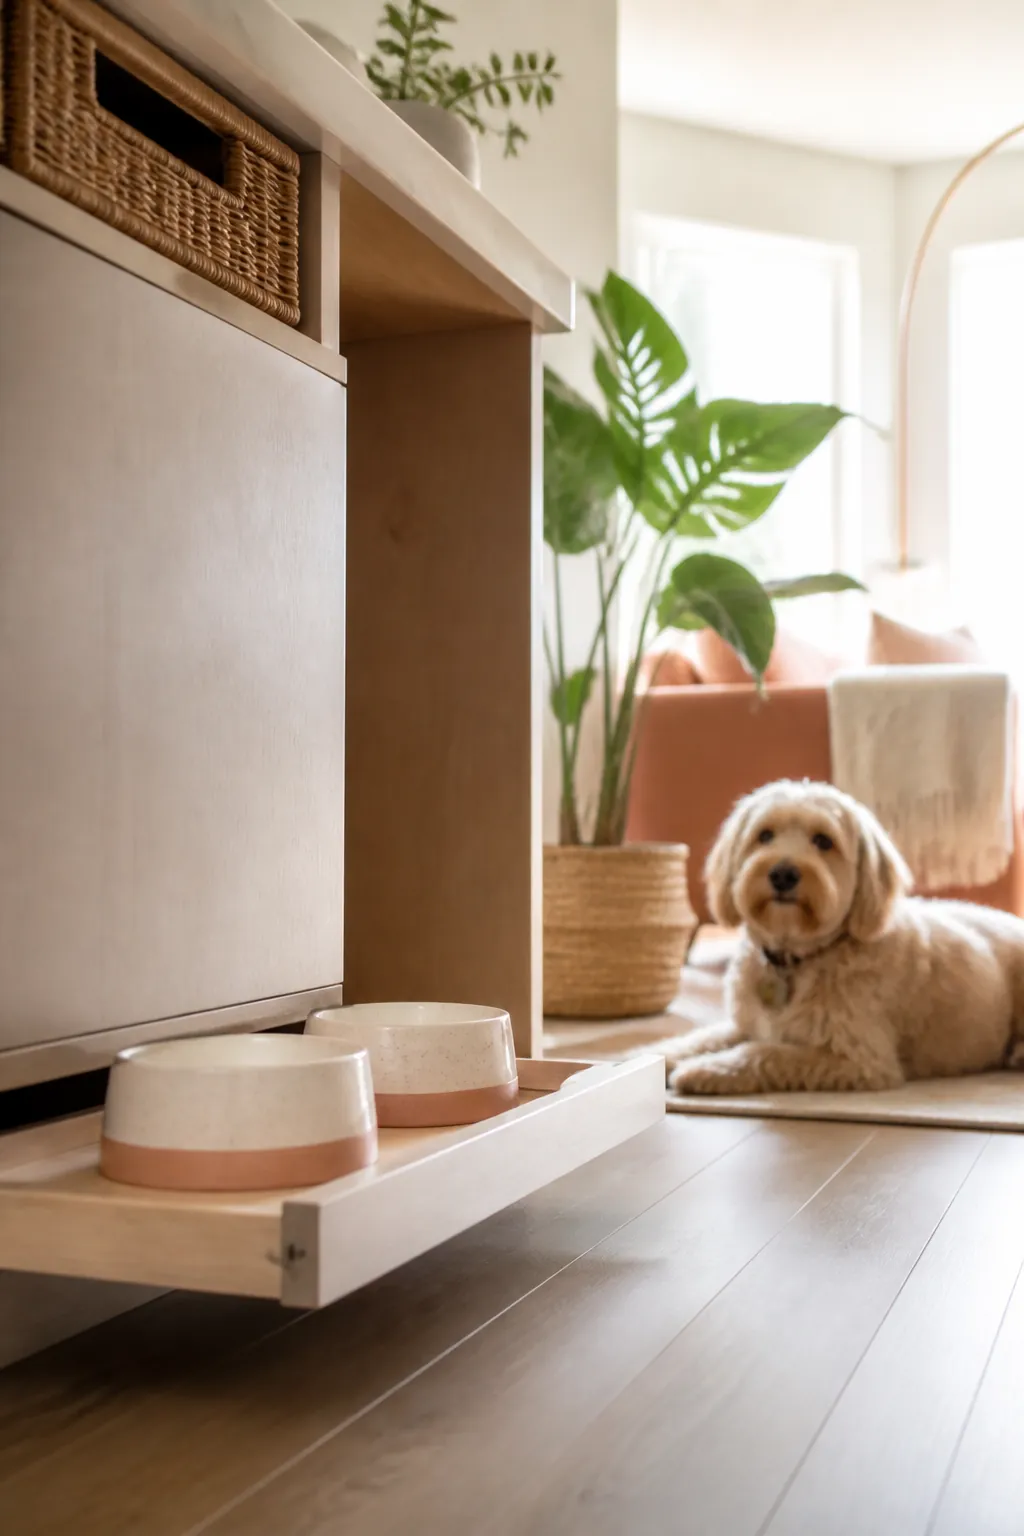
A tray in motion is the one thing a floor bowl never has to deal with, and it changes which bowl works. Pull a drawer open quickly with a light plastic bowl on it and the bowl slides forward, sometimes far enough to tip at the front edge. A set of shallow ceramic bowls has the weight to stay put through the pull, and the wide, low shape keeps the water line well below the rim so a small amount of drawer sway does not send it over the side. Test this before committing: open and close the drawer at a normal pace with water in the bowl and see whether anything moves.
7. Consider a no-drill option if you rent
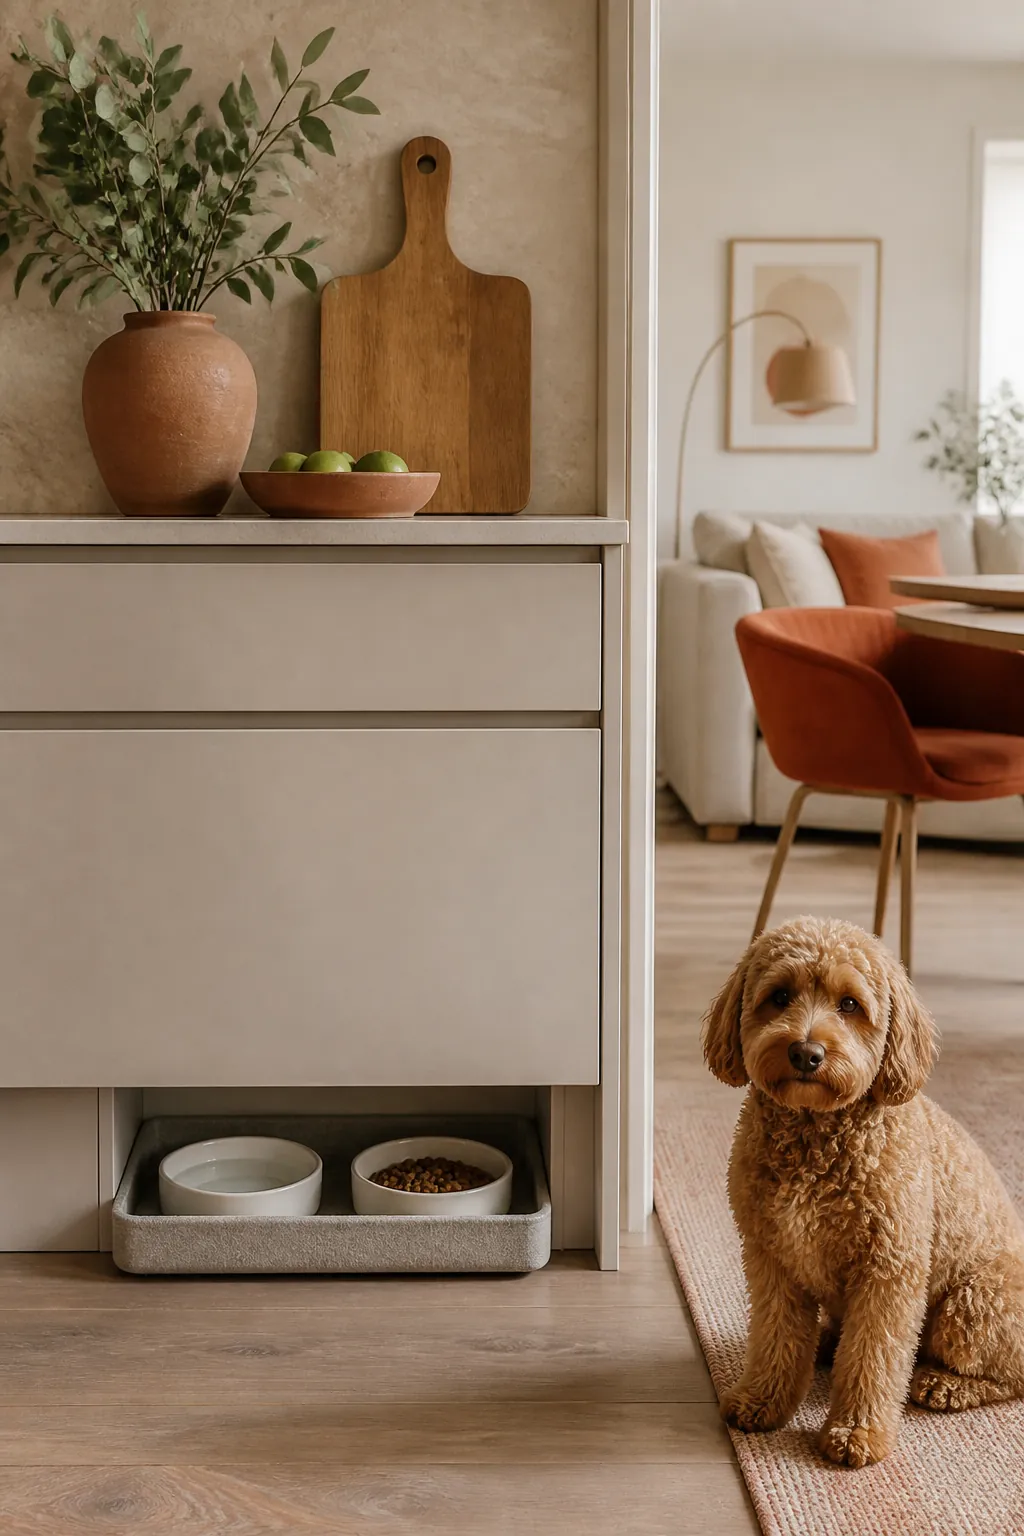
A true slide-out drawer means screwing hardware into the cabinet interior, which most leases do not allow. The renter-friendly version skips the slides entirely: a shallow tray with felt or rubber pads on its underside rests directly on the floor of the toe-kick recess and slides on the pads rather than on hardware. It will not glide as smoothly as a ball-bearing slide, and it needs a slightly firmer push to seat flush, but it lifts straight out with nothing to unscrew, and a security deposit never has to know it was there. Measure the recess the same way either way; the pads need the same clearance the hardware would.
8. Wash without pulling the whole assembly apart
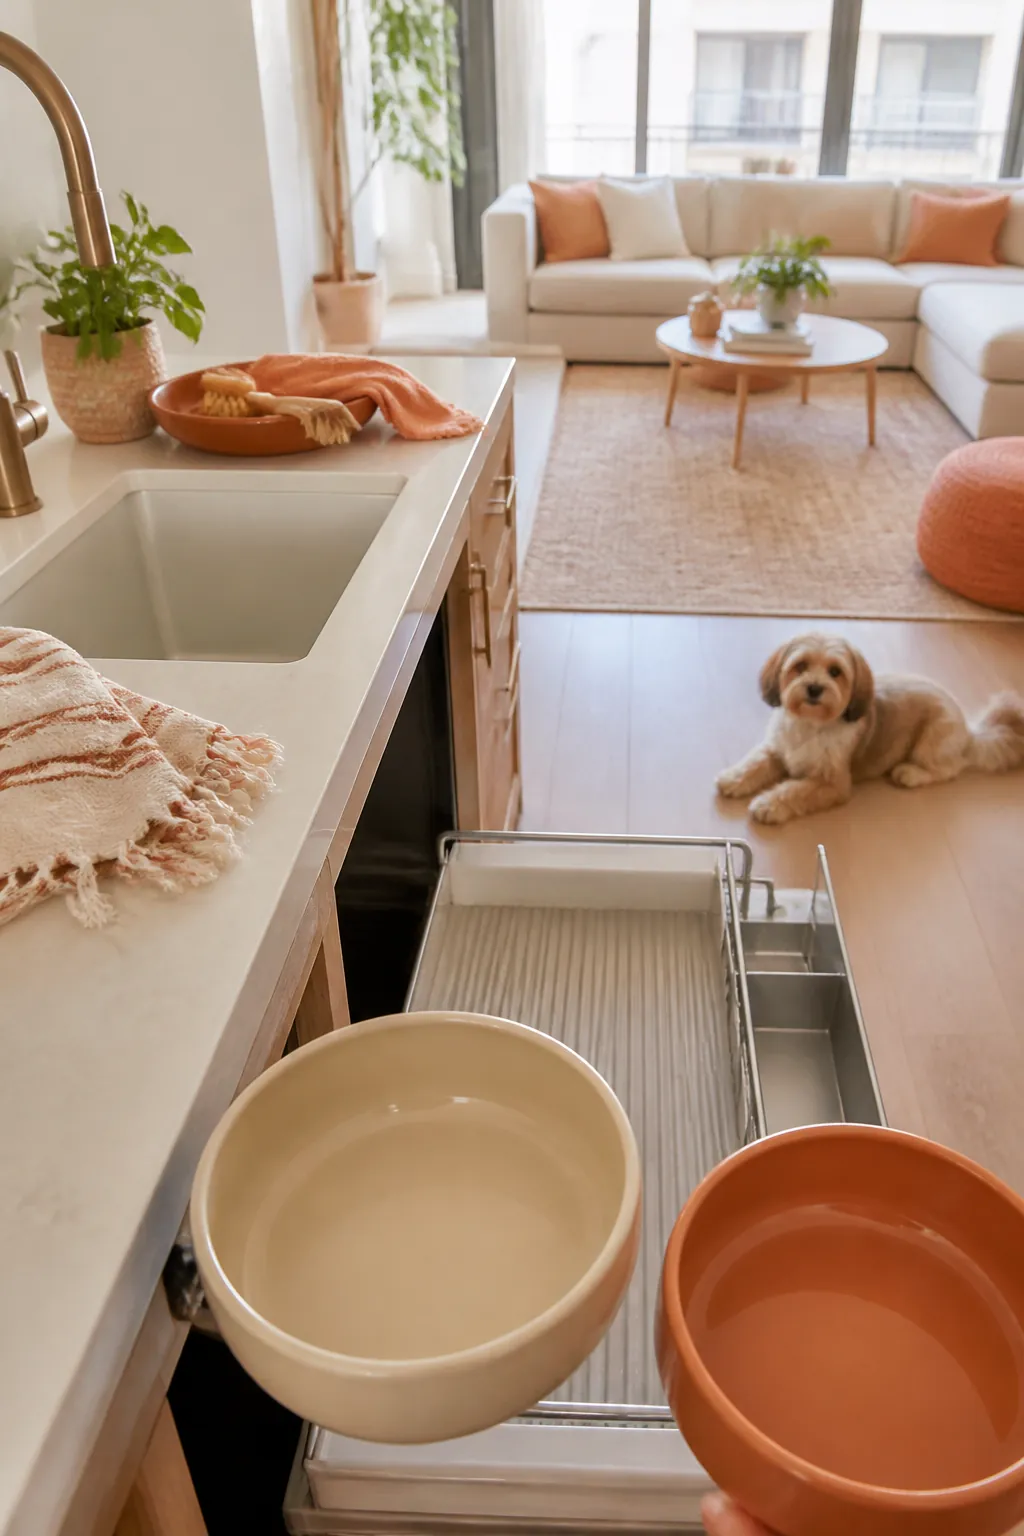
Extend the tray all the way before you clean anything, rather than reaching into the cabinet with the drawer half open. Bowls should lift straight up and off the mat with nothing holding them in a recess, since a bowl you have to pry loose gets rinsed in place instead of properly washed. Wipe the mat and the tray while the drawer is fully out and in the light, where you can actually see whether the corners are clean, then push it back only once everything is dry. A tray put away wet is the other way water ends up on the slides.
Where to start
Measure the toe-kick first, with nothing bought yet. That single number, height and depth together, tells you whether this works at all and rules out any bowl or tray that will not clear it. It costs nothing and takes two minutes.
Buy the container and the mat next. Both work immediately regardless of what happens with the drawer, and the mat in particular earns its keep the moment there is any tray at all, built-in or not. The bowls come after that, chosen for weight rather than looks, since a bowl that slides during use undoes everything else on this list.
Decide on drilled slides or a no-drill tray last, once you know the space works and know whether your lease allows fastening anything to the cabinet. If you are unsure, start with the felt-pad version. It costs less, it is reversible, and it tells you within a week whether the whole idea earns a permanent spot before you commit to hardware.